Assignment Brief – Asset Design
In the Environment Design module you will have been given a main theme and a subtheme. Once you have decided on your themes, they will be used to influence your 3D asset creation to create a centre piece for your environment.
Main Themes:
- Horror
- Science Fiction
- Fantasy
- Historical
Sub-themes:
- Alien
- Corruption
- Utopia
- Dystopia
- Celebration
- Decay
- Family
- Beauty
Production piece expectations
You will be rewarded for a more detailed designed asset i.e. textured asset using substance painter, baked high to low poly, normal maps. You will also be rewarded if you are able to maintain sensible poly counts without sacrificing the design of the asset. Simple/basic assets will attract lower marks.
These guidelines are what we expect to see as a minimum within your 3D asset submissions:
- 4K Texture maps
- A unique design, heavily inspired by location and sub-theme
- Fully lit, textured beauty shots of your asset
- Unlit screenshots of your assets in wireframe, orthographic view
- A 20 second video render showcasing your asset
Additional content
For those who seek higher marks:
- Tri count less than 10k / Poly count less than 5k
- Low poly model with textures baked from a high poly model in substance painter
- Studio quality lighting setup
Asset & Theme choice with references
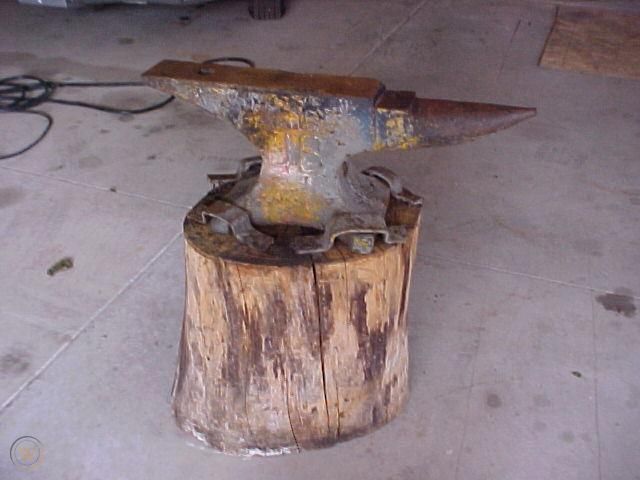
I went into this assignment with the intention of creating something medieval, as it is the period of time that I am most personally interested in and which I believe with the right care can create a beautiful result. With this in mind, the main theme of my piece is Historical.
My asset of choice is a blacksmiths anvil, situated on top of an oak log. I chose this as since the dawn of the Iron Age, blacksmiths and metalworkers have been a crucial part in manufacturing. With an anvil being their signature trade tool, I thought this would be a great embodiment of the start of such an important time in history. Oak logs are strong, and not few in number around parts of England. This would have proved an easy and robust resource to use as a workbench for the time.
I had to then choose a sub theme for this piece which proved difficult, as I could not think of many themes that would suit the design of the finished piece outside of family, and had no apparent view on how I could translate that into the piece. I chose family anyway as it would act as more of a story for the piece, and more easily tied into the finished environment.
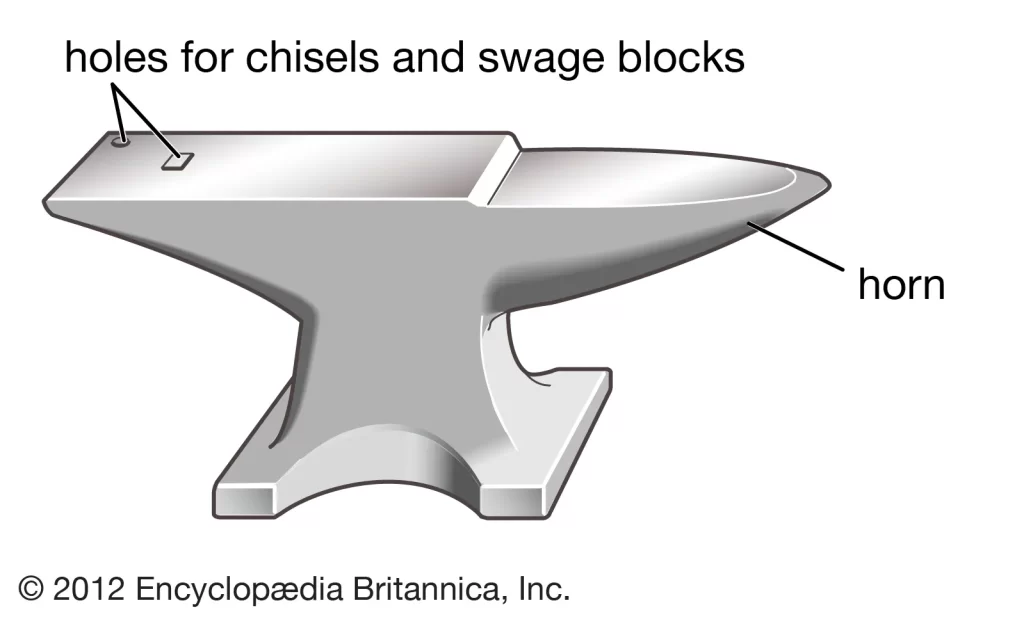
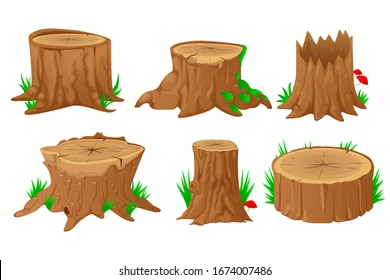
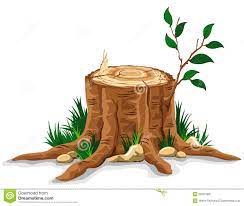
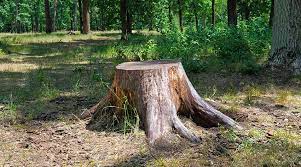
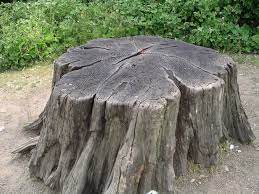
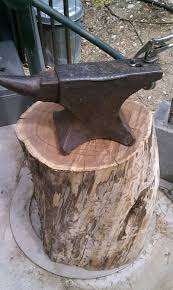
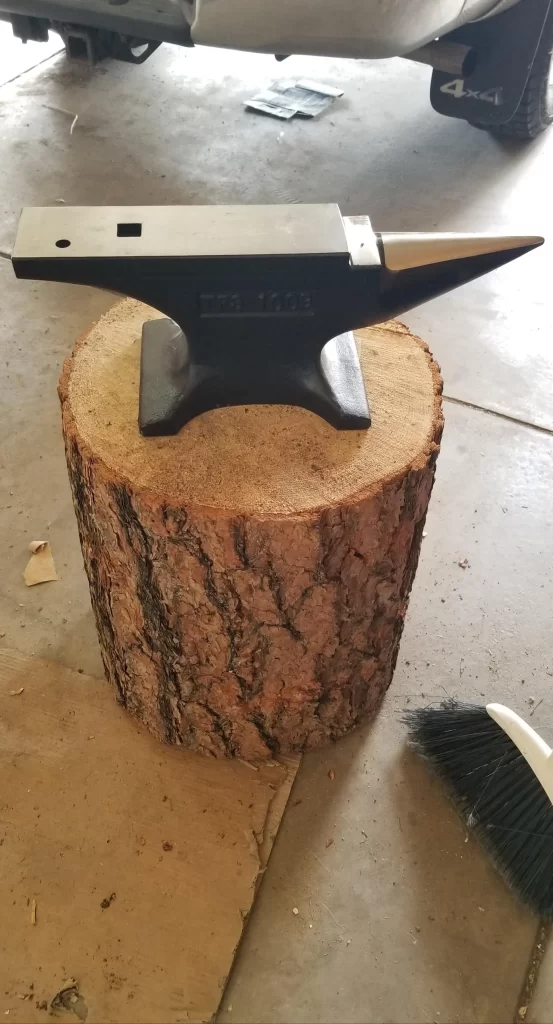
I have compiled a collage of reference images for my asset:
Autodesk Maya – Creating of the Asset
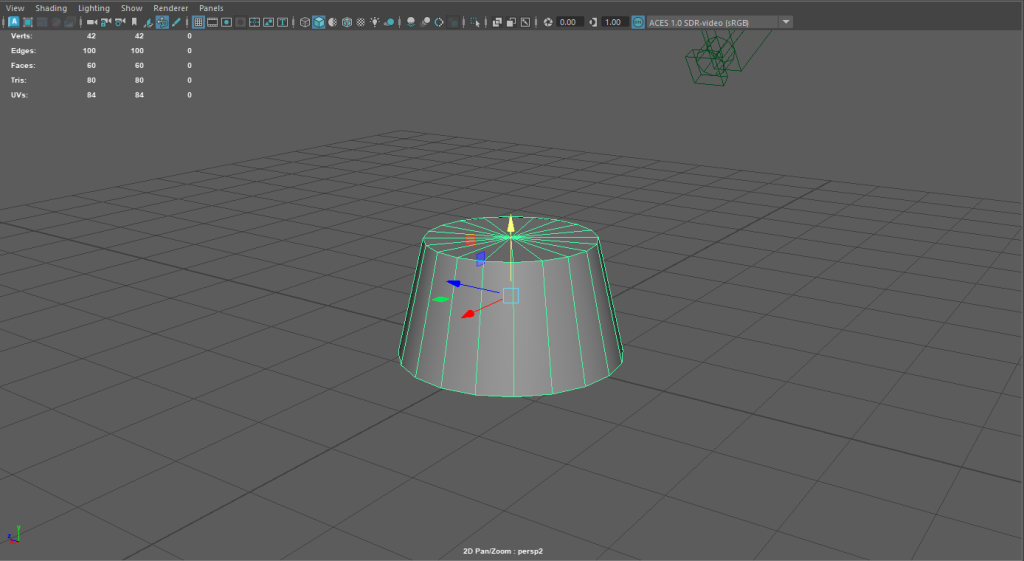
I chose first to create the log upon which the anvil would eventually stand. Using a cylinder, I reshaped until I found the desired width I was looking for.
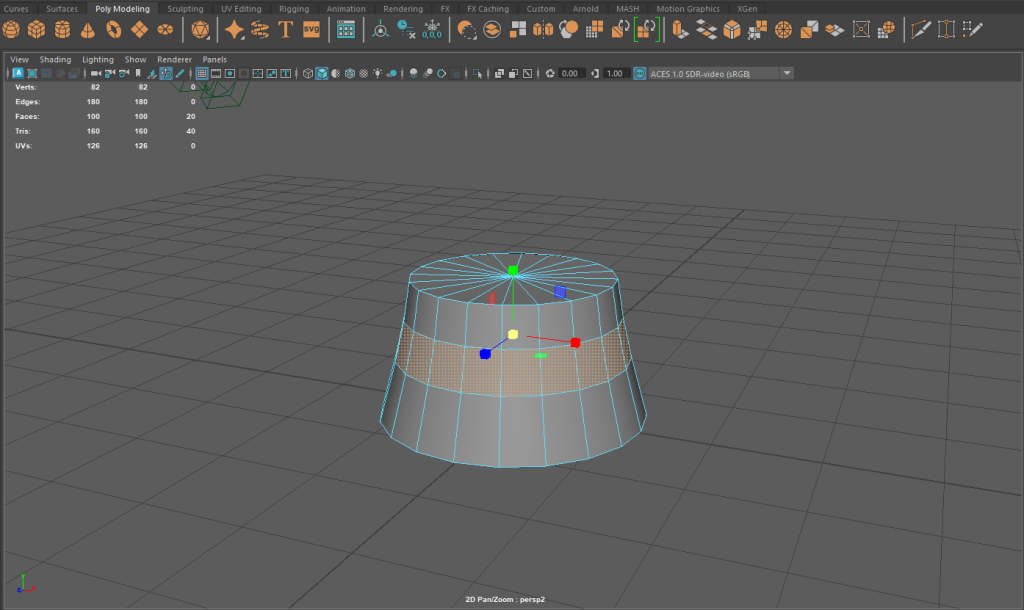
Following finding the right base size, I used the quad draw tool to split the cylinder into multiple layer which I then pulled towards the centre. This would help give the stump the eventual natural feel I had in mind, and acted as a great baseline for the piece to follow.
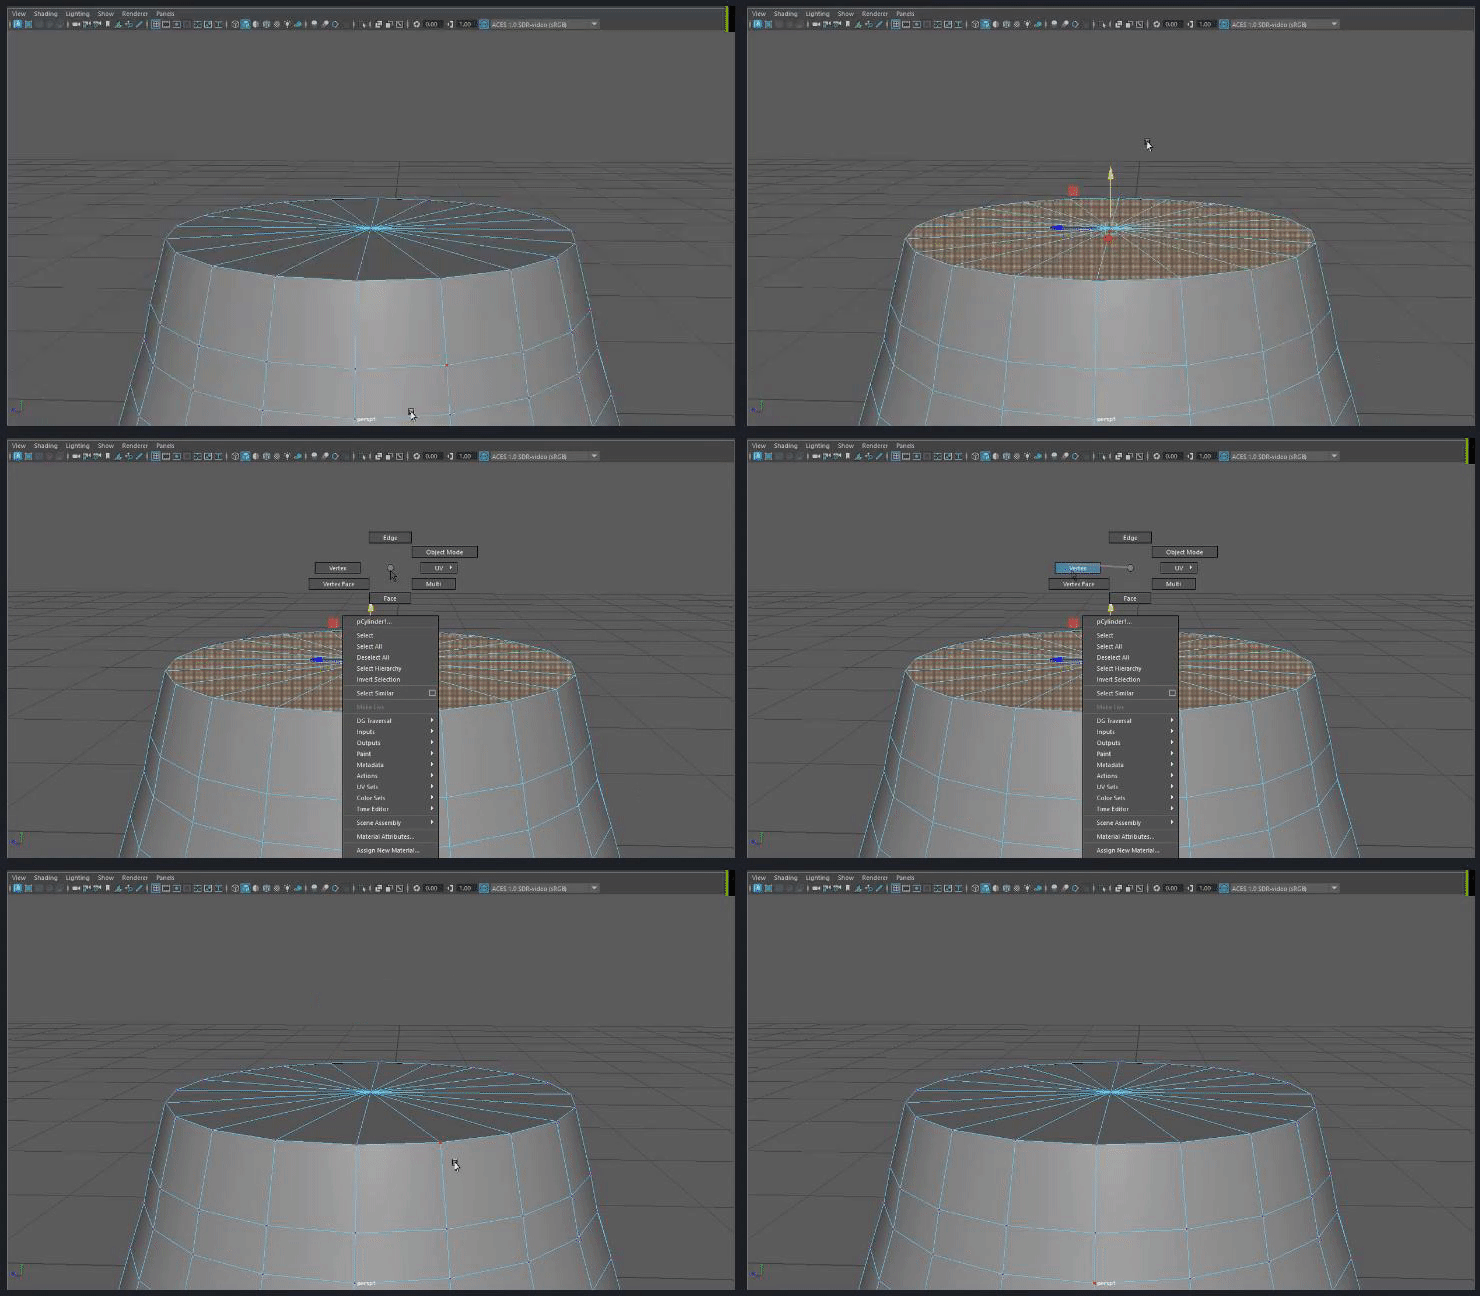
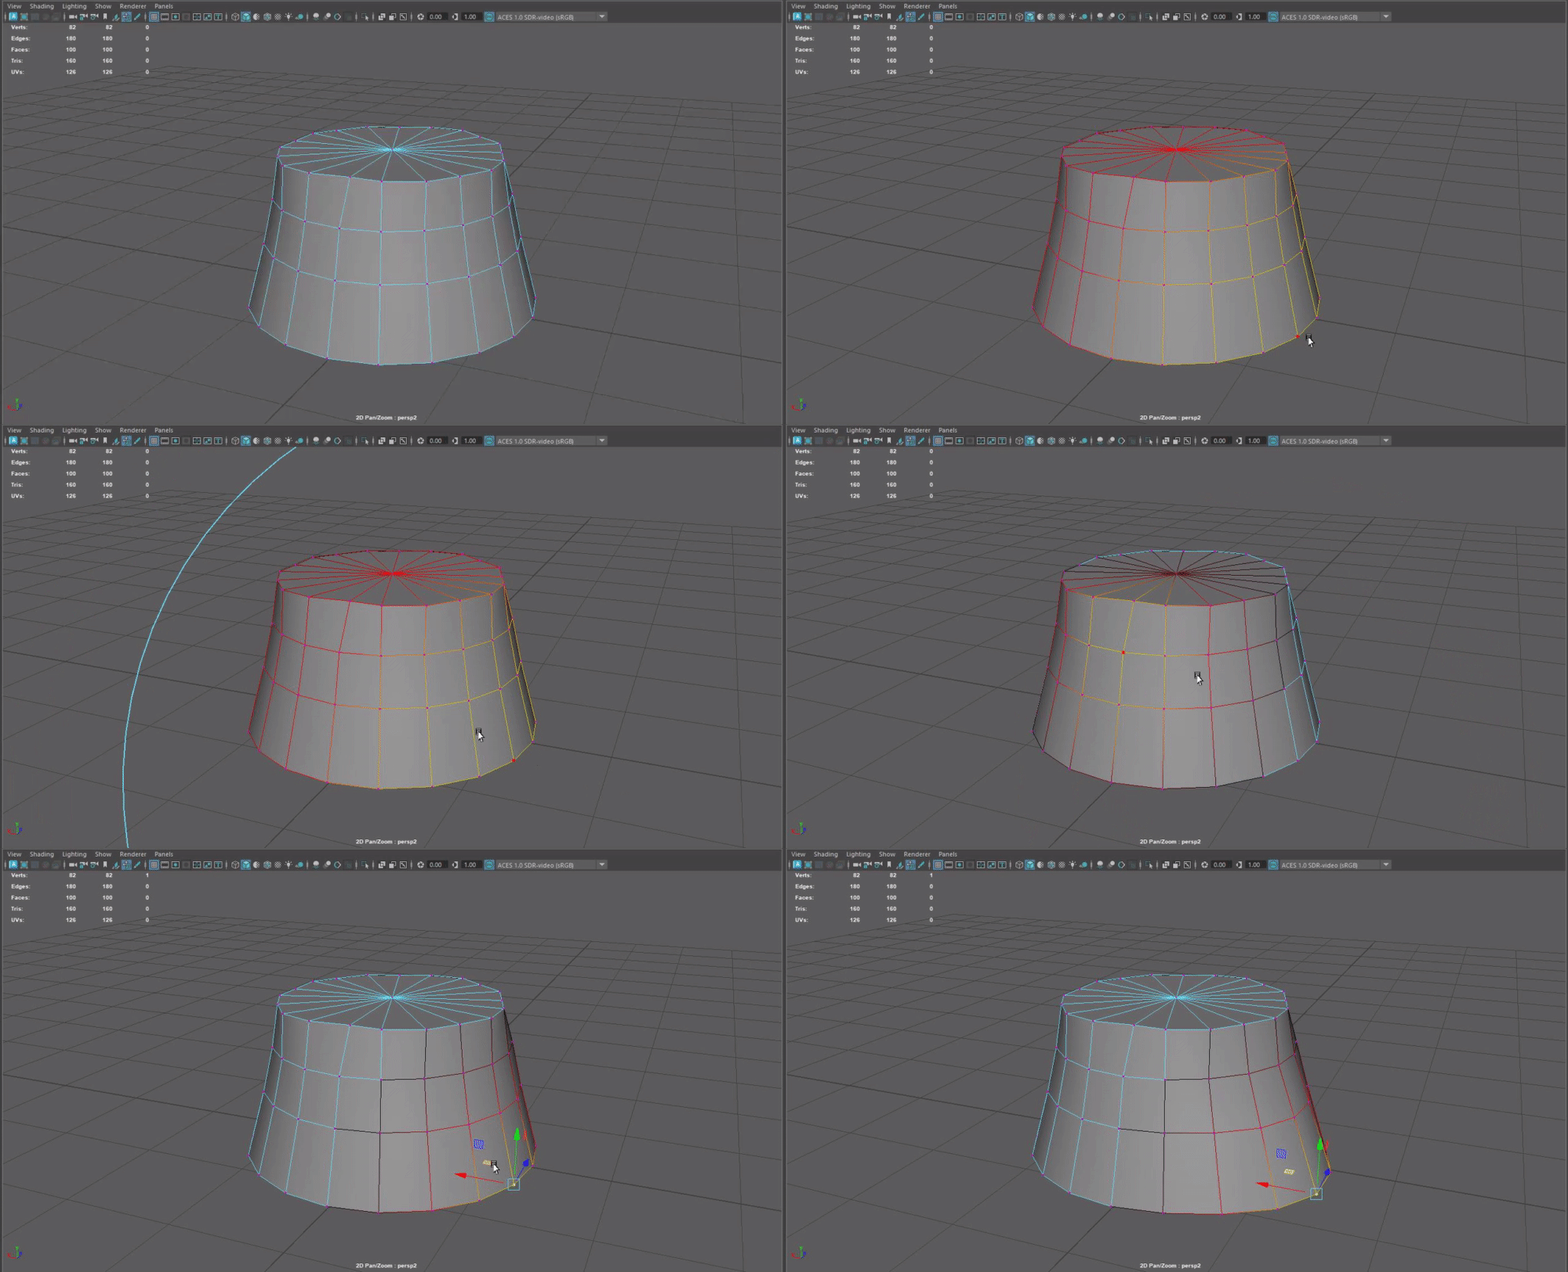
Once I had the shape for the stump figured out, I then went into the vertex mode to start transforming the shape more. I used a falloff radius to get a larger surface selection to help with displacing the vertices.
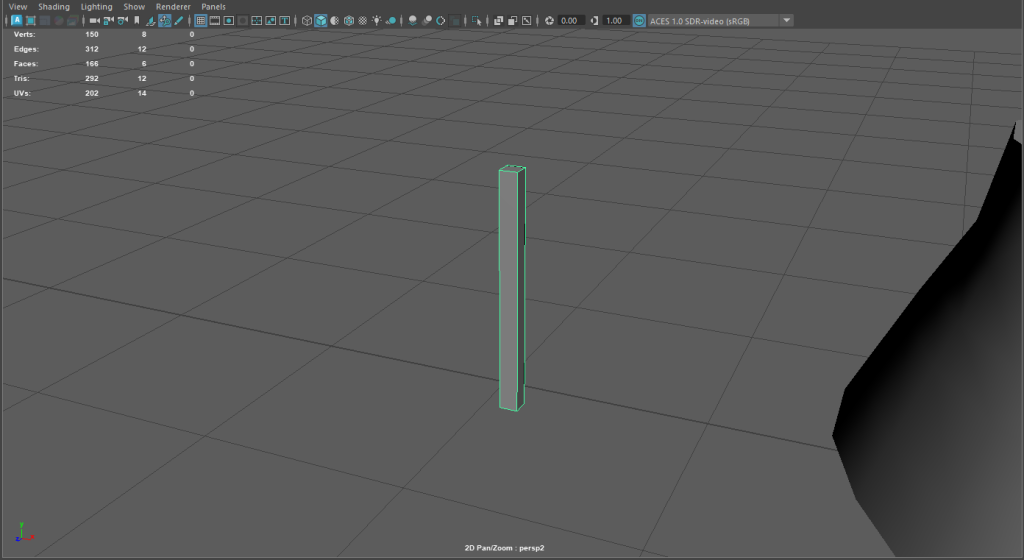
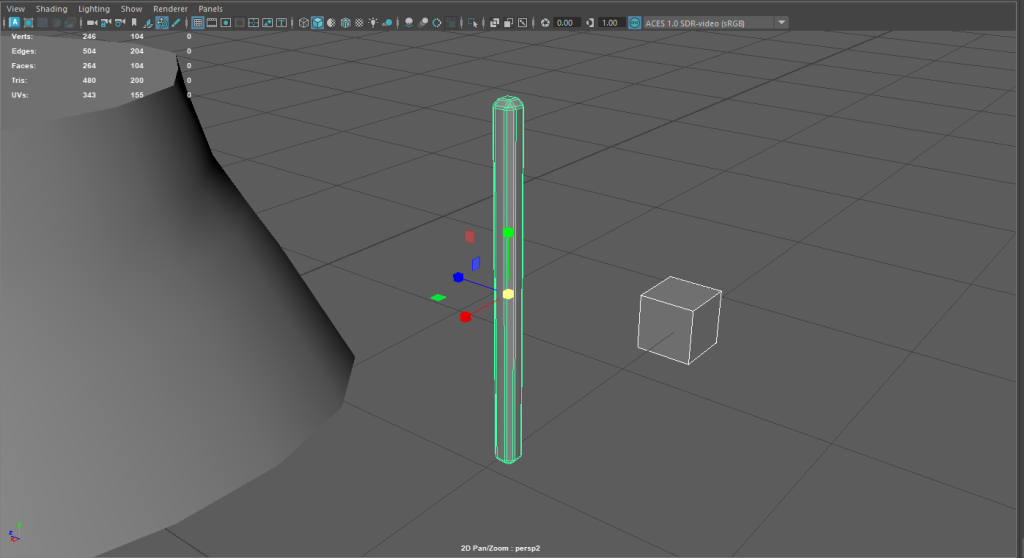
With the main outline of the log done now, I proceeded to move on and create a long cuboid that will start as the handle of the blacksmith’s hammer. I did not want the handle to be too round so I did not use a cylinder to create this.
I used a separate block to use as the actual hammer top rather than extruding this. After multiple attempts at extruding before, I found the UV maps were hard to maintain and thus created unnecessary time spent trying to fix it. It also feels more historically accurate placing the head on the hammer and being able to have the same hand piece protrude from the top as is common with older tools.
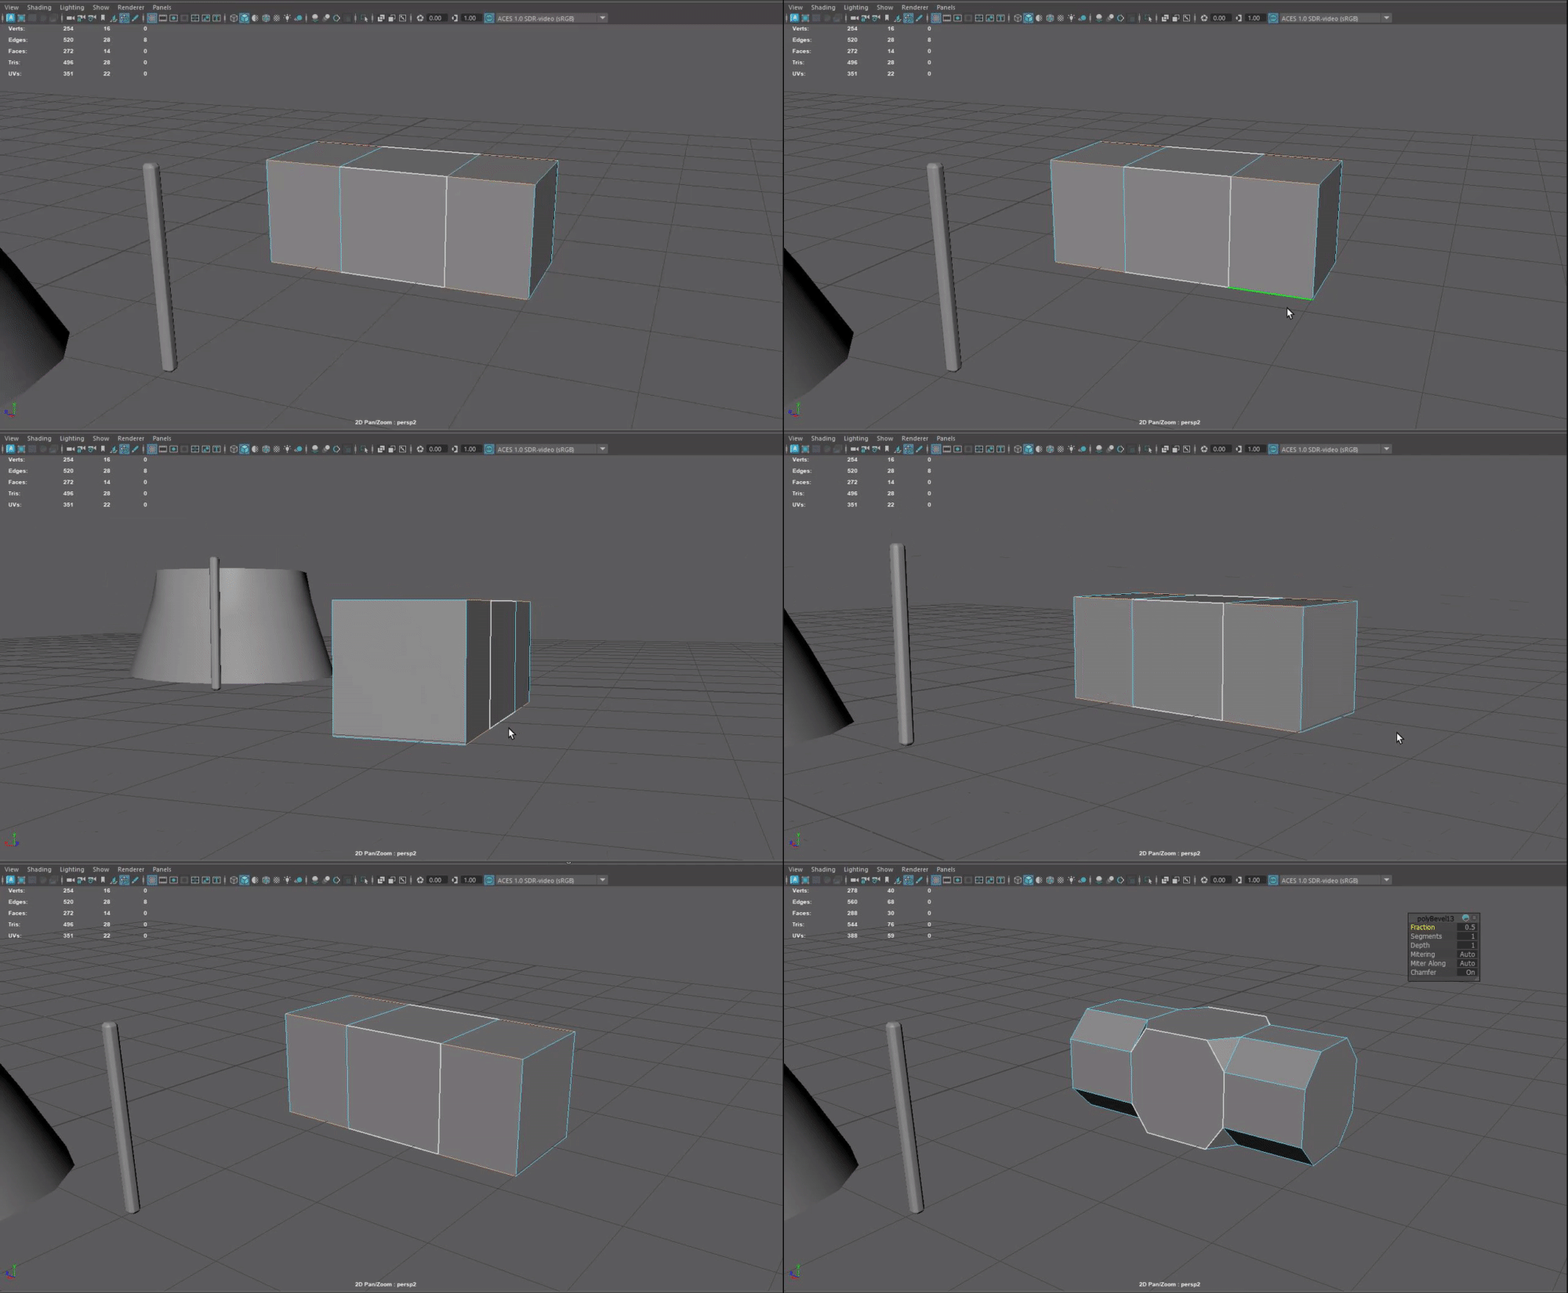
Whilst experimenting with the block, I found that I could use a bevel tool after extruding the block outwards to create a perfect base for the hammer shape.
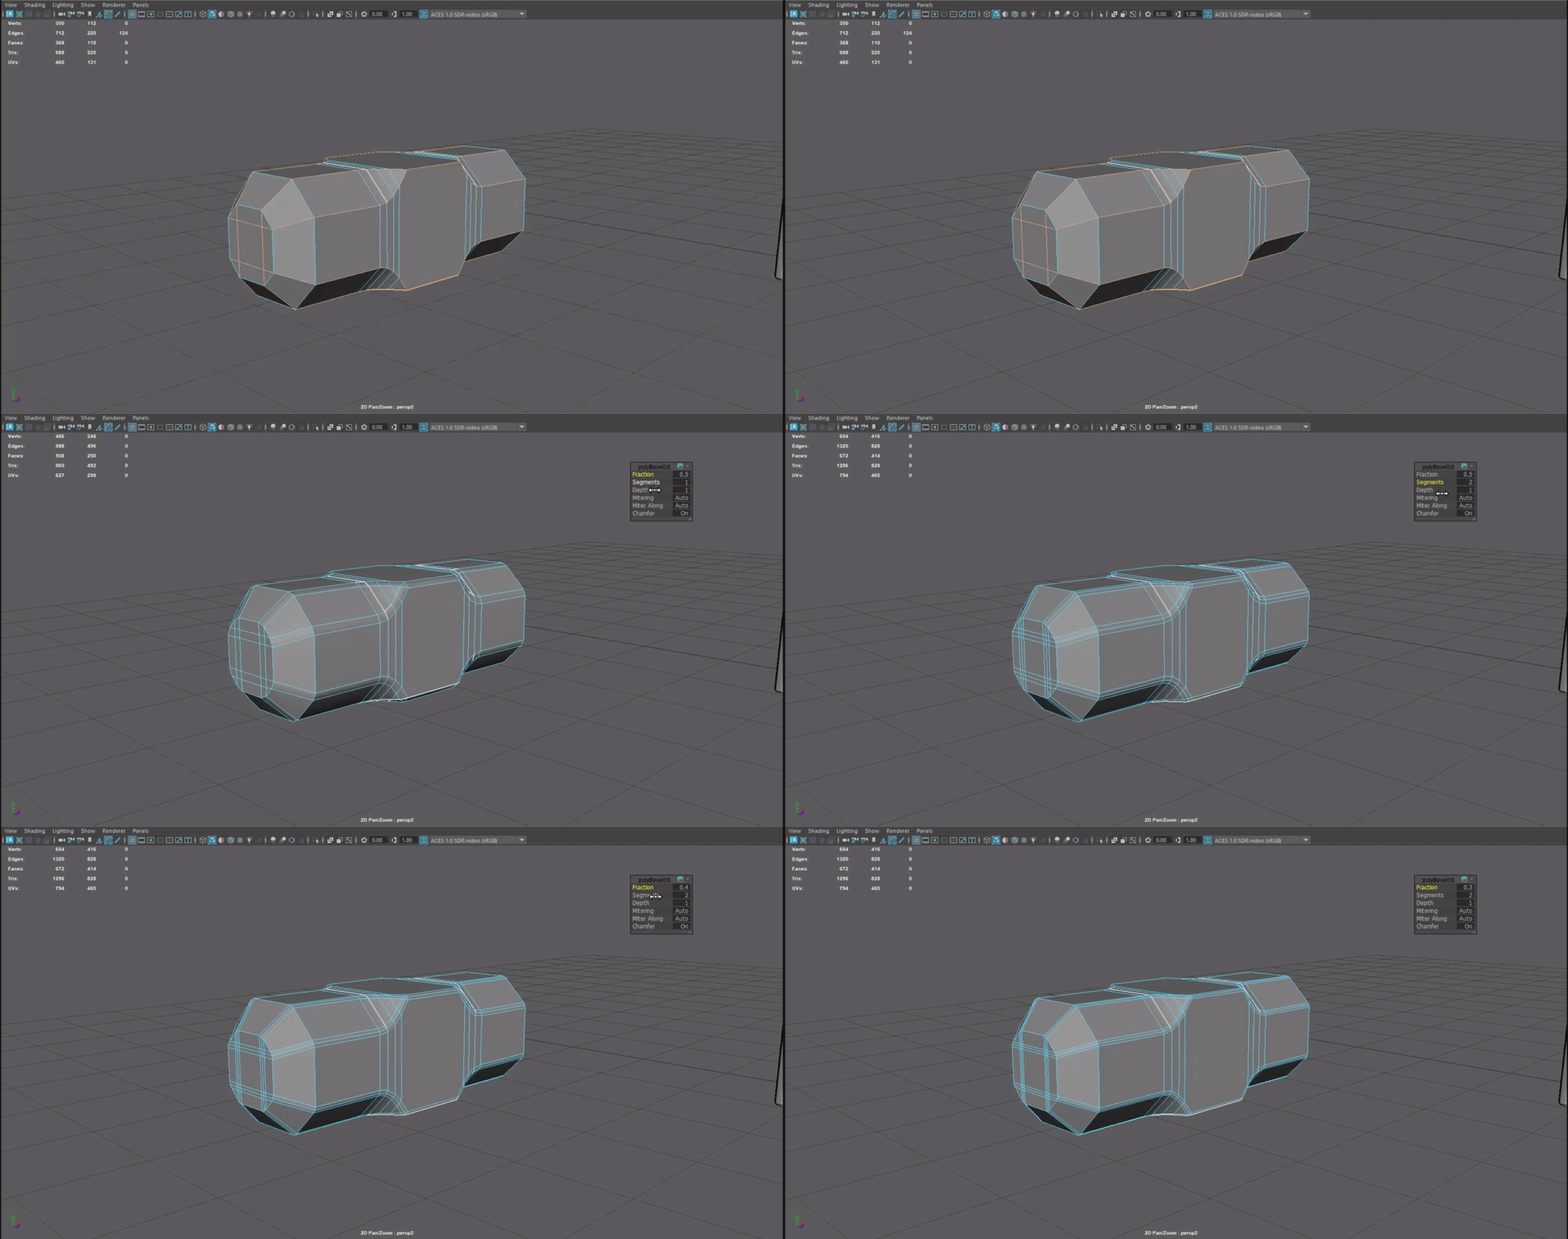
After bevelling the faces of the hammer and adding a few lines using the multi-cut tool, I then bevelled the rest of the edges I thought would be necessary, creating extra sections to add to the roundedness of the hammer.
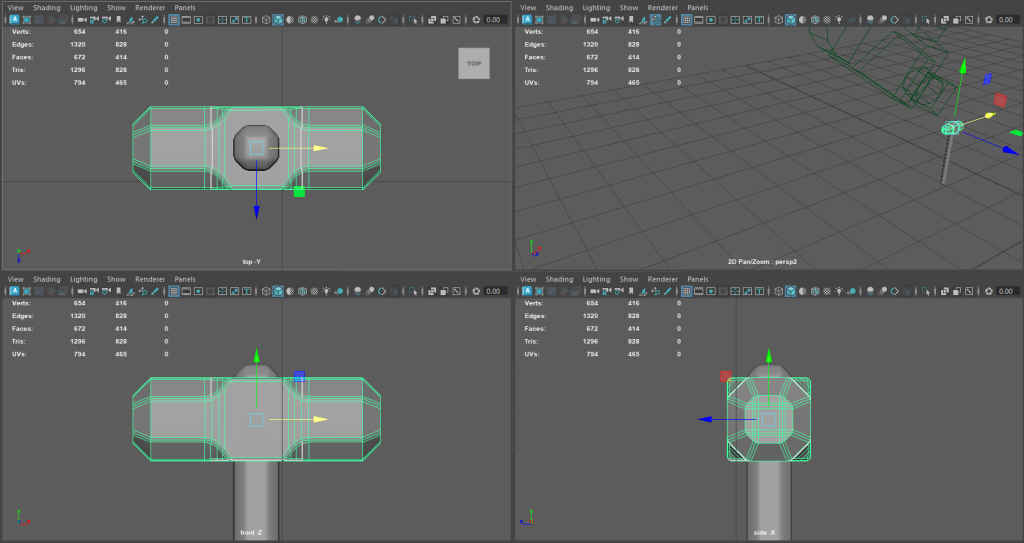
I fully lined up the hammerhead with the handle using the orthographic view before moving onto creating some minor adjustments to the handle. The intention is to add more faces to the handle of the hammer so I can warp it slightly, to give the wood a more worn and natural aesthetic.
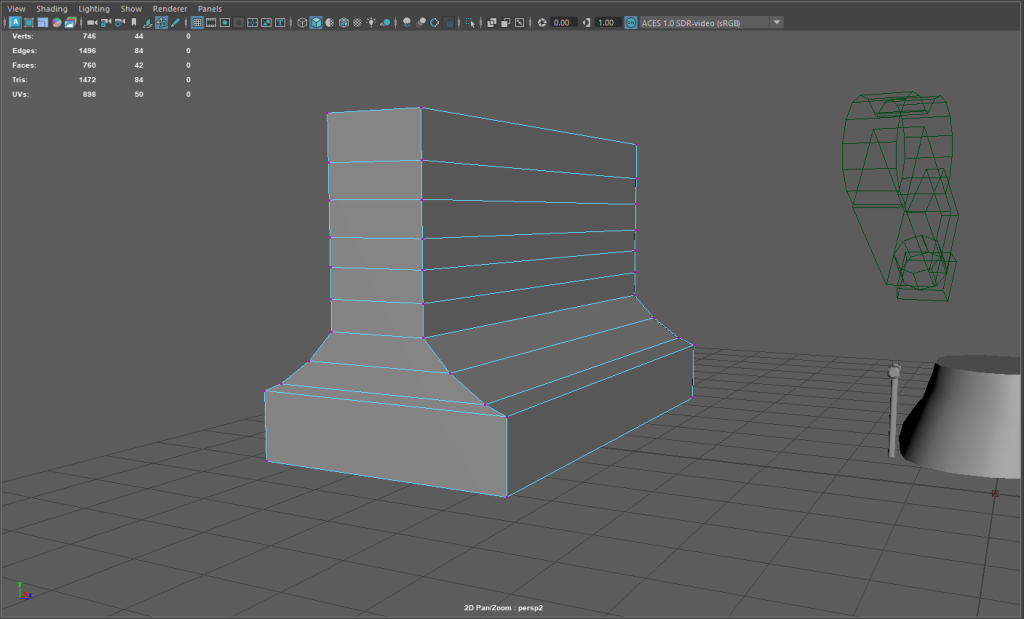
It was now time to start on the anvil for the asset. I decided to use cube that I enlarged the width and length of to get a cuboid style shape. I then extruded the top side face upwards and closing in to define the base and top of the anvil.
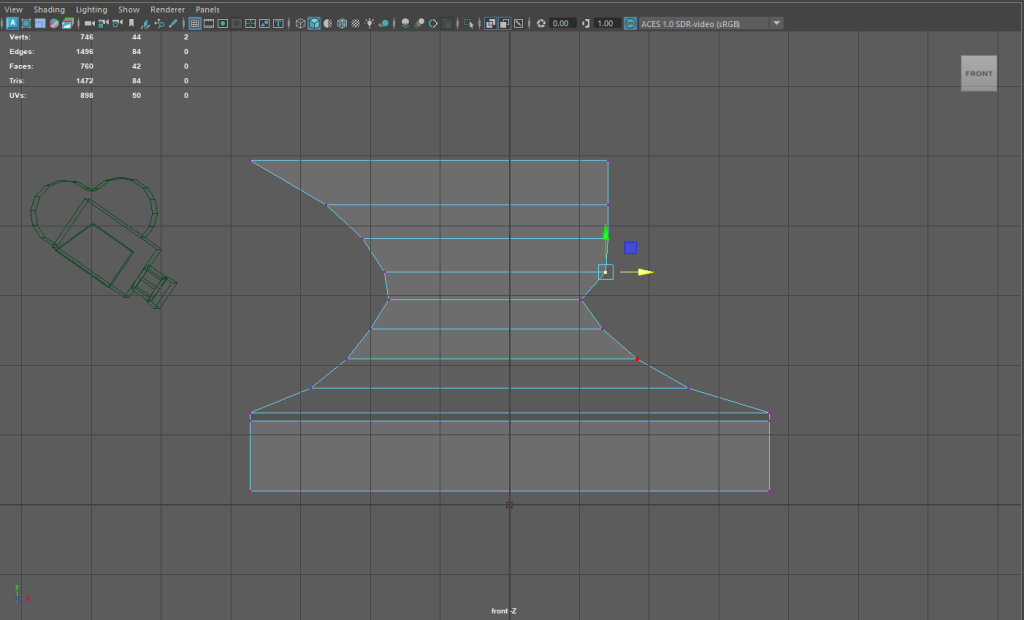
Using the extra edge lines I added to the object using the extra quad-draw tool, I manipulated the vertices to create the beginning of the anvil shape. This will allow me easier access to create texture on the top whilst giving me good foundation to attach the horn eventually.
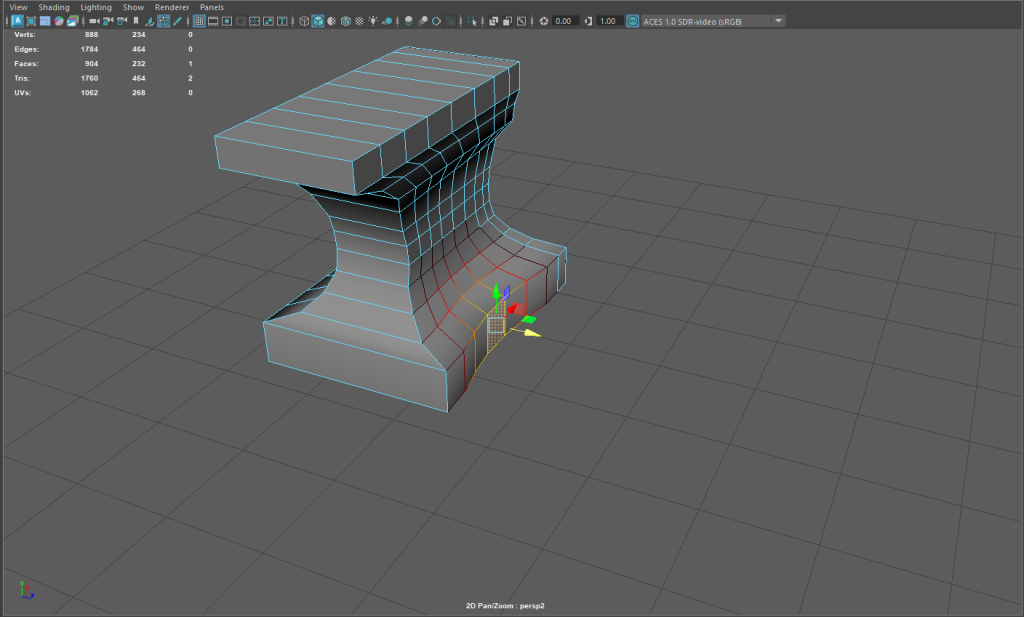
After having the side profile complete, I used the same method of vertices to expand the top face to create dimension in the piece. This would have more of a feel of being able to strike the anvil as opposed to it being just a thing slive of metal. I also used another falloff radius to create the side slopes as it would give a cleaner overall finish and look more like contorted than crafted space.
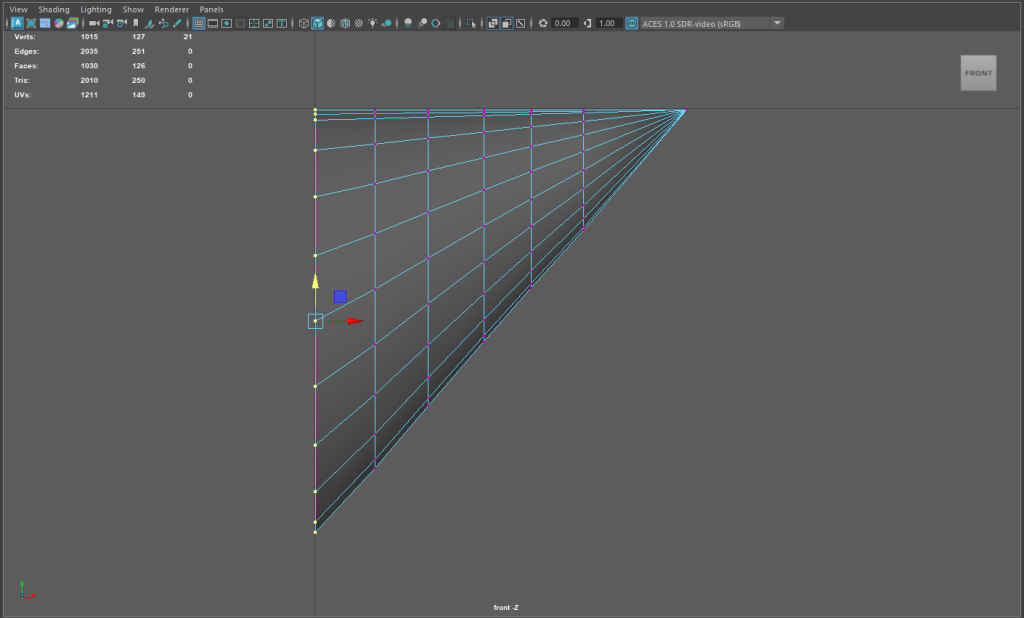
To create the horn, I used a cone shape polygon as It just made sense whilst similar dimensions. I again went to vertex mode and edited it in orthographic view, lining up the top side with one horizontal line and keeping it check with a vertical line at the back. This would then lean into further transformations to create the desired horn shape.
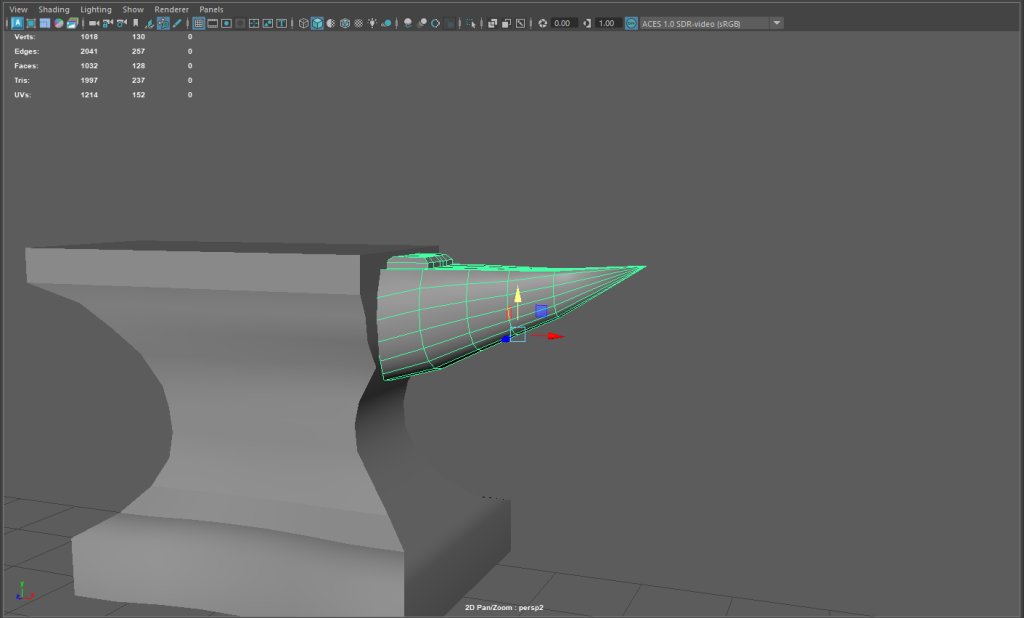
After bringing the horn to shape, I took off the back face as it was causing multiple overlapping UVs. this would allow for a fluid experience when it comes to texturing the object and hopefully no errors. I also extruded the cone upwards after making sure it was straight to create the step of the anvil.
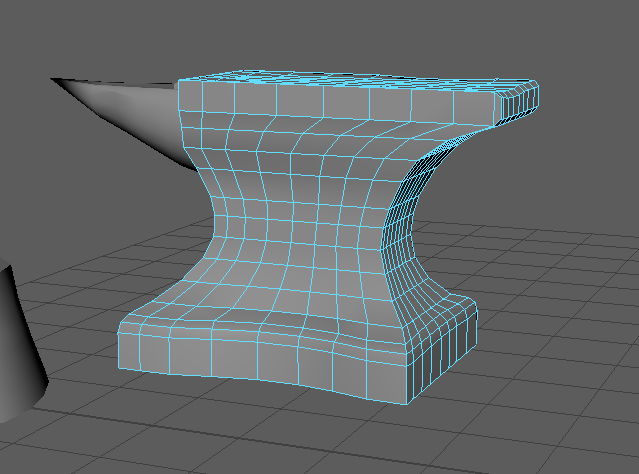
I bevelled the base and the back of the anvil to try and minimise some of the flat edges a bit and to creature more of a curvature where I found it necessary. I also slightly indented lots of the faces on the top of the model as to convey a warped look to show that this anvil has seen a lot of use.
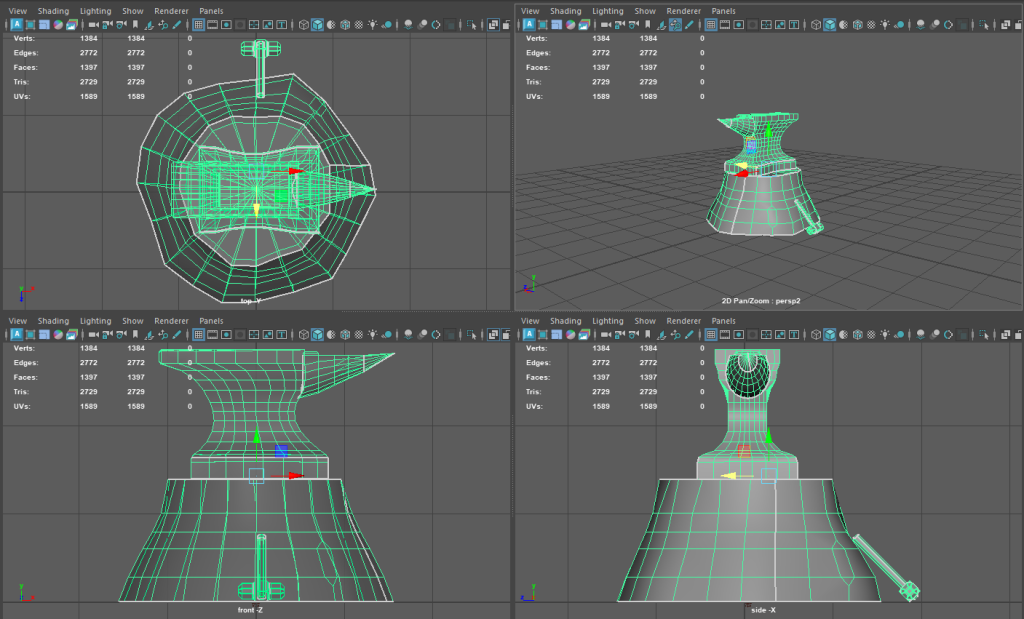
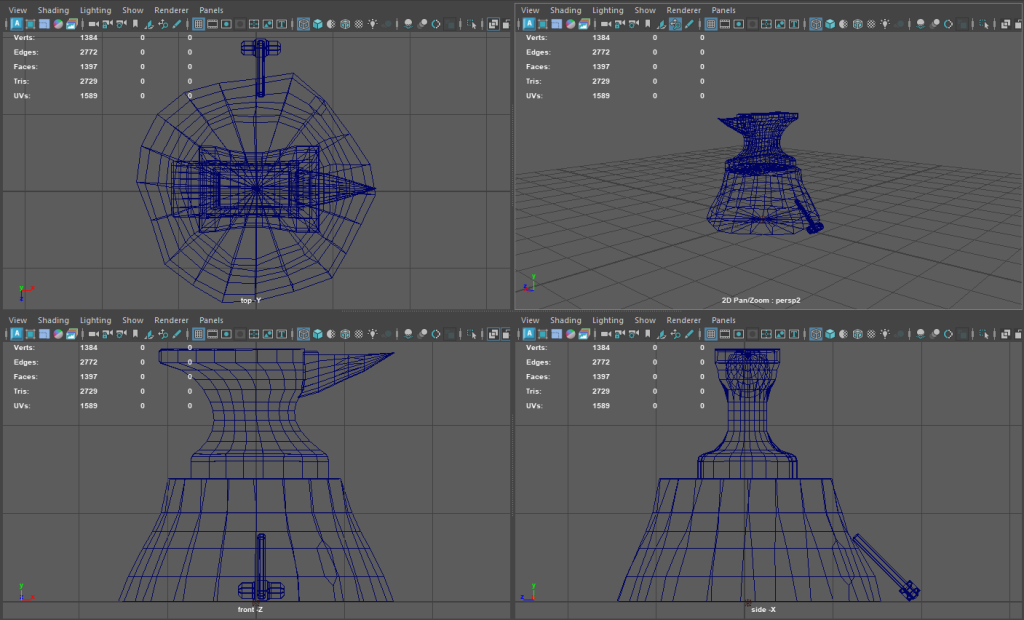
Here is the finished asset built up and put together. I laid the hammer up against the log rather than putting it on top as I feel it conveys the feeling of rest after a hard days work, so the smith who owns this setup is now at peace amongst family. I saw these both in normal view and in wireframe just ensure that the model was all in place properly and that I was happy with the finished outcome.
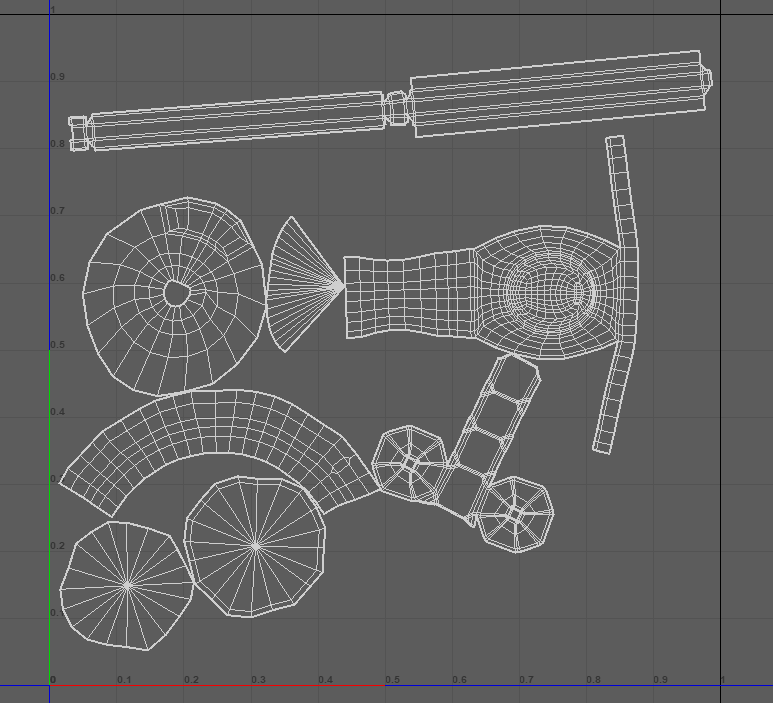
I finished in Maya by taking the UV map of each object and laying them out. I ensure that there were 0 reserved and 0 overlapping UVs to make the texturing to as smoothly as possibly when it comes to using substance painter, and giving it the best finish. I am now ready to export this file and put it in substance painter to texture it properly.
Substance Painter – Texturing
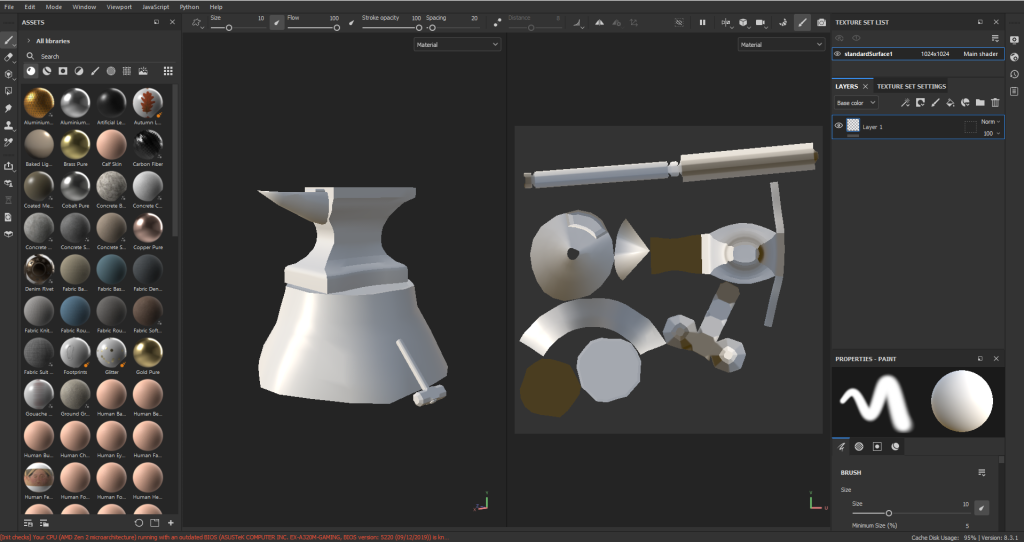
After opening my anvil In substance painter I was ready to start applying texture as needed. Time would be needed to gather a plethora of textures that I would want to use across the model.
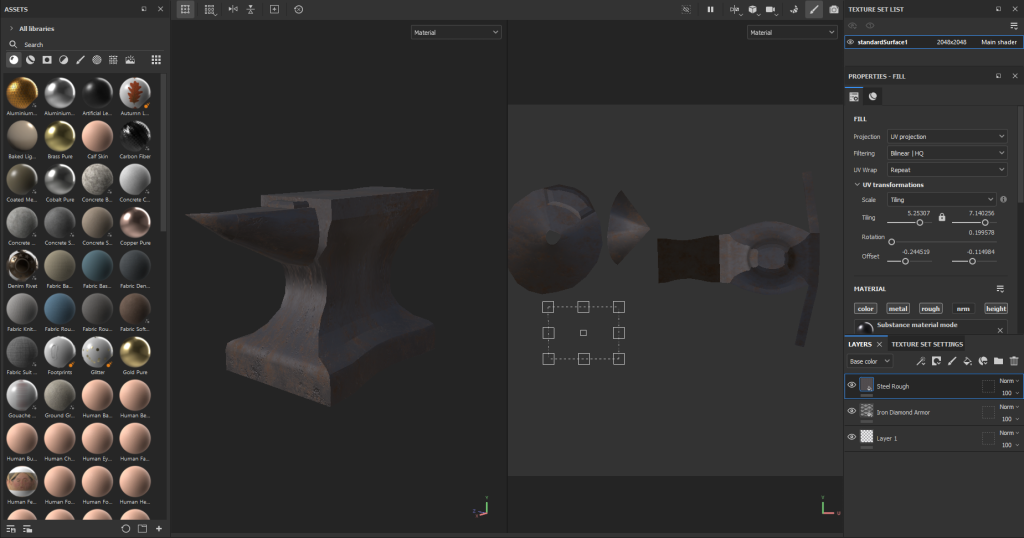
After experimenting with options available, I found it easier to re export each individual part of the asset, and use a layer tool to put one fine layer of texture over the parts. This made two things easier: it made it easier to get a finer finish when applying textures for a better outcome, and it made applying the textures in Maya just a bit easier and more straight forward for me.
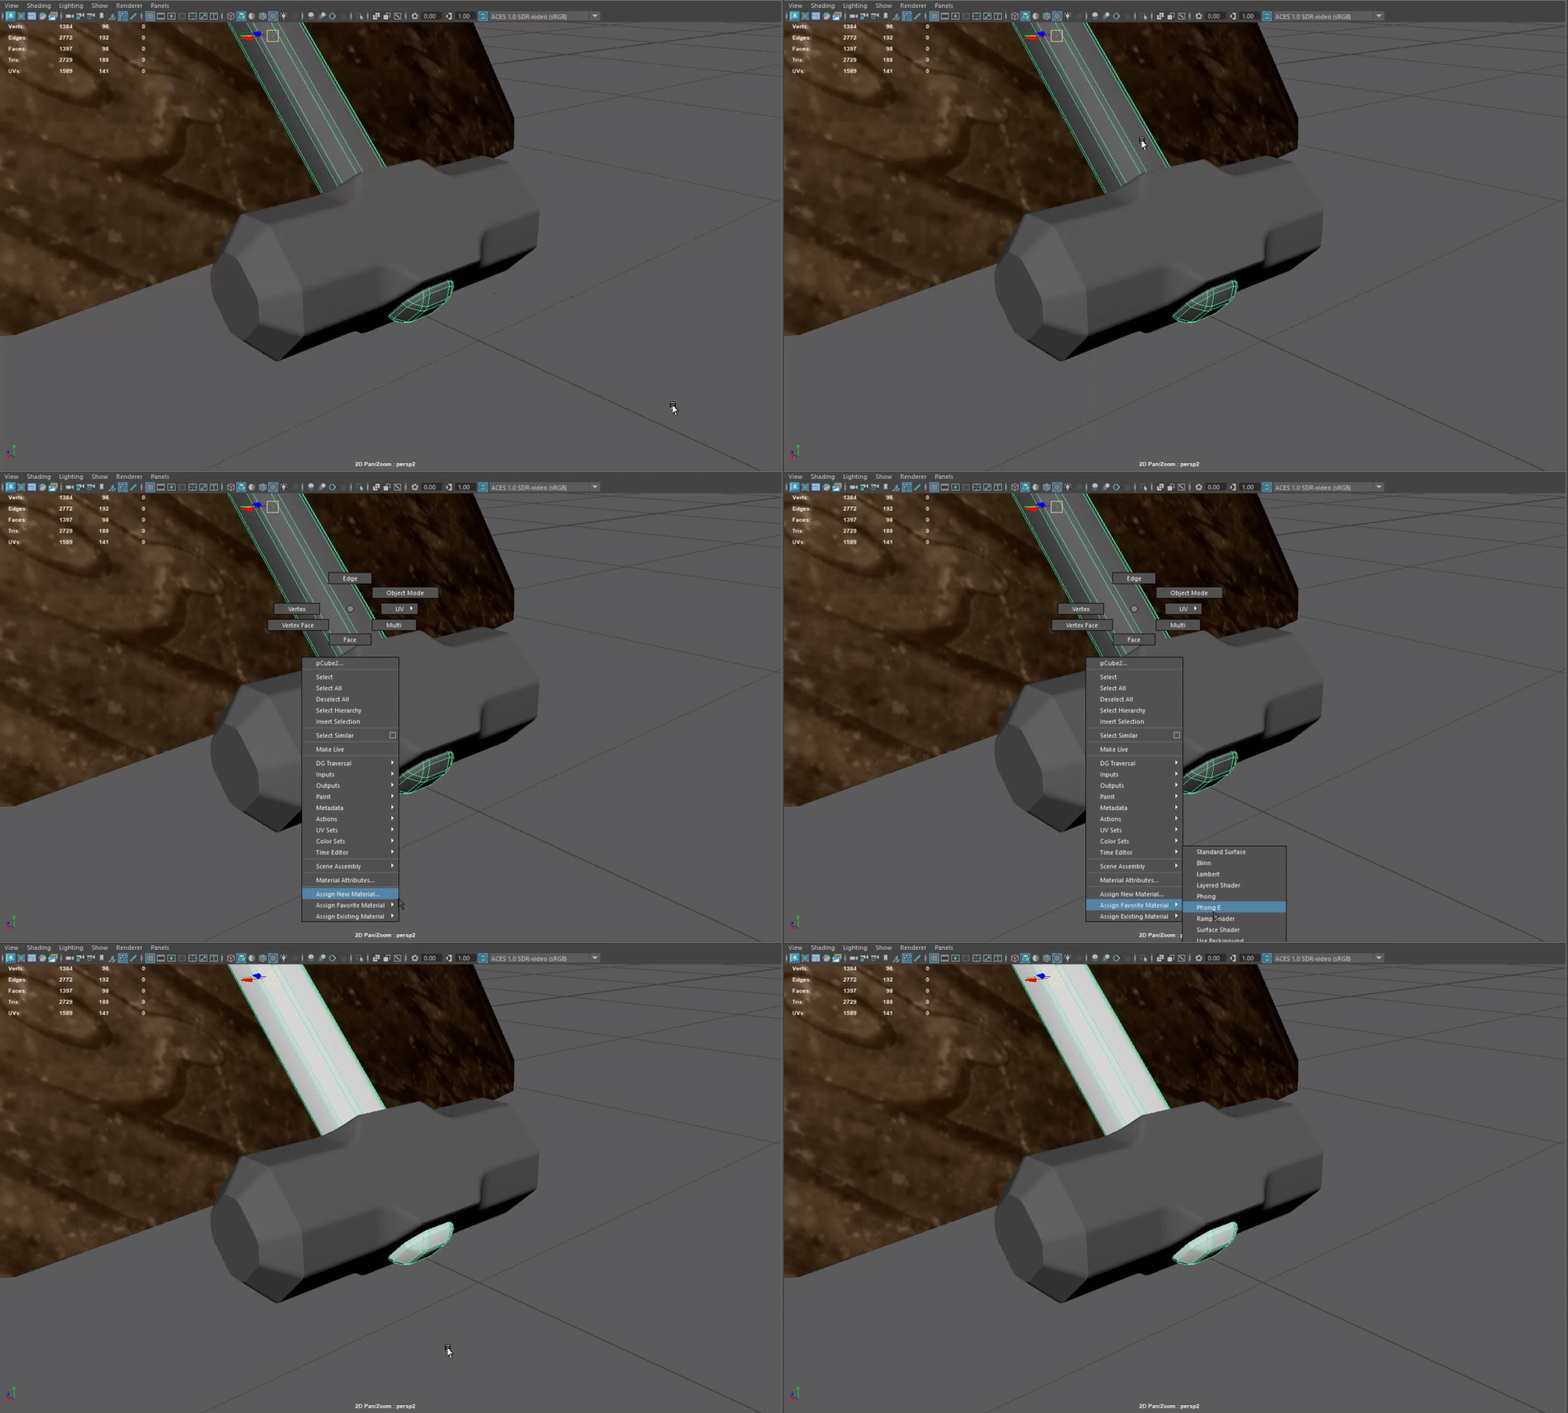
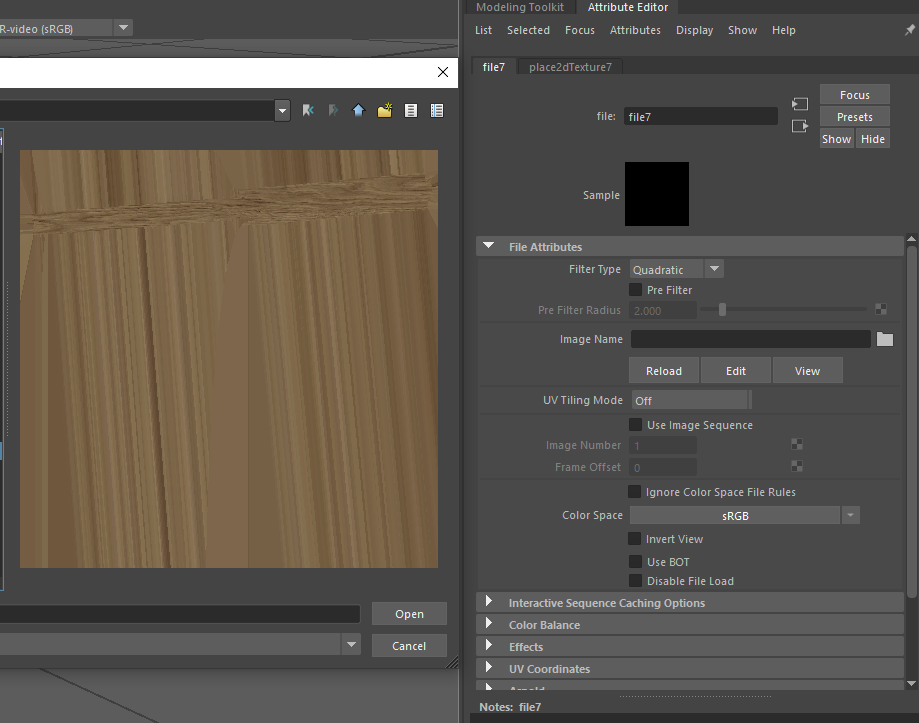
To apply these textures, I found the way that worked best for me was to assign each part as a lambert material. Then I would go into the colour picker and use a custom image for the colour (the base colour extracted from substance painter). This would then only apply that texture to the specific image I wanted it to.
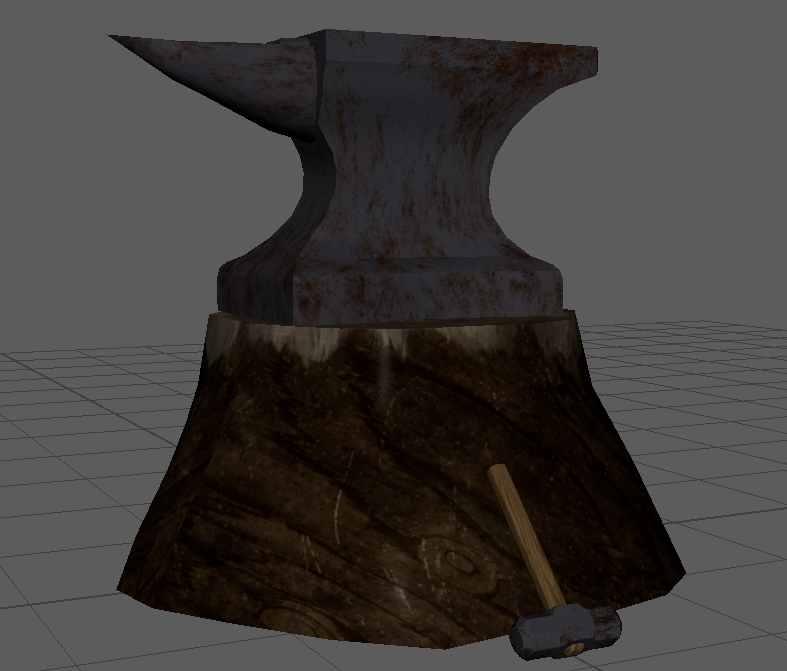
Now that all of my textures are applied and how I want them, I can start looking at getting the final render of the piece.
Beauty Shots of Final Render
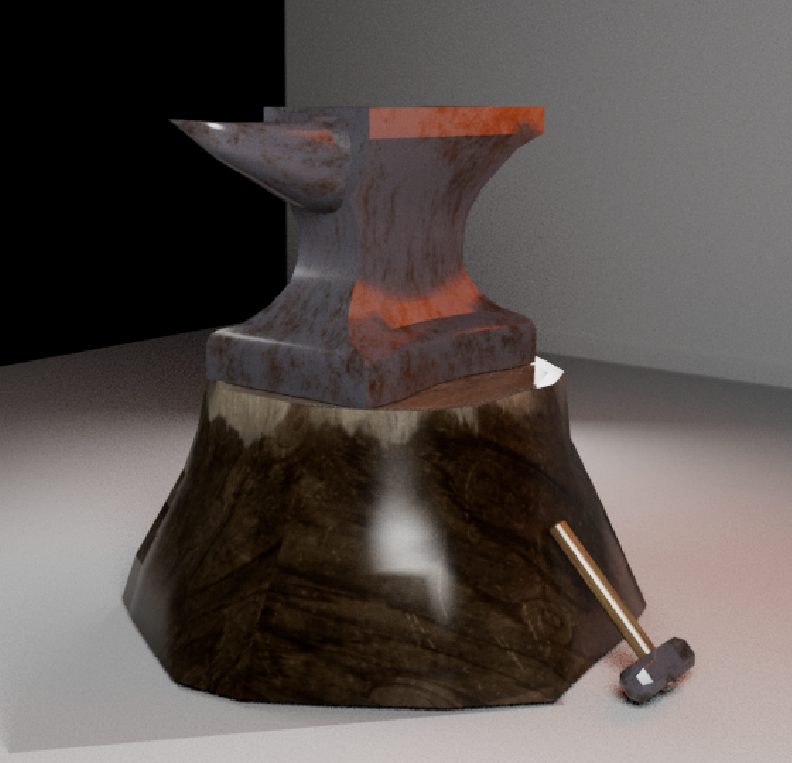
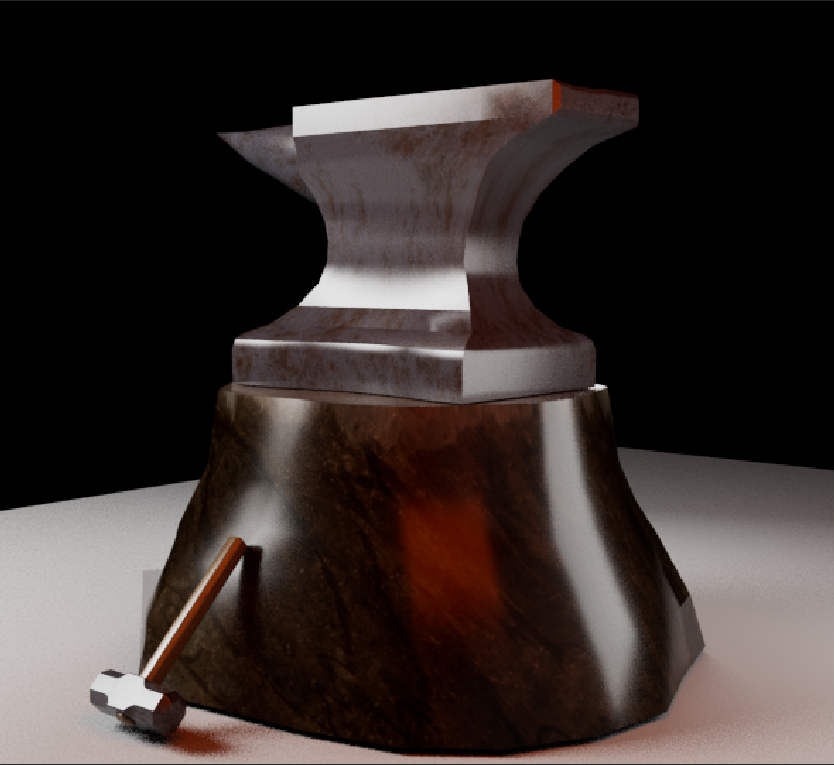
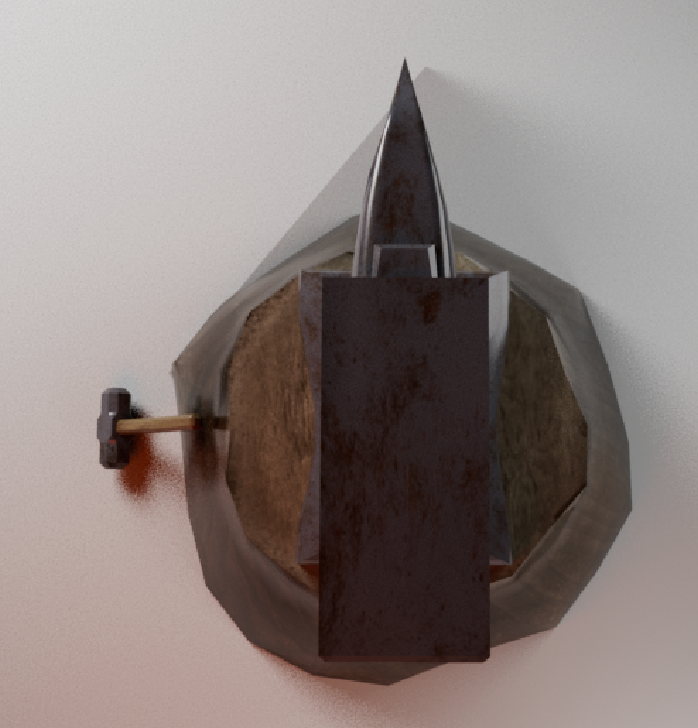
These are the beauty shots of the final render. I made the anvil a rustic but very dull iron as it would most resemble what materials they had at the time. I use a textured steel underneath to give the shape a bit more life & dimension and finally turned up the amount of rust on the object to really bring out the wear and tear this anvil would receive.
The log was a standard wooden material layer for the oak as it made it accessible to use and looks great. For the top, I textured concrete on the top at a very low density to create a subtle texture, then used the same wooden material from the log, just at a lighter colour, to create the natural dried up raw wood inside the tree. I used this material to follow the log down in places off the side, to create a sense of having the bark stripped due to impact or an unclean cut.
The hammer was a very similar process to the first two, materials were the same in face. However, with the hammer I based it with an even more rough steel texture to create a harsher sense of robustness on the piece. The handle was the same material as the inside of the log, as it further implies that the smith uses whatever materials are available to him.
For the Lighting, I used a standard 3 point lighting with an extra backlight. The 3 lights were able to give me a great shine on the object without it being overly bright and harsh on the eyes, and when it was on the turntable created a perfect amount of shadows. I also had an extra backlight of orange on the piece, as it symbolises a nearby forge that the smith would use.
What went Well:
I am incredibly happy at the shape of the asset I have created, even though It may be a simple shape, I am happy at the life I have brought to it both through texturing and through the story. Whilst not apparent straight away, I do think the story is only something that can be improved upon tenfold when creating an entire environment around this.
Points of Improvement:
I had a hard time getting the UV maps all together and viable the first two times around, meaning I had to remake the entire piece once and certain pieces multiple times. This was because of small adjustments I tried to make by cutting out parts which left to multiple overlapping UVs.
Due to a technical mishap with my laptop, I lost all images and works of concept art hence why there are none posted here. In future it is key I work more closely with backups and ensuring that the work I have is available at all times.