Assignment Overview:
In this assignment, we have been given the task to create a 3D model of a ready-to-rig character that could be implemented into a game. There was no specific theme, meaning that we could take our characters in any direction we wanted. This character must have a backstory, and must be created with different “deliverables” taken into account. We must also be able to take into account the visual style of what we would want to make, and the game it would be implemented in.
My Character
For my character, I wanted to hone in on my pre-existing knowledge of Norse Mythology and the Viking era and create something from around that time, but infuse it with a twist. I will be creating a broad-axe wielding barbarian chieftain by the name of Drápgjarn, who will take inspiration from Vikings roughly from the 8th Century AD. The word Drápgjarn is an Old Norse term that means ‘eager to kill, blood-thirsty’.
Going with a Viking style character, especially one of higher nobility like a chieftain, gives me a great range of components to work with in terms of character design. The type of armour from that time used could have been in a large range, from: pelts, cloth, leathers and even some iron adornments. My approach will take more of an emphasis on the leather & pelt fantasy, but will be adorned from a helmet with a stag head pelt (horns included).
The most unique part of my character fantasy for this assignment, is that I want Drápgjarn to be a rare encounter for whatever game he is a part of. This will be linked to his backstory which you can read below. But having a character who is a really rare boss fight that takes a player by surprise is a great way to keep the player on their feet.
In terms of the game he would be apart of, I would have the game made in the style of a turn based RPG much like The Lord of the Rings the Third Age and the intended art style would be similar to that of games like ‘For the King’. The player would be roaming around an open plane of 10th century England, and in certain areas at night there would be an extremely small chance for the next encounter to be Drápgjarn. Defeating this once fallen warrior would drop the player his axe ‘Wrath of Tyr’ and shield ‘Bulwark of the Damned’. As he would be a rare encounter, only one fight would be required to obtain both pieces.
Backstory
Drápgjarn was a Danish chieftain, and was among the first raiders of England. Him and his crew of 24 warriors would land at Lindisfarne monastery on the coast of Northumbria and plunder what valuables they could. Deciding that was not challenging enough he urged his crew to head more inland in search of more treasure and battle. His skill in combat was unmatched, and he was thought to be a descendent of Tyr himself. Thus, he bore the mark of Tyr and dedicated his skill in battle to him as tribute.
Upon moving inland, the crew were seemingly ambushed and perished. Drápgjarn’s last stand would be remembered by those he fought, bringing down over 20 Anglo-Saxon warriors with him on a bridge. Instead of dying in combat as he had hoped all his life, he was thrown into the river to drown instead of being allowed to have an honourable death.
100 years after this famous combat, it is rumoured that a warrior akin in shape to a giant, has been seen furiously attacking any soldiers that he sees being friend or foe. Whilst the Saxons grew weary of this knowledge, the raiders from Scandinavia knew that such a renowned hero had not been allowed to enter the great halls of Valhalla and were imbued with a renewed rage.
Character inspiration: Text, Images & Designs
When creating this character, I wanted a specific atmosphere when the encounter is brought upon the player. Drápgjarn would spawn to a different battle music to a regular encounter and would have a slight ghastly appearance to reinforce the lore from his backstory having been a deceased warrior denied entry from the afterlife. The idea from this I interpreted from a chapter of Space Marines from Warhammer 40k called the Legion of the Damned. “The Legion of the Damned are a legendary and mysterious force of Adeptus Astartes. Adorned with death imagery, they unexpectedly appear from nowhere to help Imperial forces in times of great need.” (Chambers 2005). Obviously my character has a slight contrast to the assistance that these marines provide, in that he attacks anyone he sees, but I feel this adds to his rage of not being granted that afterlife he had been striving for his entire life.
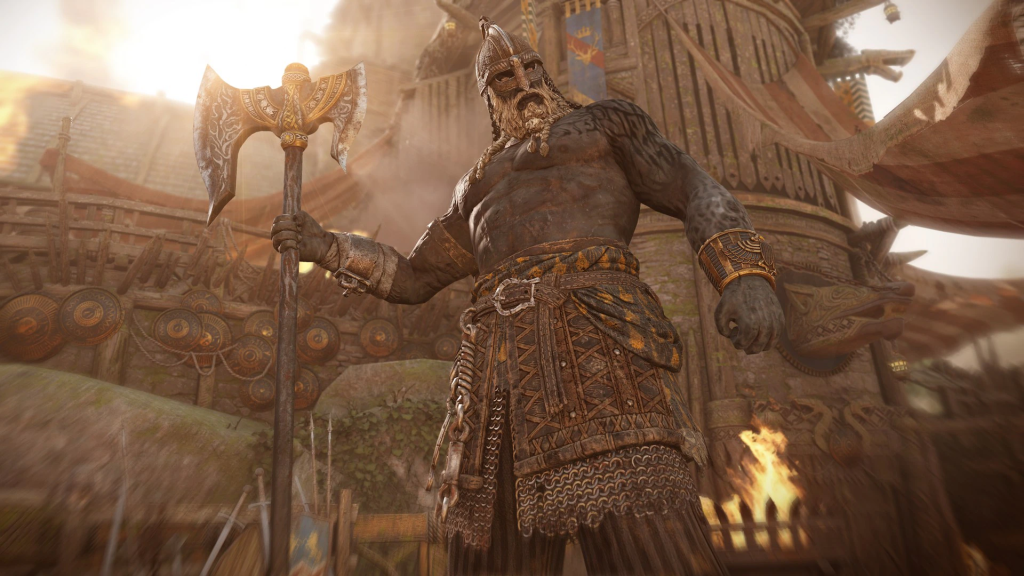
For a visual inspiration, I used the catalyst for my love of anything Viking and took a major inspiration from the video game ‘For Honor’. I then used google to find some images of sketches that I could help use get an initial sketch concept, these are the images I looked at the most:
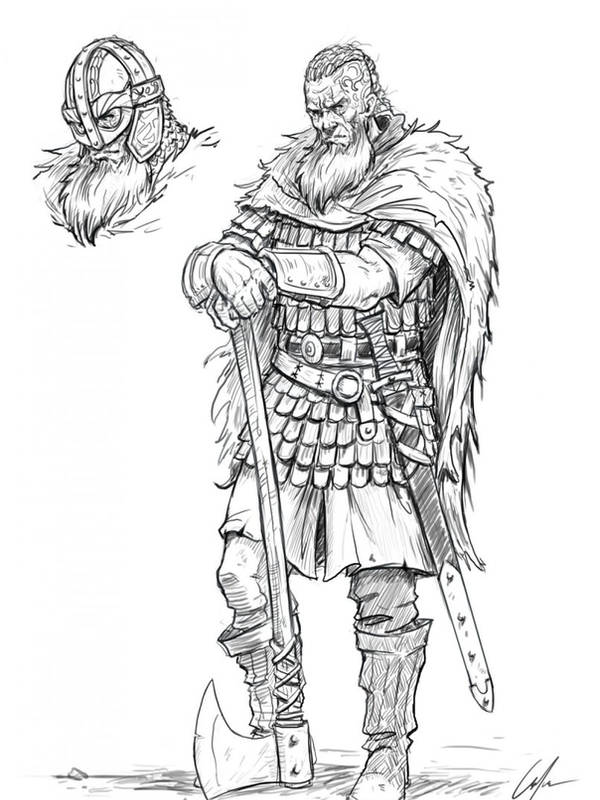
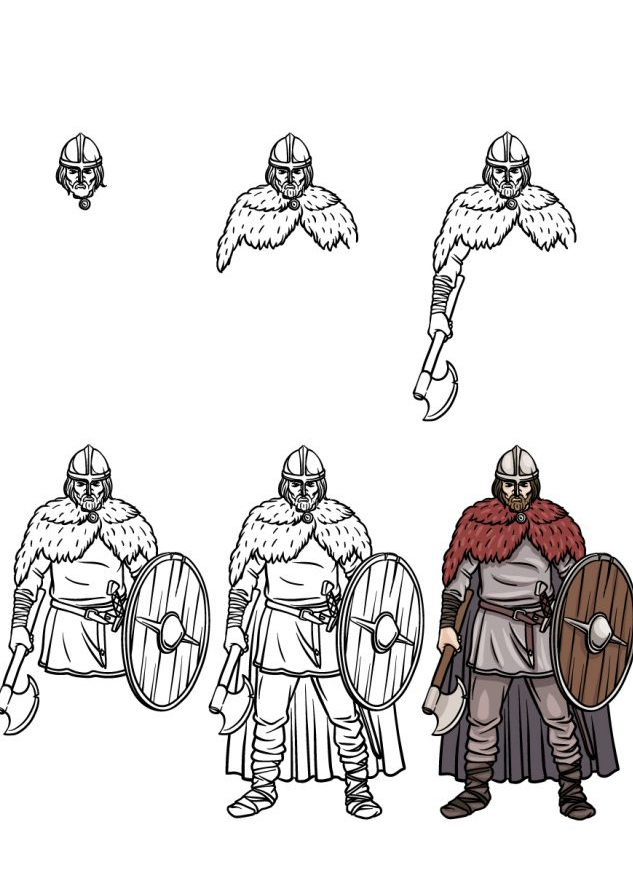
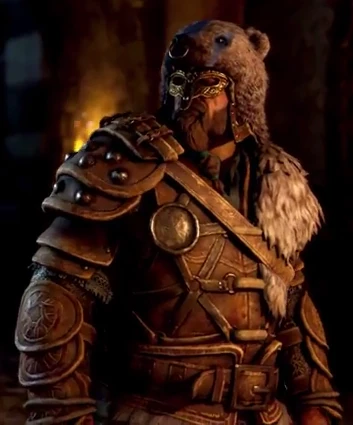
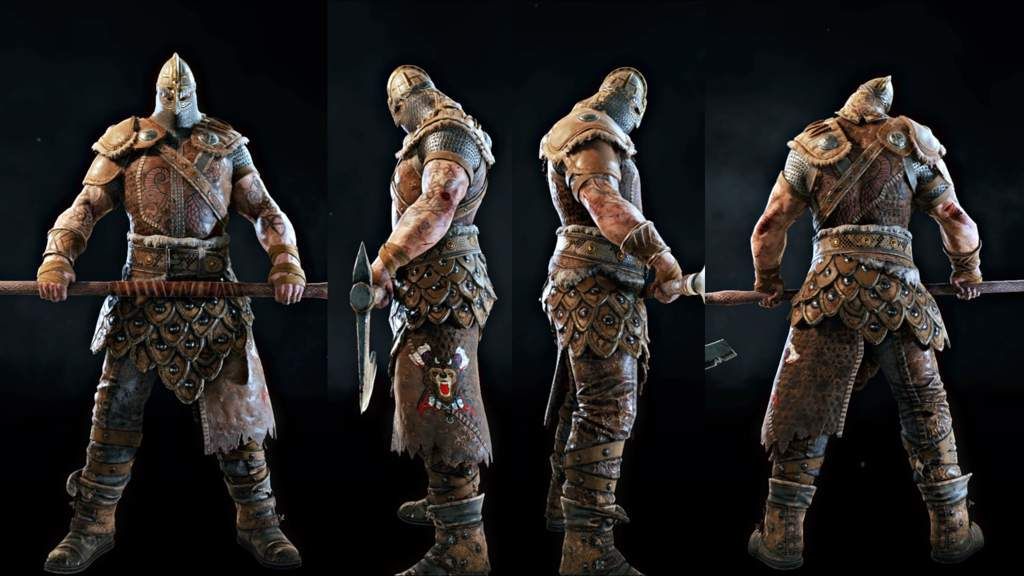
My Initial Concept Sketch
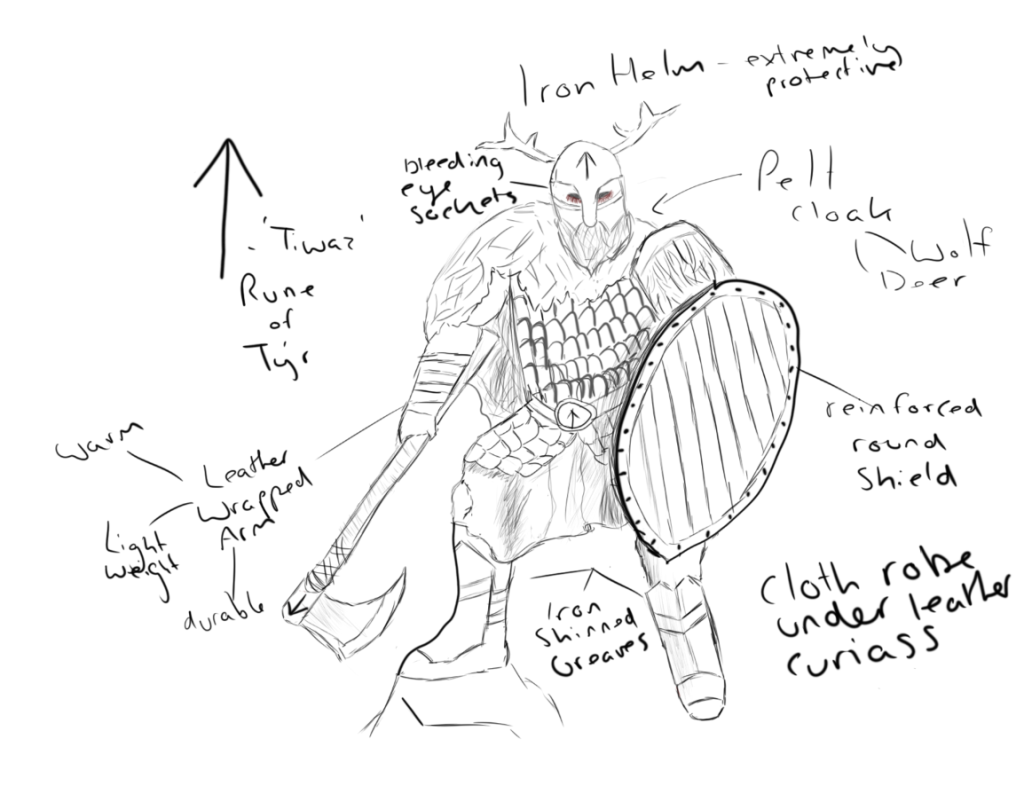
With my initial concept sketch, I really wanted to make sure I got a few things captured as created the idea of this character: the pose, the apparel and the references to history & story. As you can see on his helm, axe and belt buckle; there is a rune adorned in plain sight that is from the actual Elder Futhark rune system used before the roman alphabet. This rune ‘Tiwaz’ is the 17th rune in the sequence and symbolises the god Tyr (very fitting for a bloodthirsty warlord).
Considering he would be fighting a lot as a warlord, I did not want to overbear him with Iron armour and unnecessary equipment as it would only make him slower in a fight. This bred the use of a cloth skirt over with he uses a leather cuirass. This provides protection to the chest and manoeuvrability in combat. The shield can protect his knees & chest while crouching which is why only his helm and shins are equipped with metal as they are protected as such.
The axe is an iconic weapon for a Viking and for good reason. They are great for disarming opponents, inflicting large wounds and great for survivability. But axes were also iconic given the Viking’s farming heritage. “The axe was one of the most popular weapons for the Vikings. Its widespread usage was largely due to its dual function as both a tool for everyday tasks like chopping wood and a deadly weapon in combat. The relative ease of production, requiring less iron than a sword, also contributed to the axe’s prominence in Viking society.” (Viking.Style 2023)
Design Process of Drápgjarn
When starting the design process, I had to identify the place that I thought would be best to begin. I chose the torso / chest piece for this, as it allowed me to build the character outwards instead of building up or down. Getting the basics for a torso down would mean that I can get ready to sculpt the character further and as I’ll have a central part of the character to build from whilst also be able to think about the details I will be adding in later on.
The piece I chose to start with was just a plain circle. This would give me a great amount of versatility to start being able to mould it into a torso piece. Again, my aim was not to start crafting armour on him straight away, but rather get the base anatomic skeleton down, then I can come back to adding armour afterwards.
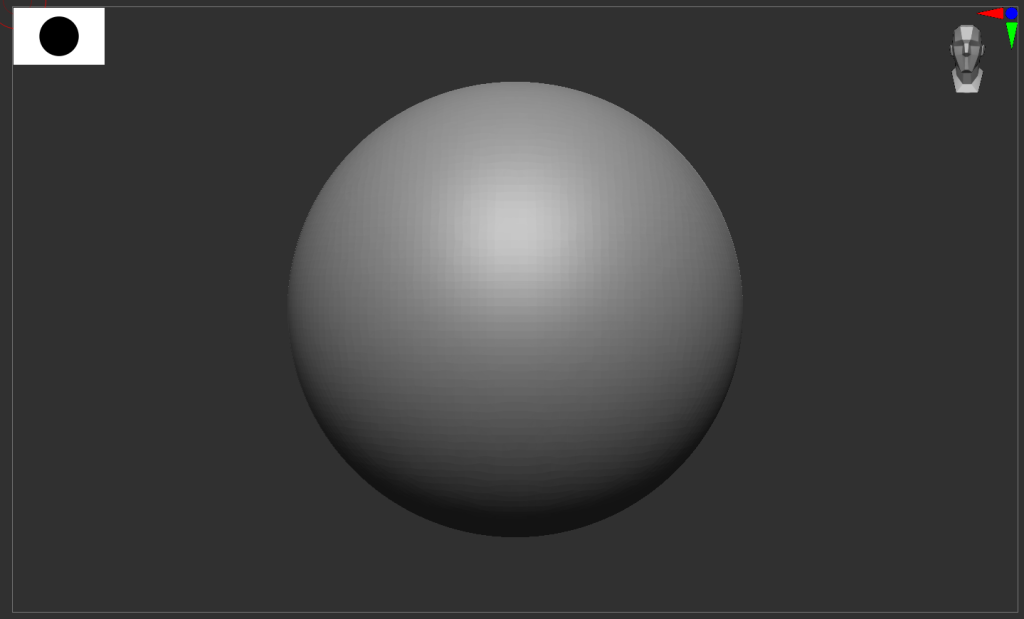
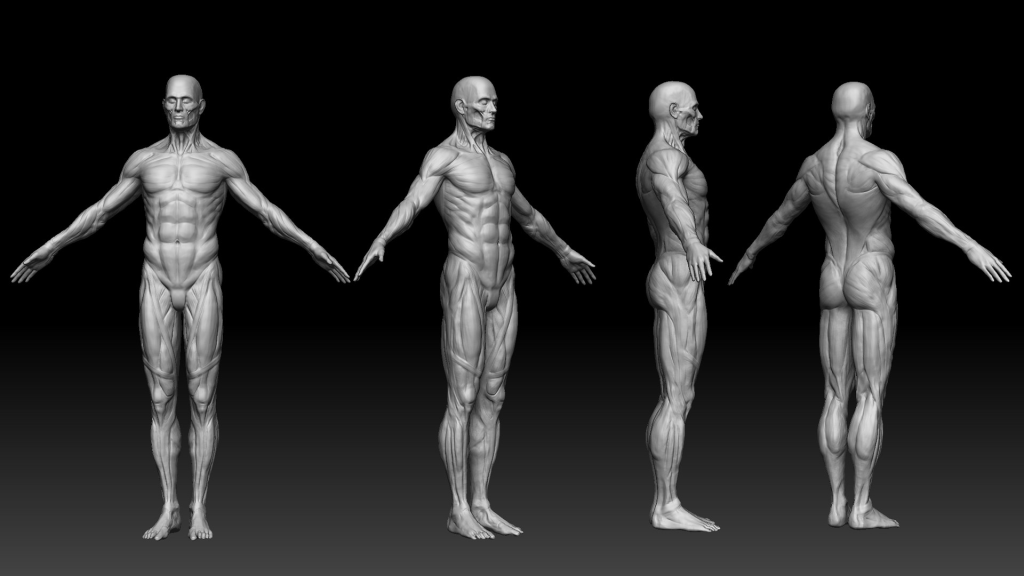
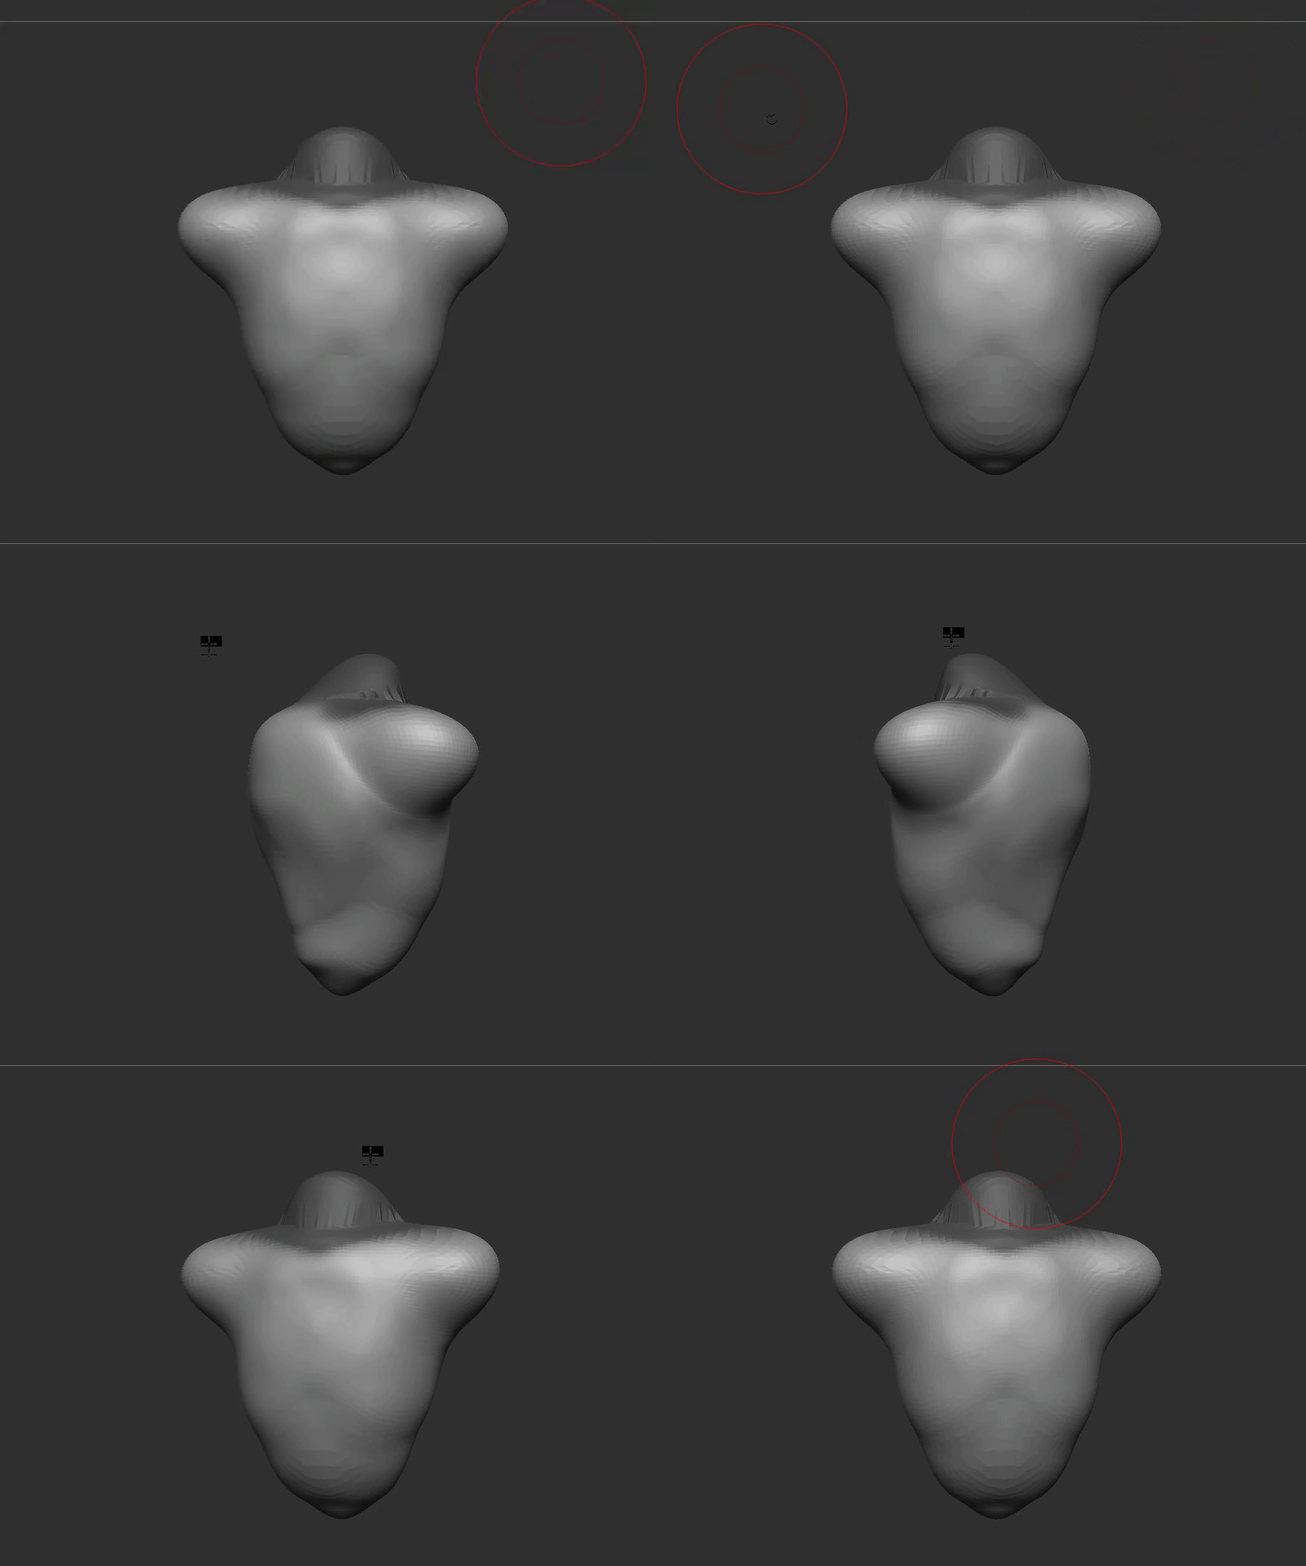
Using the move tool & masking off areas, I was able to easily create a rough torso shape including neck & shoulders. I wanted to make sure that the torso was sizeable, as I did not want the character to be too skinny. I had a brief browse on google images and found a good point of reference to craft the body with. Nothing was imported and I did not need to work to the level of muscular detail in most places as my character is majority clothed, but it was a great point of reference to start.
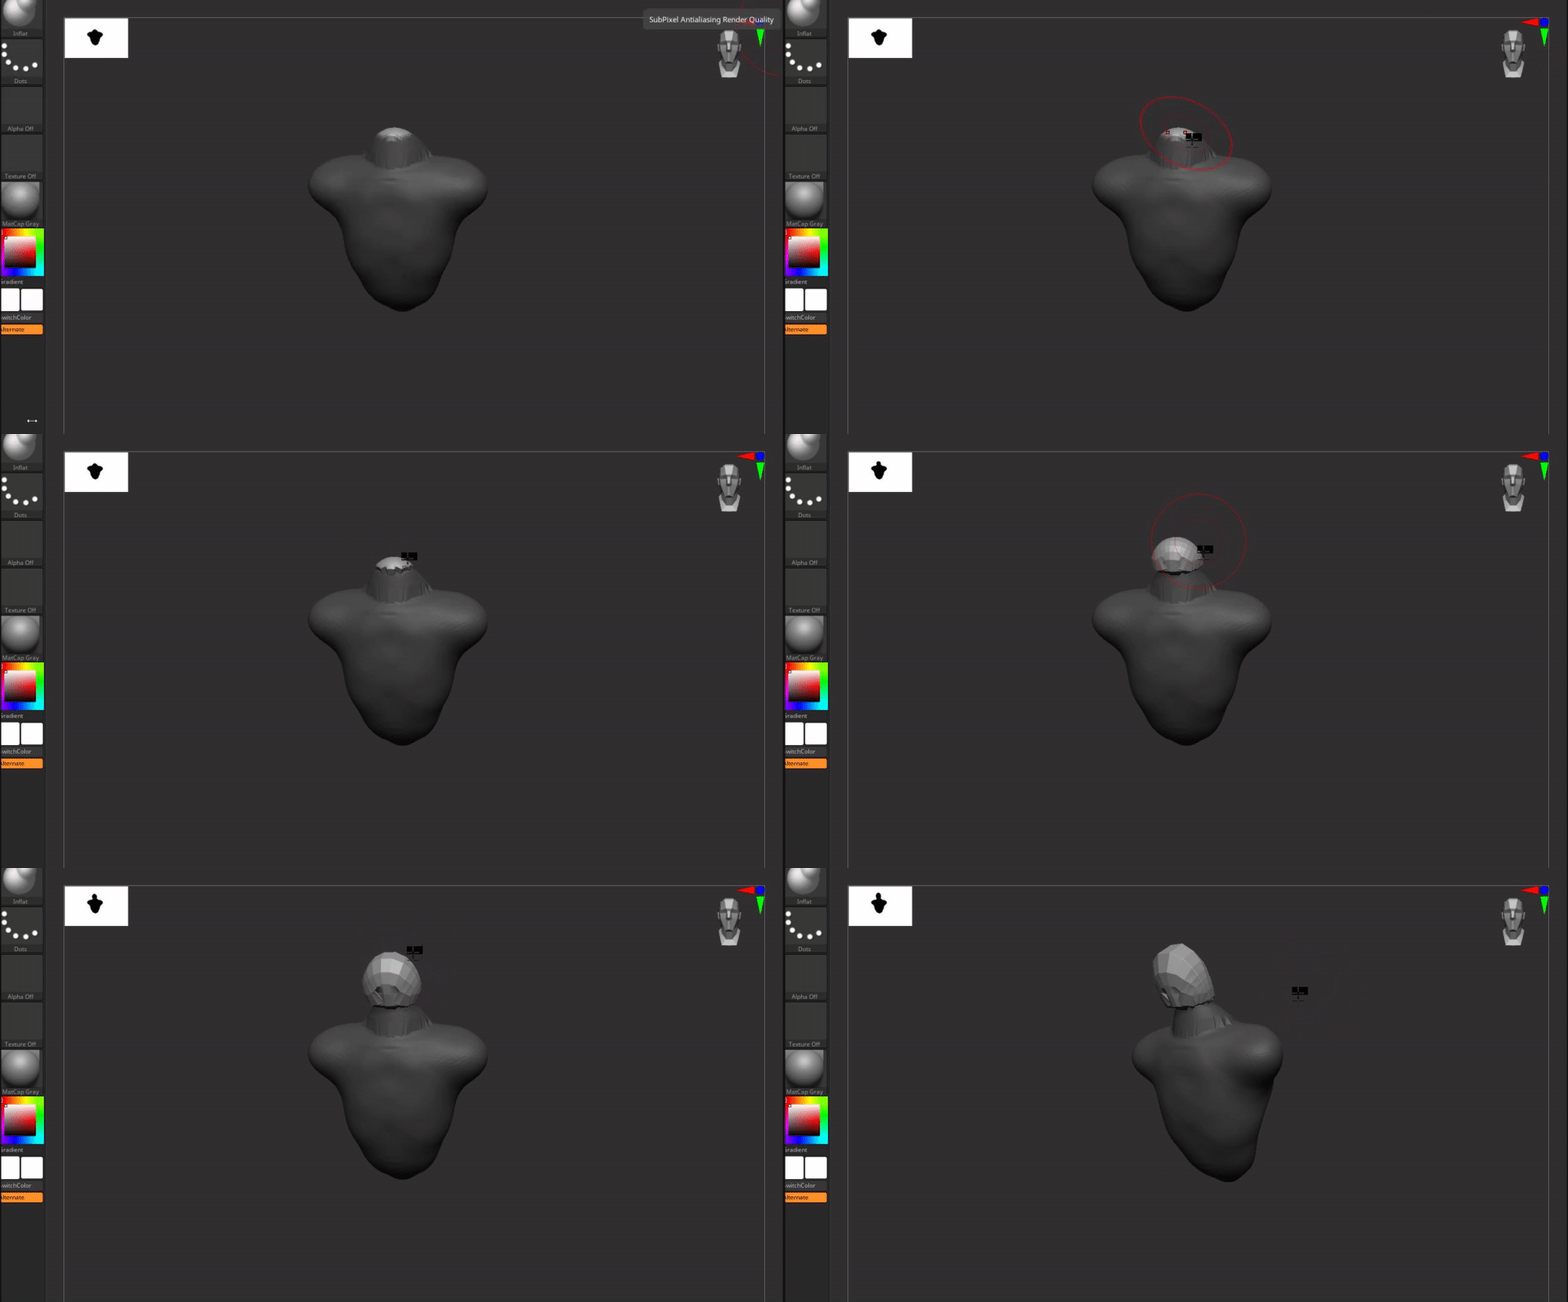
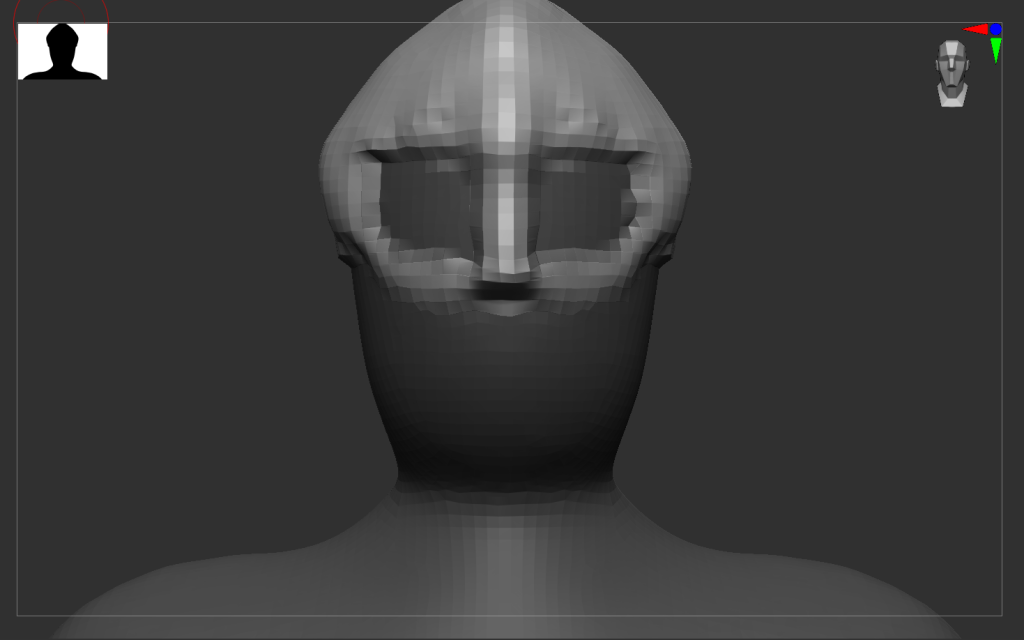
Once the neck was completed, I masked off everything except a fraction of the top of the neck and used the inflate tool to create the head. This would give me a nice shape that I could then sculpt into being a rough head shape.
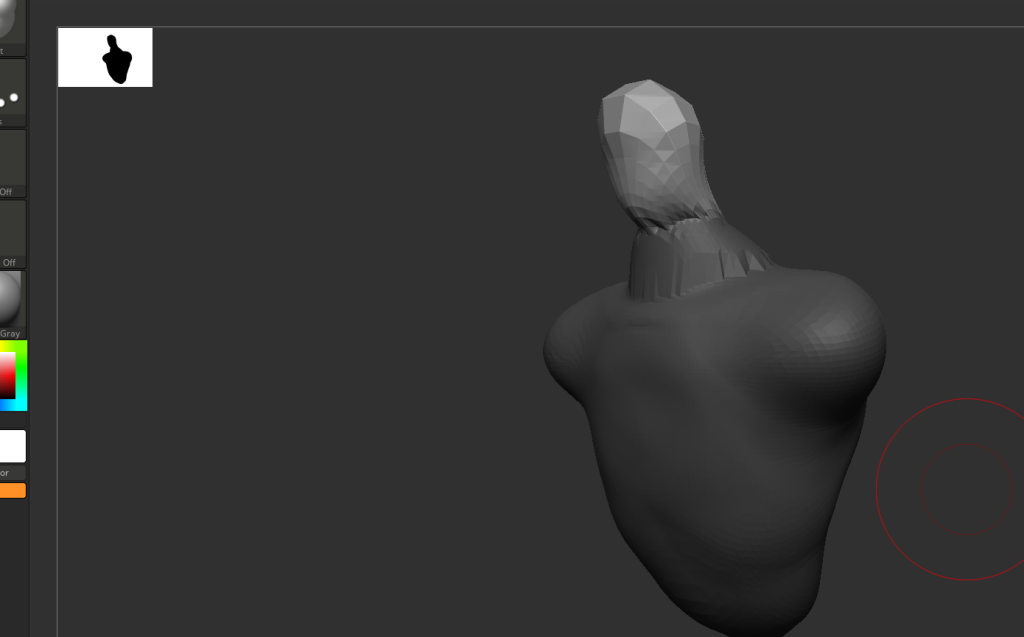
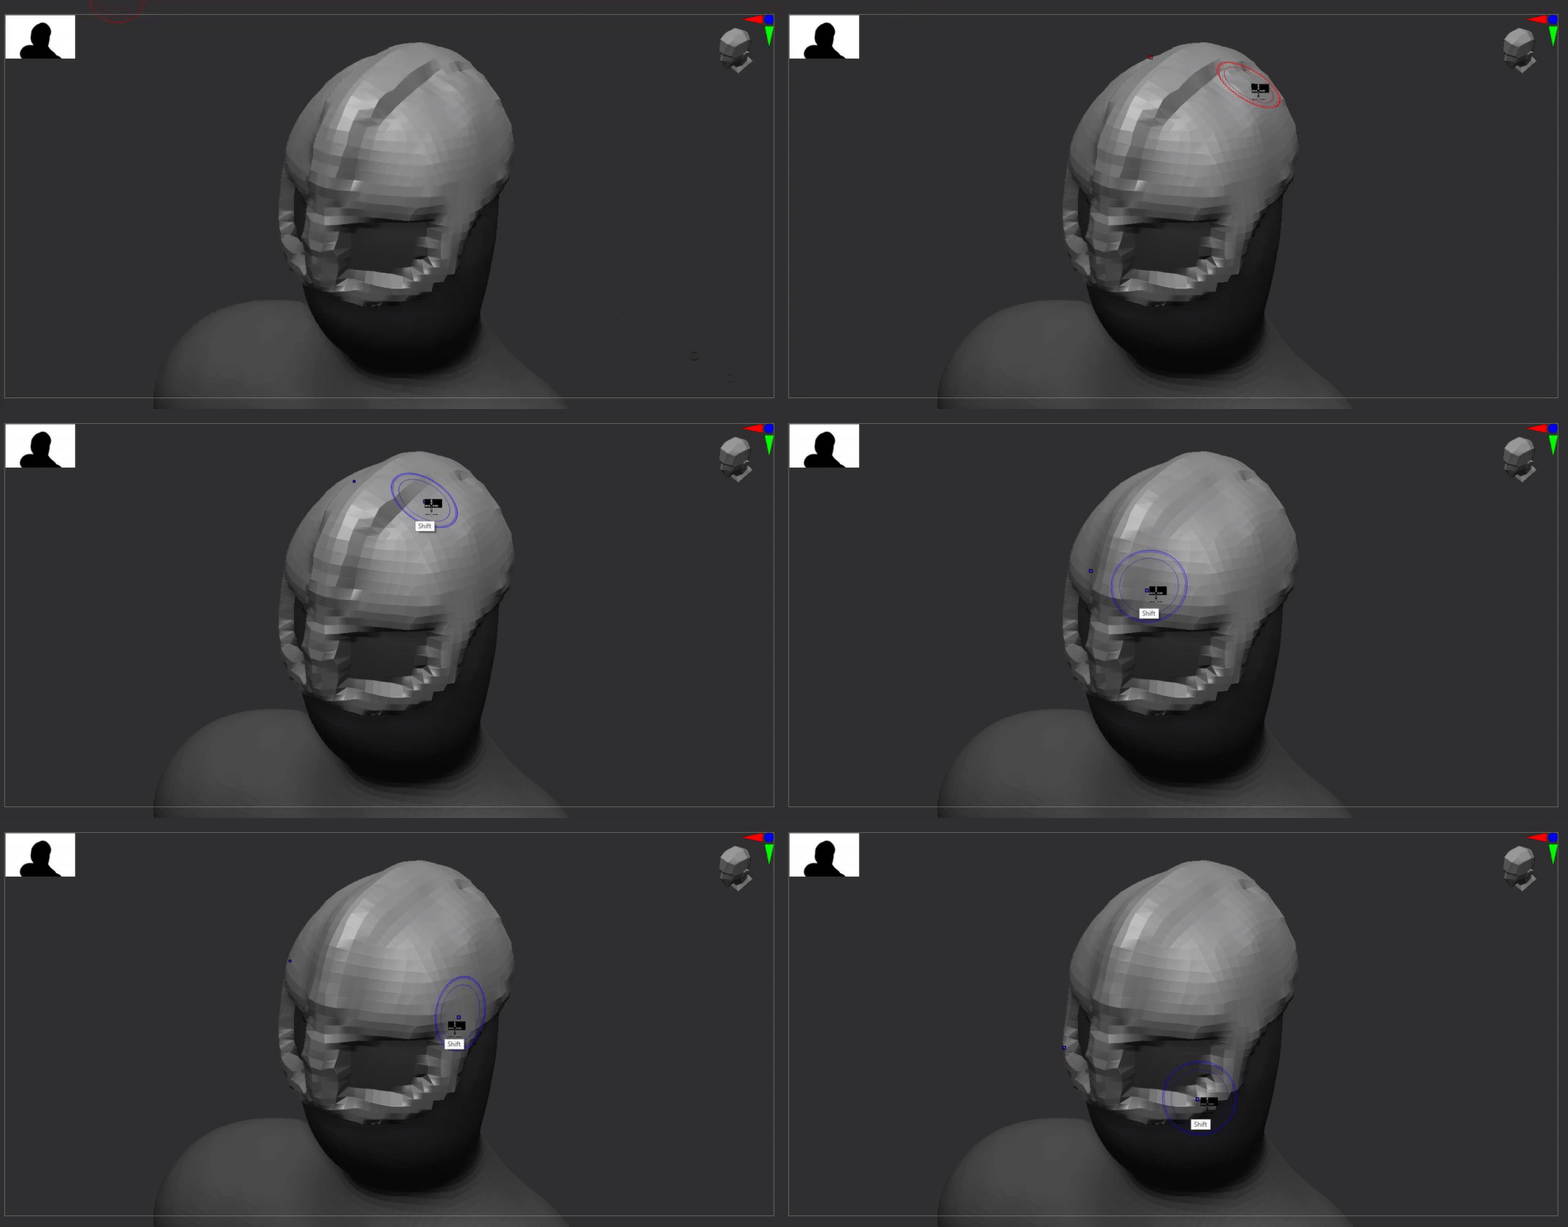
Keeping in mind the character I am making, I really wanted to make sure I got the head right. I had to make sure the crown of his head was rounded more than enough as of the style of helm he would be wearing. Using the move tool again, masking and getting use of the smooth tool by holding down left shift on my keyboard, I was able to get my desired head outline shape.
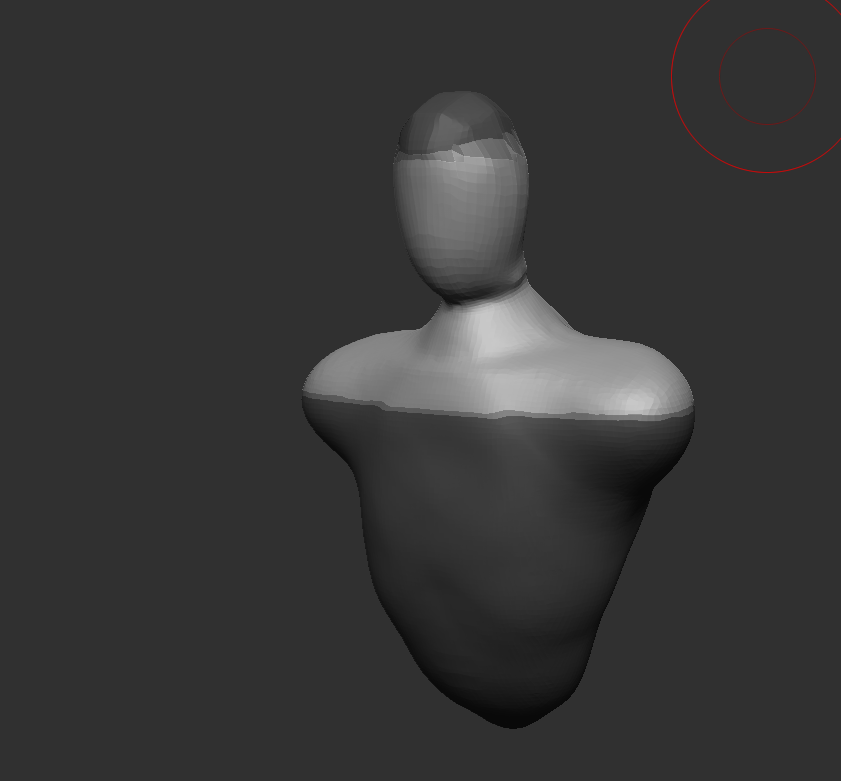
Now that I had the head shape done, I wanted to create the helmet. This would make sure I had the dimensions need to start adding detail later. It would allow me to make sure I am keeping to a good guideline of scale, so can measure X amount of heads to make up the character height. Making the helm was just another case of masking off most of the existing sculpt, but instead of using a move tool I decided to opt for a clay build up tool. With the added sculpt volume, it would allow me to shape to my rough desire then smooth down to the design I had in mind and allowing space for detailing later.
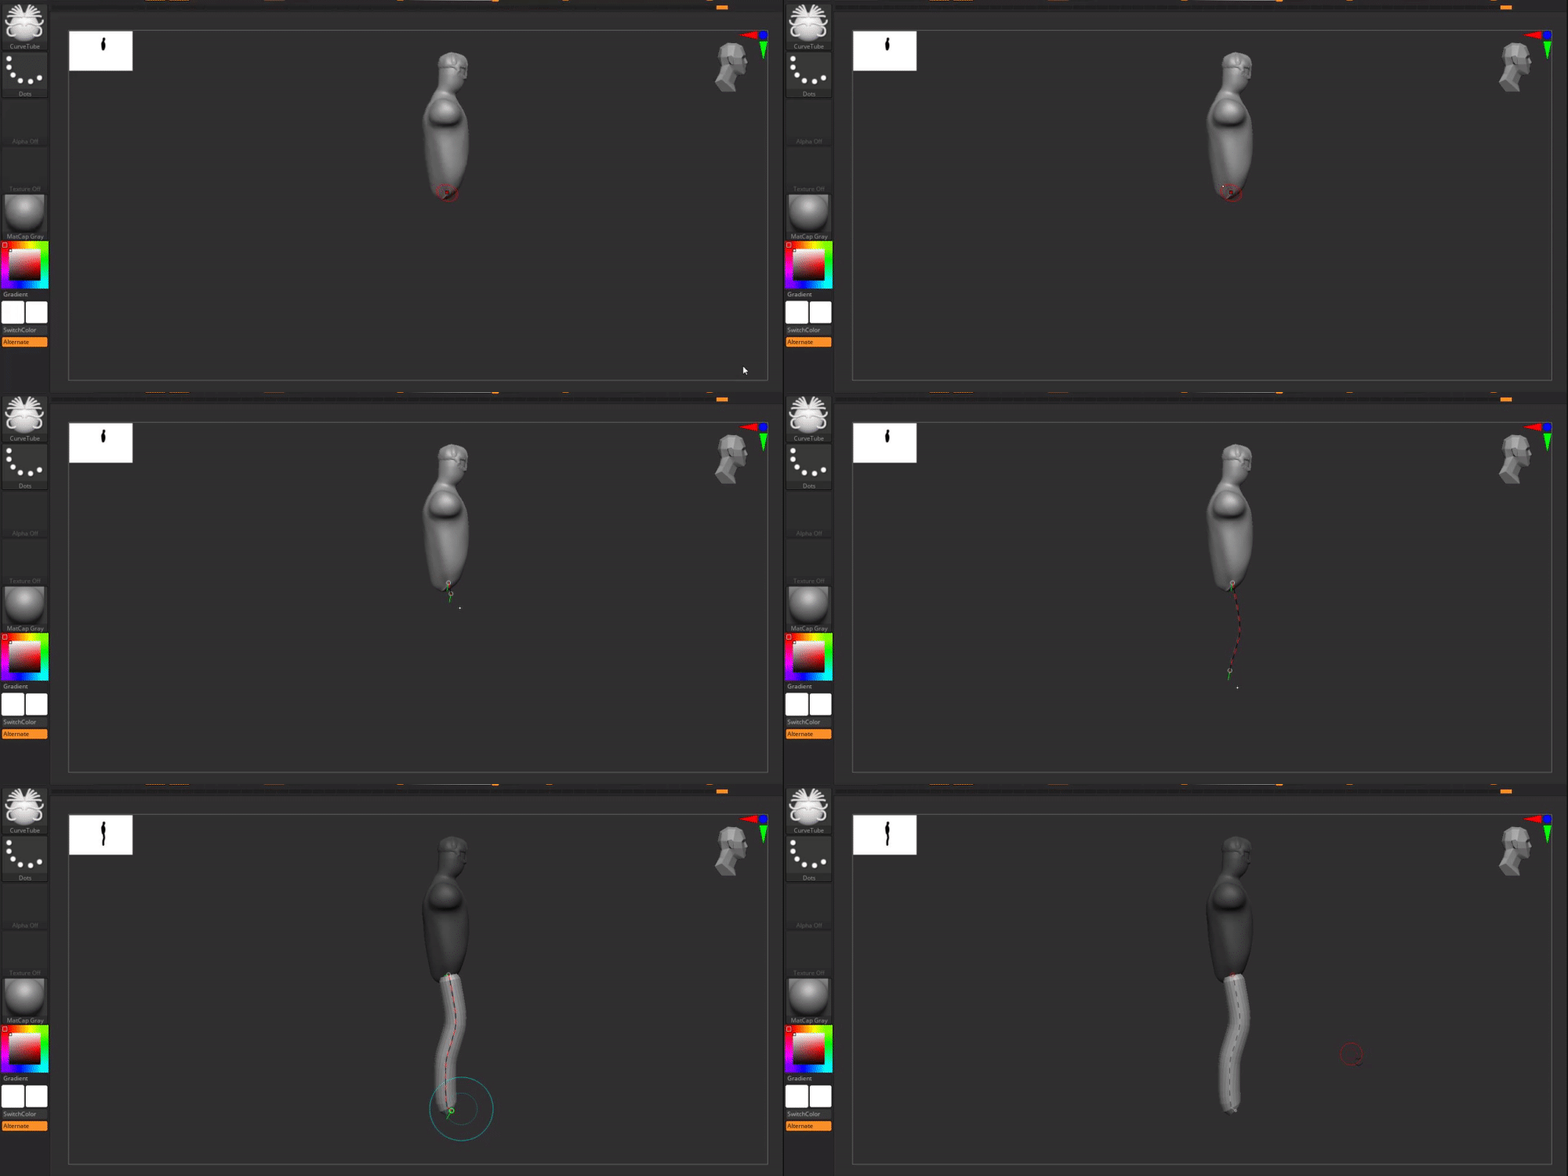
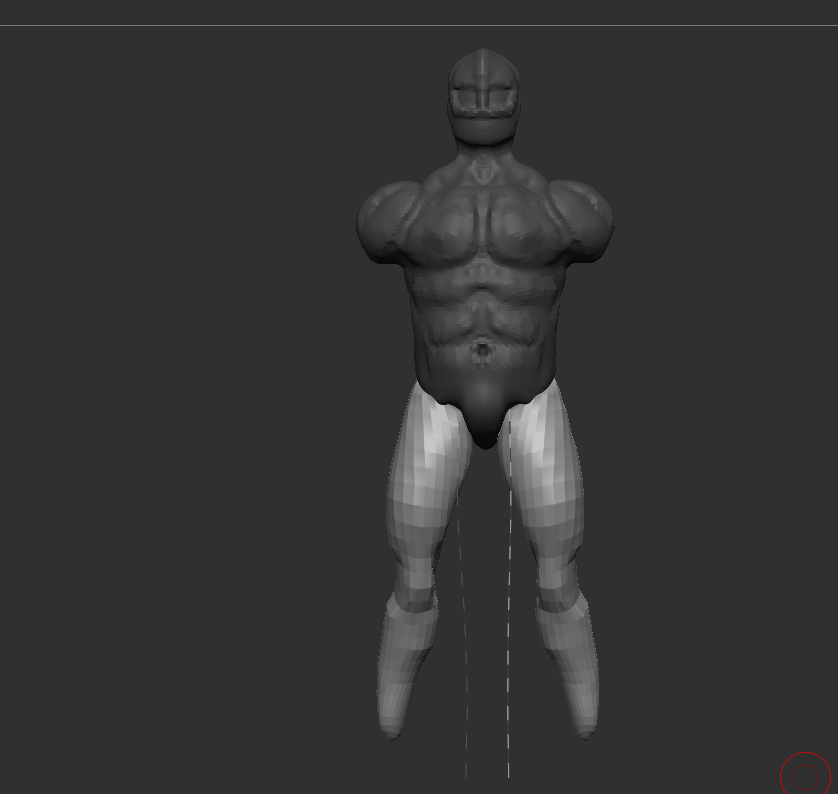
Now that the torso shape was made, it was time to move on. I decided to go to the legs next, and used the curved tool brush to make these. Ensuring that the mirroring was enabled using the X key, I lined up my torso facing the side, and dragged the general shape of a leg down to the bottom of the screen, ensuring I had enough space to make long-enough legs for my character. Once they were made, I ensured they were spaced apart and rotated them slightly to give a bit of space to sculpt and make sure my character is not standing like a plank and has some life.
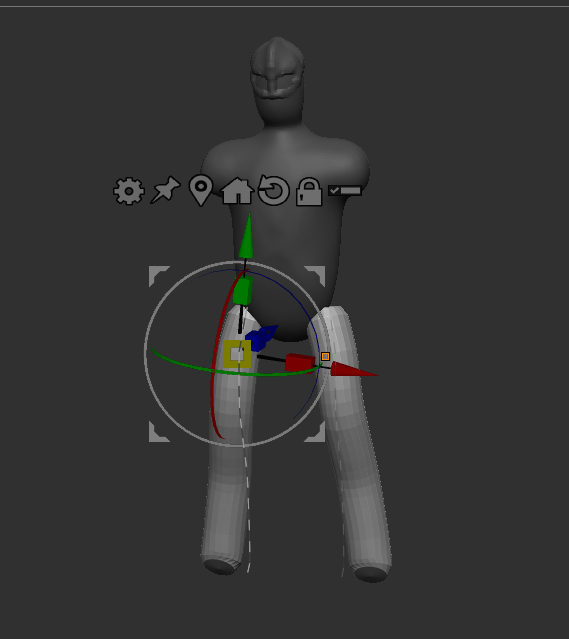
Using the same inflate, smooth, clay build up & move tools, I shaped the legs into a good outline of what I am looking for in my character. Also, whilst getting carried away I decided to make the torso a lot more lifelike to a human male anatomy. This would later give me the flexibility to add or remove armour where I found necessary and could just smooth an area down later should I need to.
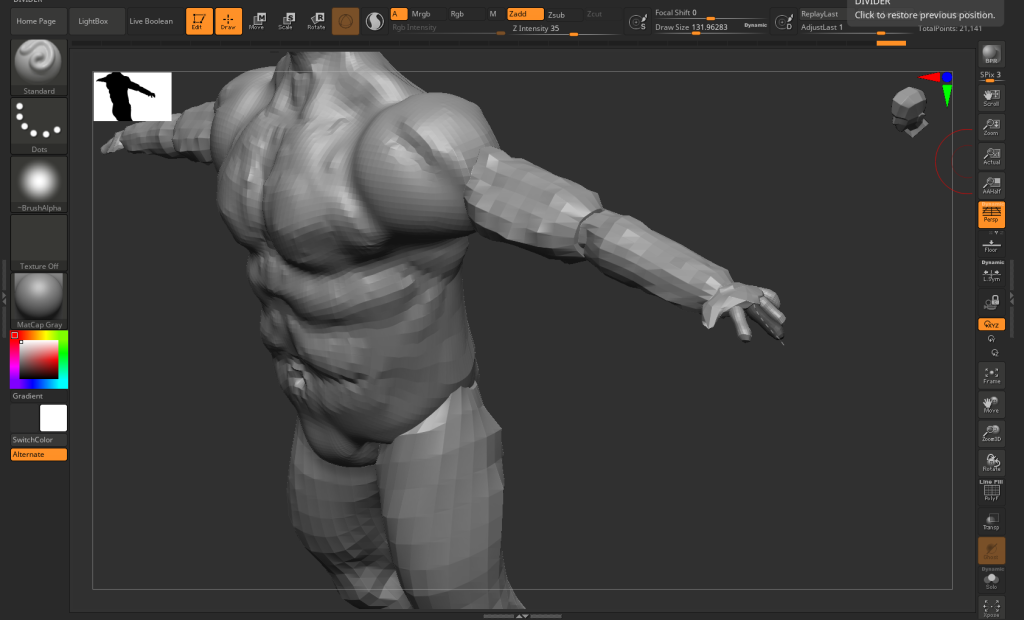
Next up after creating the legs of the model I wanted to craft the arms. I used the same technique of swapping to the curve tube tool and expanding outwards from the shoulders. This way I could sculpt the upper arm biceps and triceps that would likely be visible on the final sculpt.
After getting carried away, but just continuing on with the similar techniques, I managed to get the arms done. Thinking about the animation side of things should it ever have come to it, I decided to make the arms in parts for ease of movement. So the Upper arm, forearm and fingers are all made separately rather than just using extrusions. This would allow those parts to move without moving the rest of the arm in tandem.
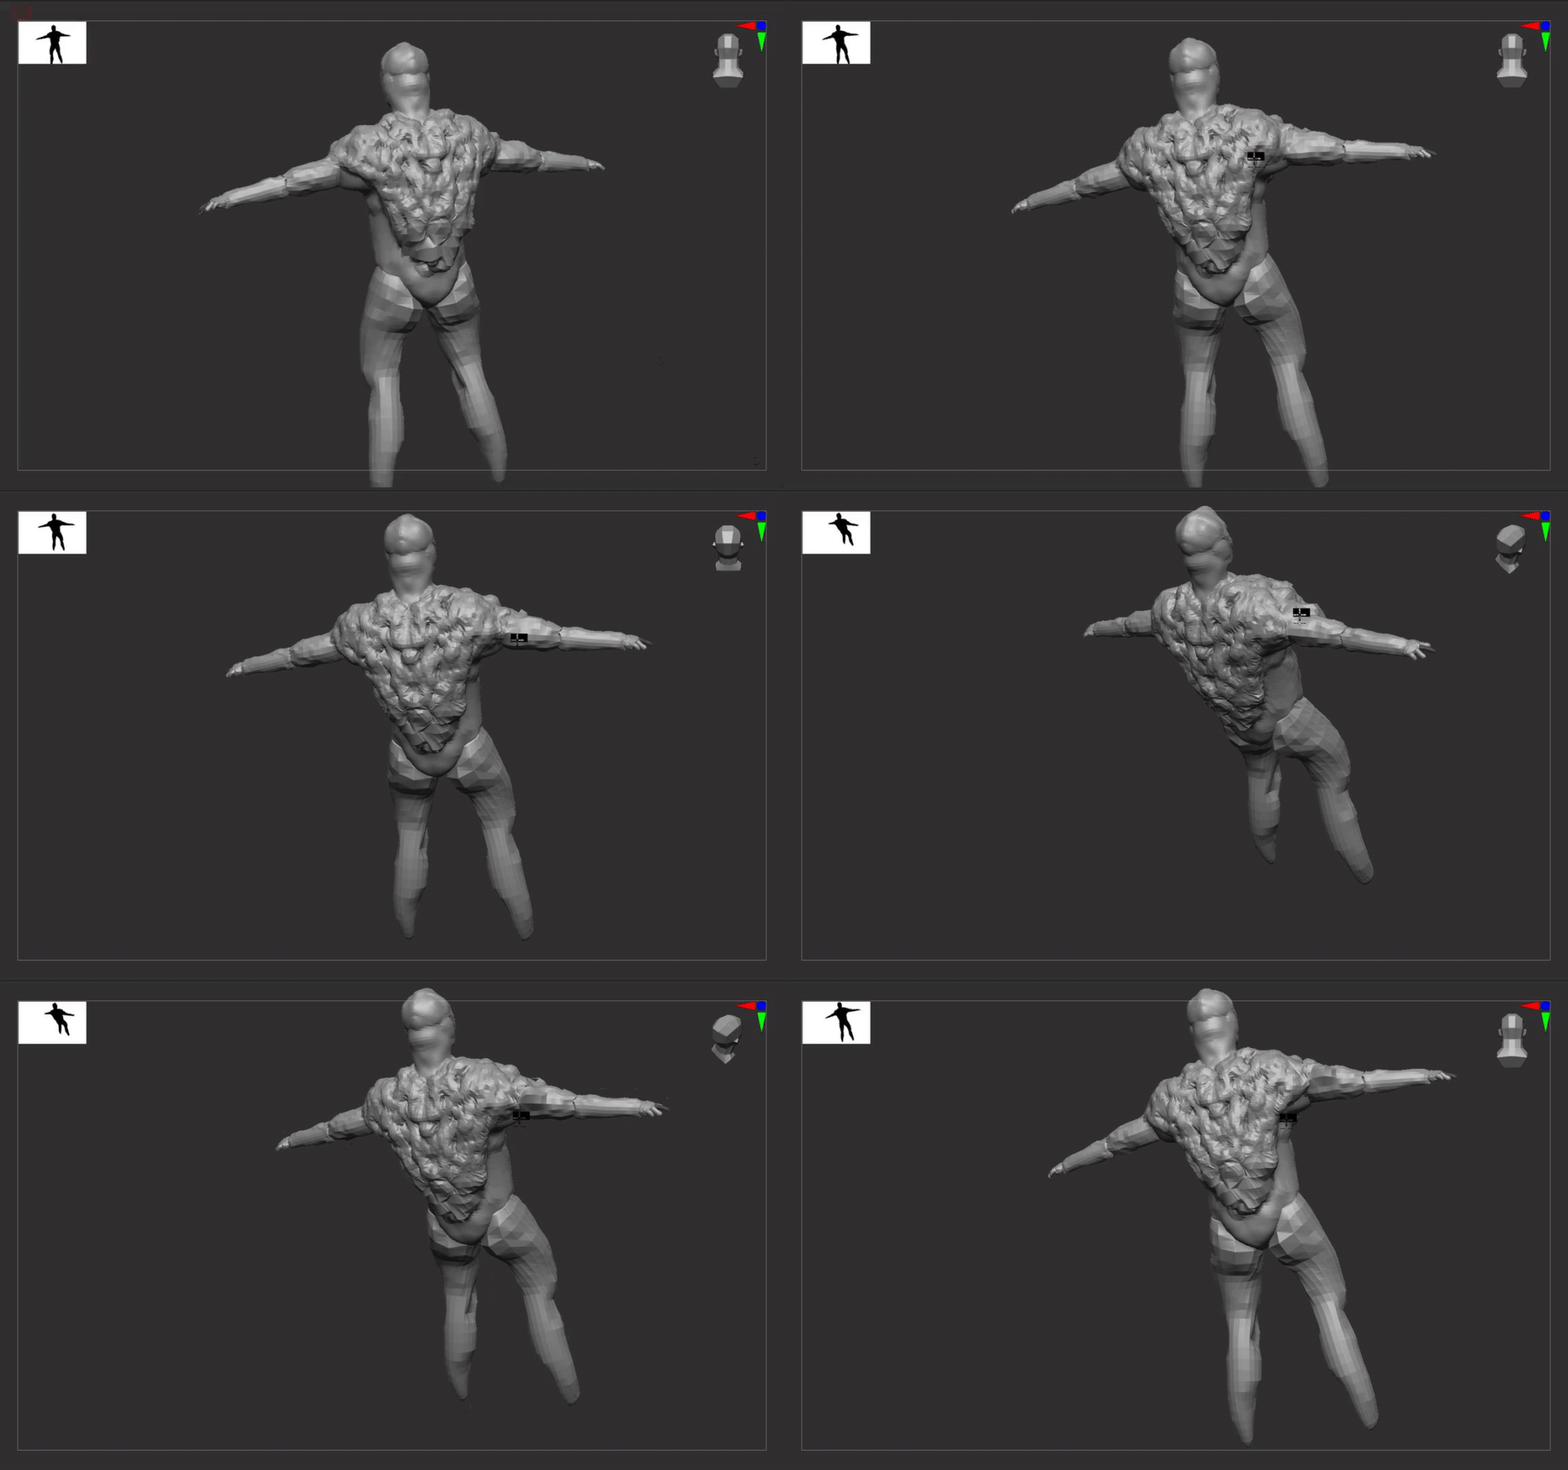
I chose not to do the feet separately because I had to also model the leg guards, and it would have been too much to inflate to create the shape, so I move straight on from this point to sculpting the armour. I decided at this stage that it would be better to do a fur pelt over his chest & back instead of a cloak. While a cloak would add diversity in the model and when animated could flow really well, however from my personal experience cloaks in games can sometimes clip through parts of a character and look worse than better. I also feel that a character such as a chieftain would value practicality on the battlefield than style & appearance.
I started by using the clay buildup to create the initial dynamic shape of the cloak, and where I would want it to cover, that way I can come back over and smooth it afterwards then add final raised details. Using the shortcut Ctrl + Shift + Click, I was able to then select only the torso, and used this to help with the sculpt & reshape of the fur.
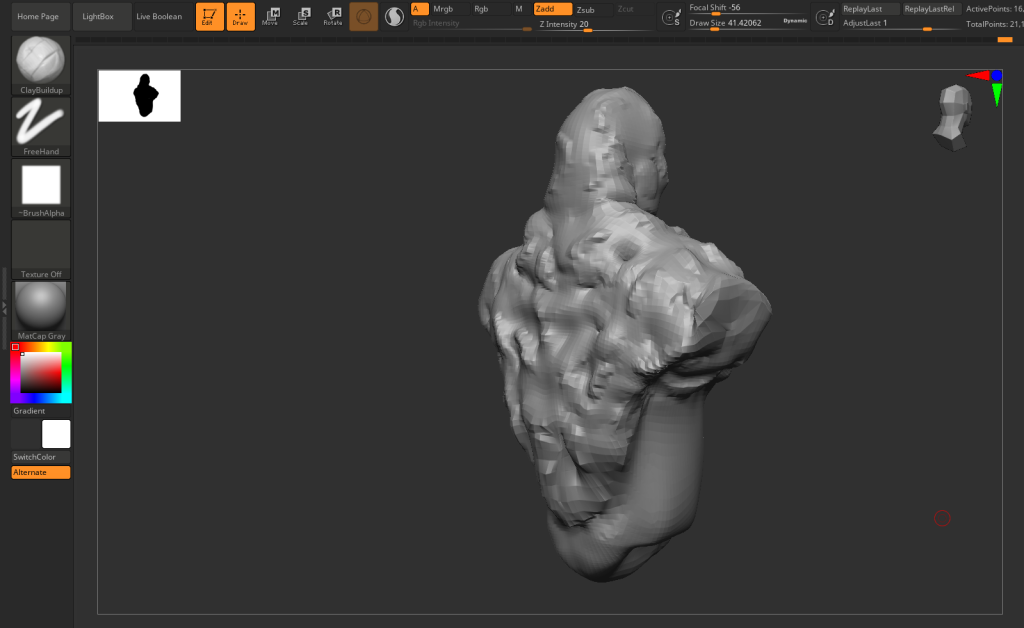
An important body part of any person is a mouth, so that was next on the list. I didn’t want to over complicate it, as I only had limited space to worth with between the chin & face protection. I just made a small incision using the clay build up tool and holding alt, and then used that same tool to create an over lap. A simple effect of an open mouth that looks barren of emotion, which would suit the theme of his boss fight (being a ghost).
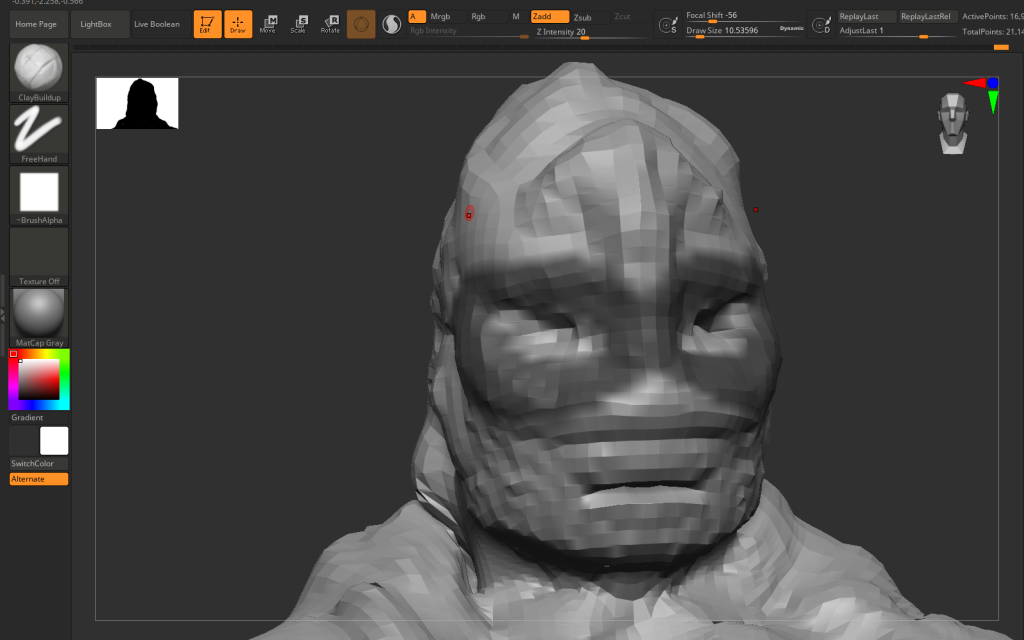
Next up was the belt. I created a large belt that be used as extra stomach protection and also have a buckle to hoist an emblem of Tyr.
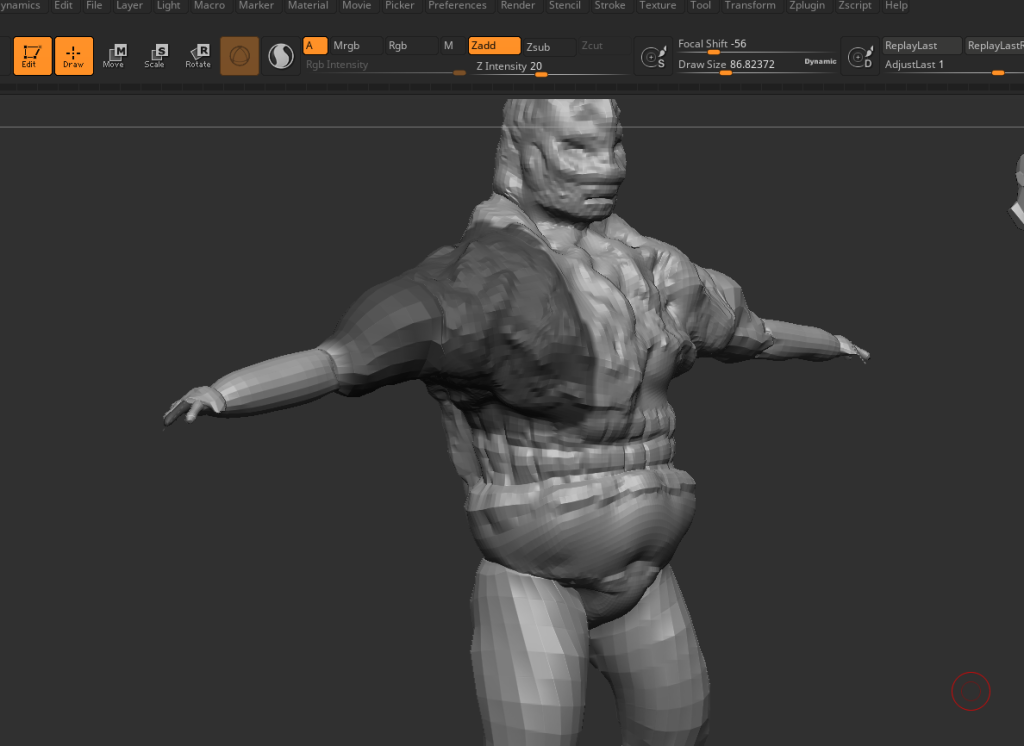
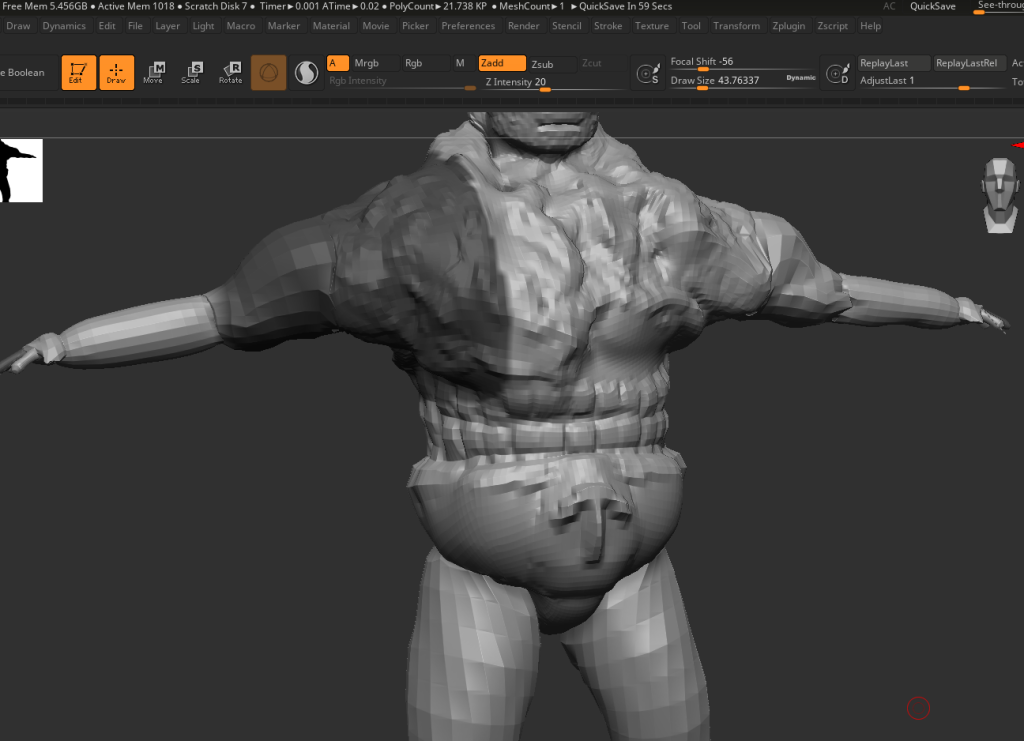
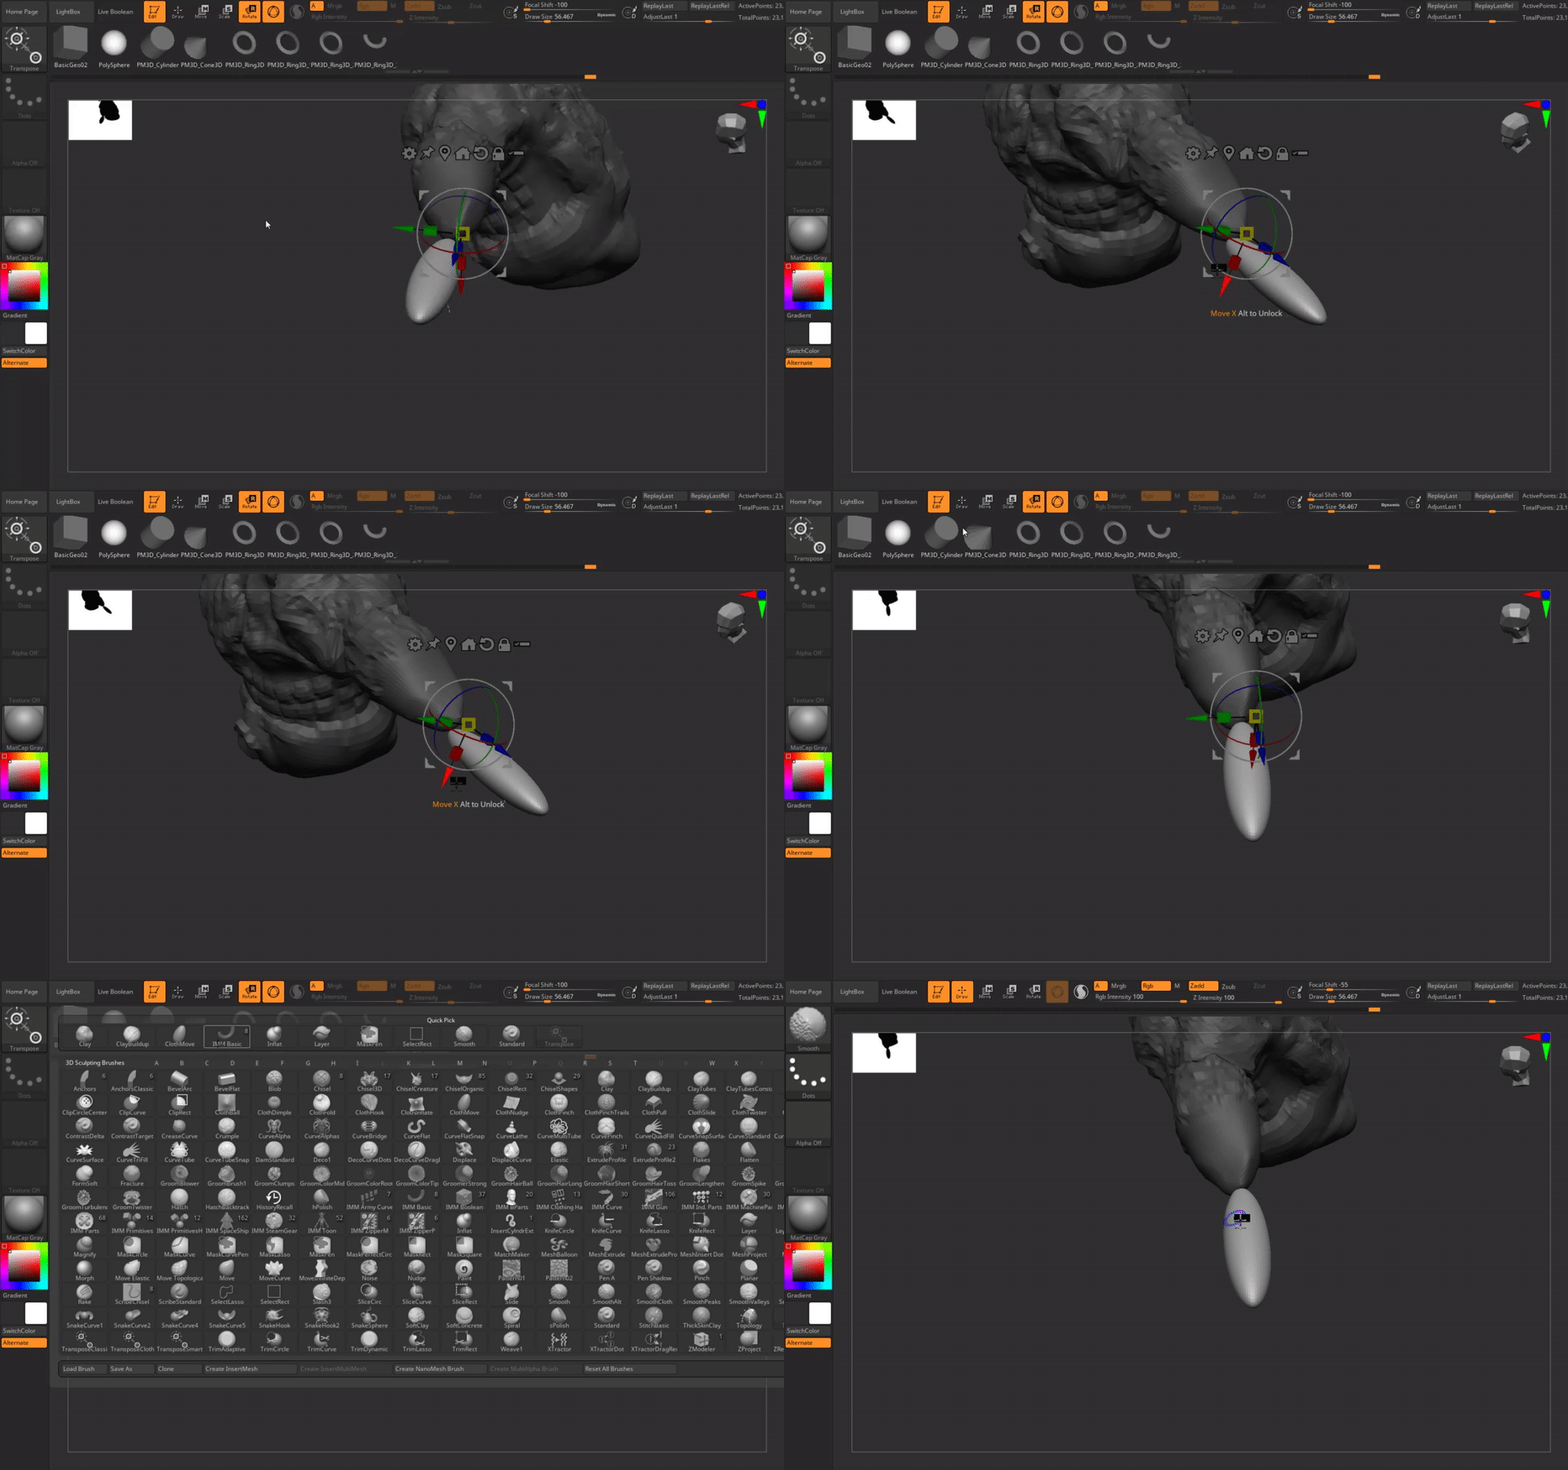
Getting to this point, I was really not happy with the arms and the legs looking so blocky as compared to the torso, so using an IMM Basic brush and deleting hidden objects in the modify topology section I created new points for arms to start on.
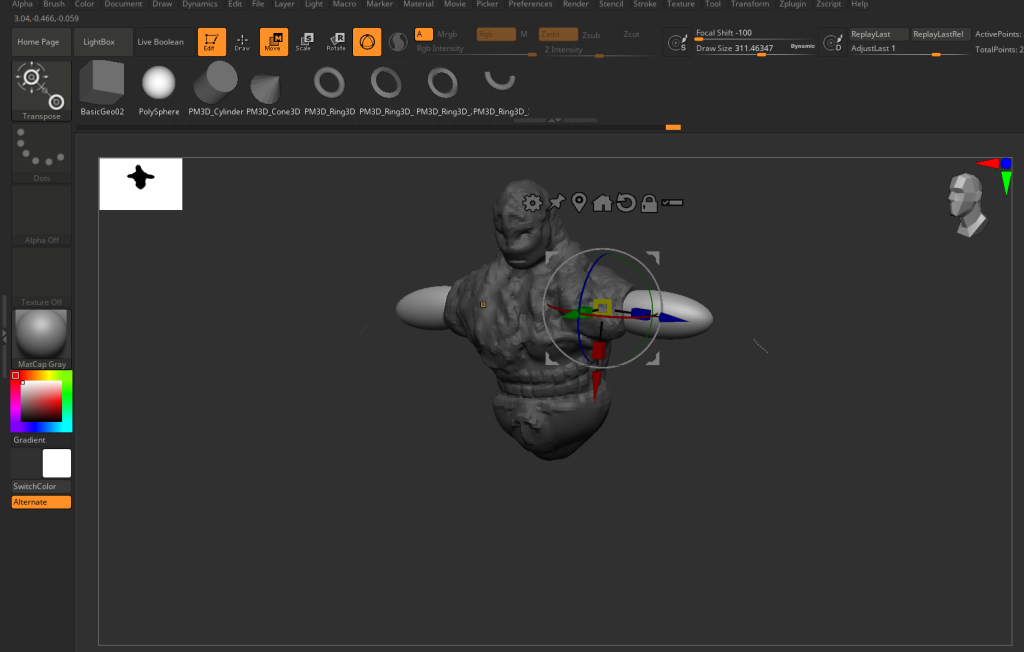
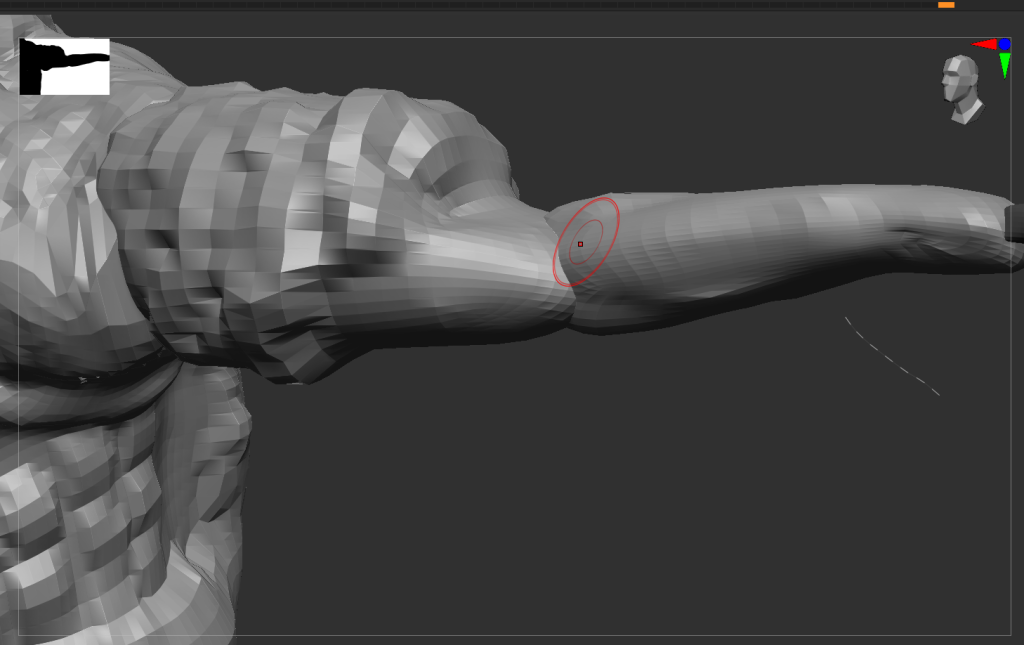
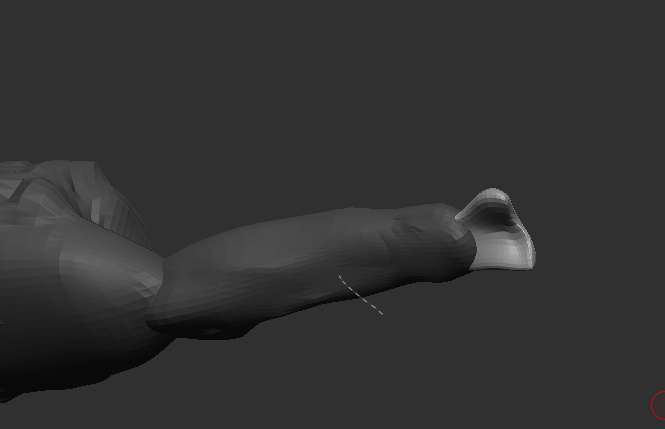
Now that the arms looks much better, It was time to move on to the hands. Using the IMM brush again I made a cube which I dynameshed to give it more flexibility to work with. I made the thumb and the main outline of the hand before focusing on the fingers and knuckles.
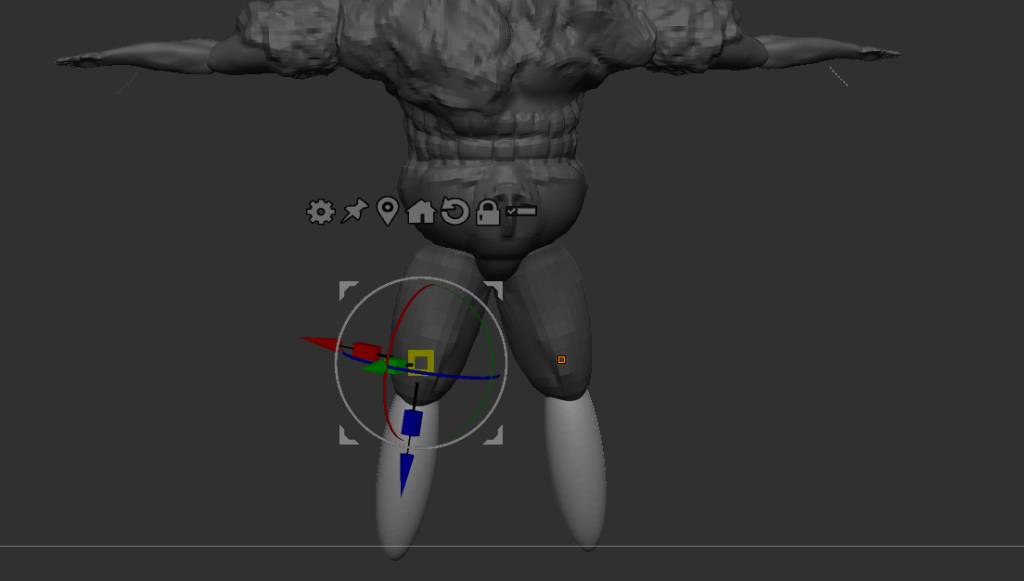
Using the same techniques I was able to finish the model from here on in. This would including using the IMM brush to create the rest of the limbs (upper and lower legs, fingers and feet) and using the dynamesh on the rest of the model to add in more minute detailing such as slightly texturing around the body to help distinguish parts of the body against clothes more easily.
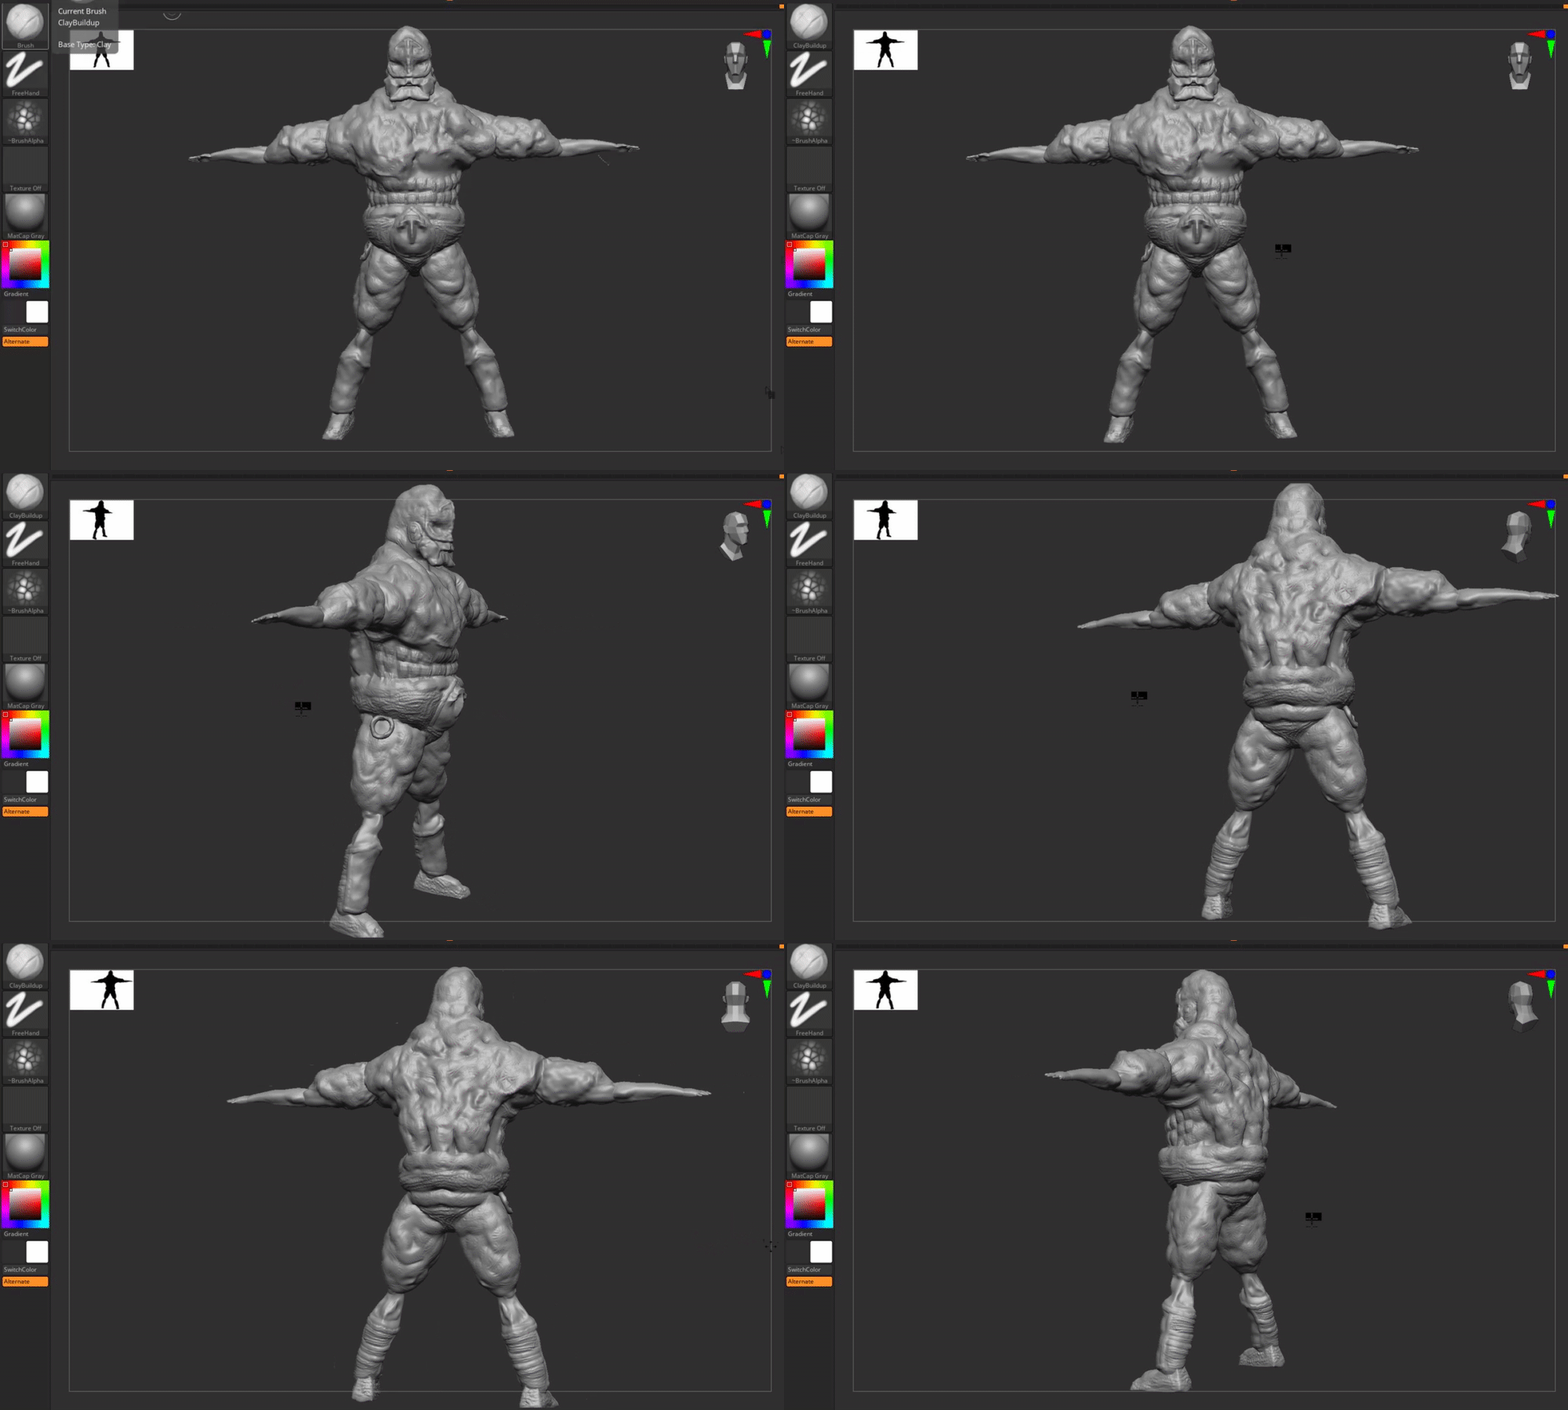
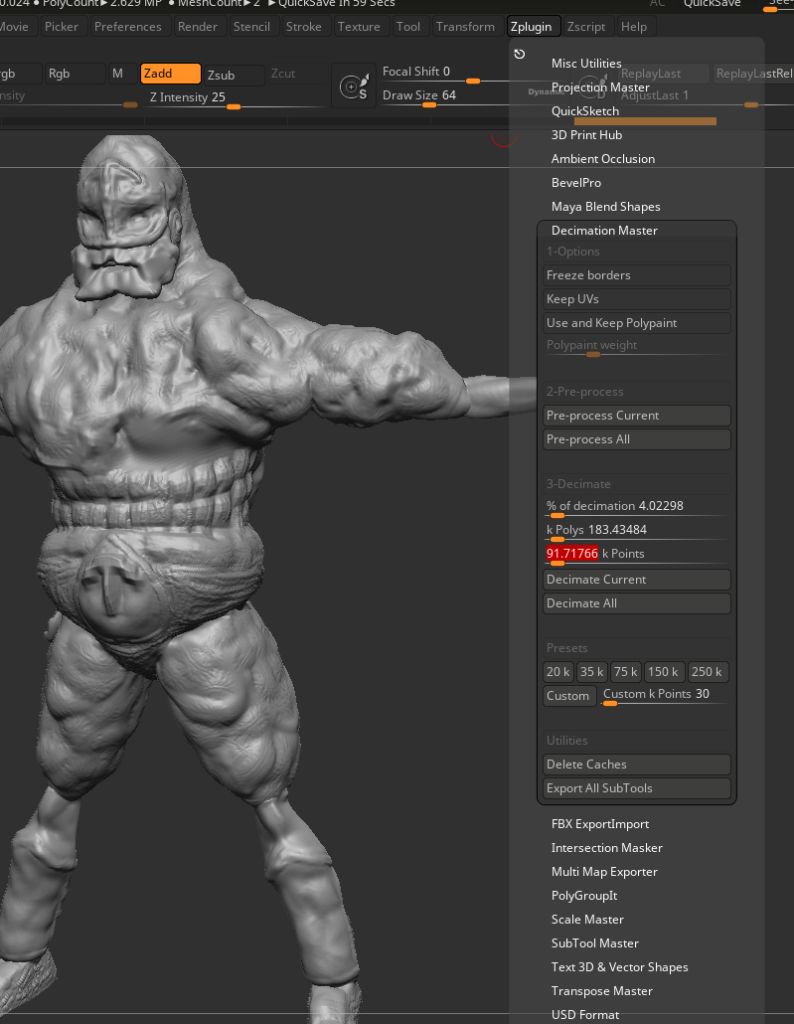
From here I can start to look to move the model over to Maya to get the UVs sorted. I first had to use the Zplugin decimation master, as my model had 4.5 million points, which is a tad too many. This would lower it down to about 90,000 points and give something to work with in Maya.
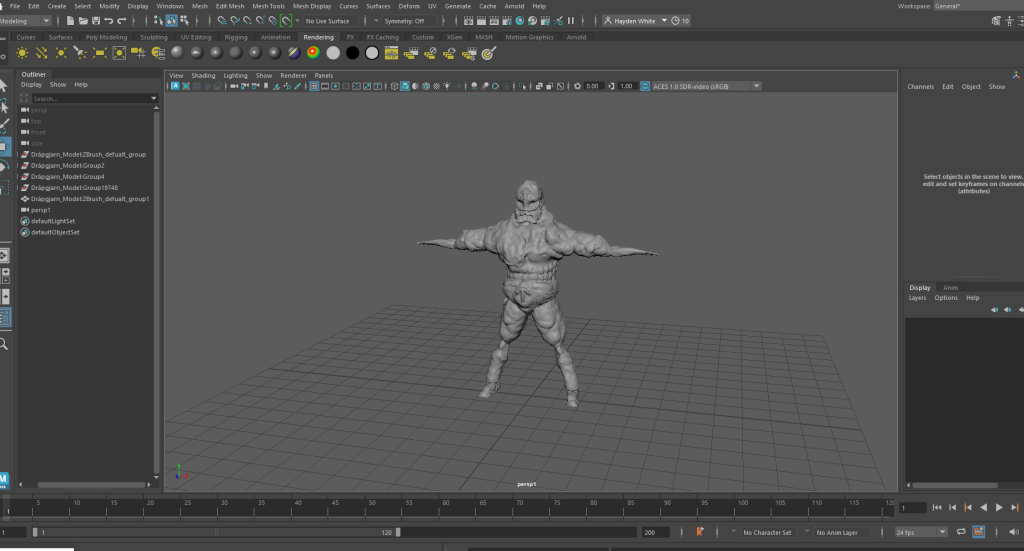
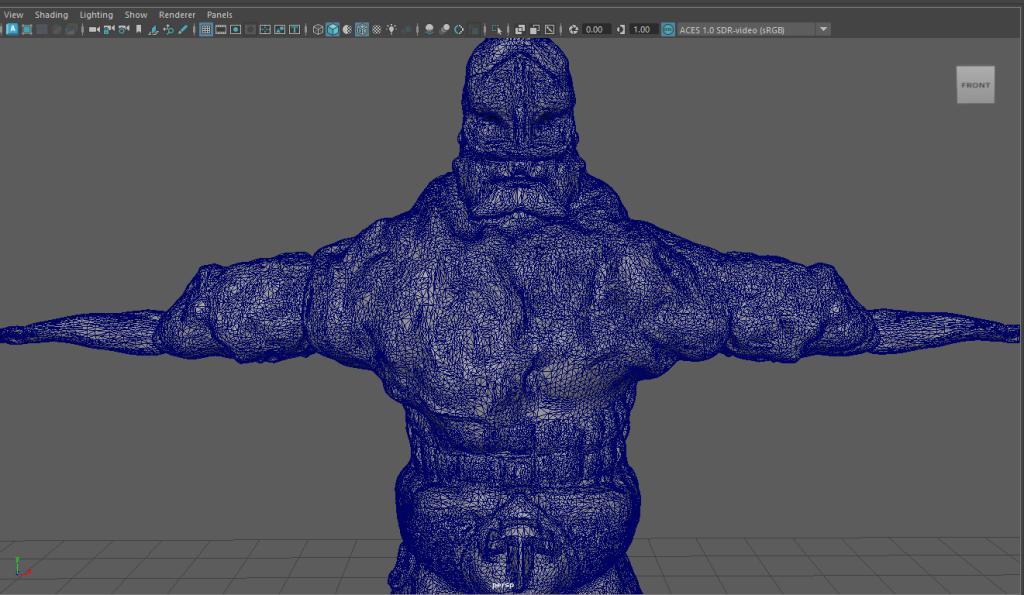
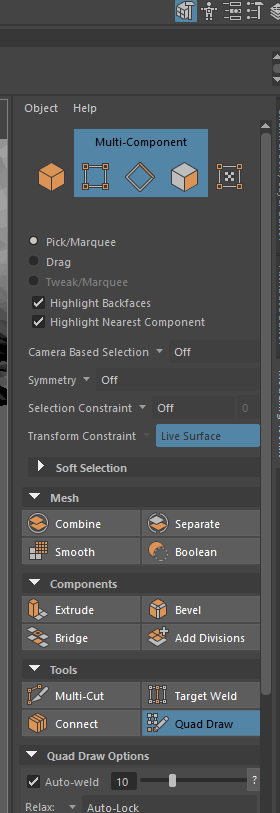
To start retopologising this model, I started using the model toolkit’s quad draw tool. This would allow me to dictate the size I wanted to draw.
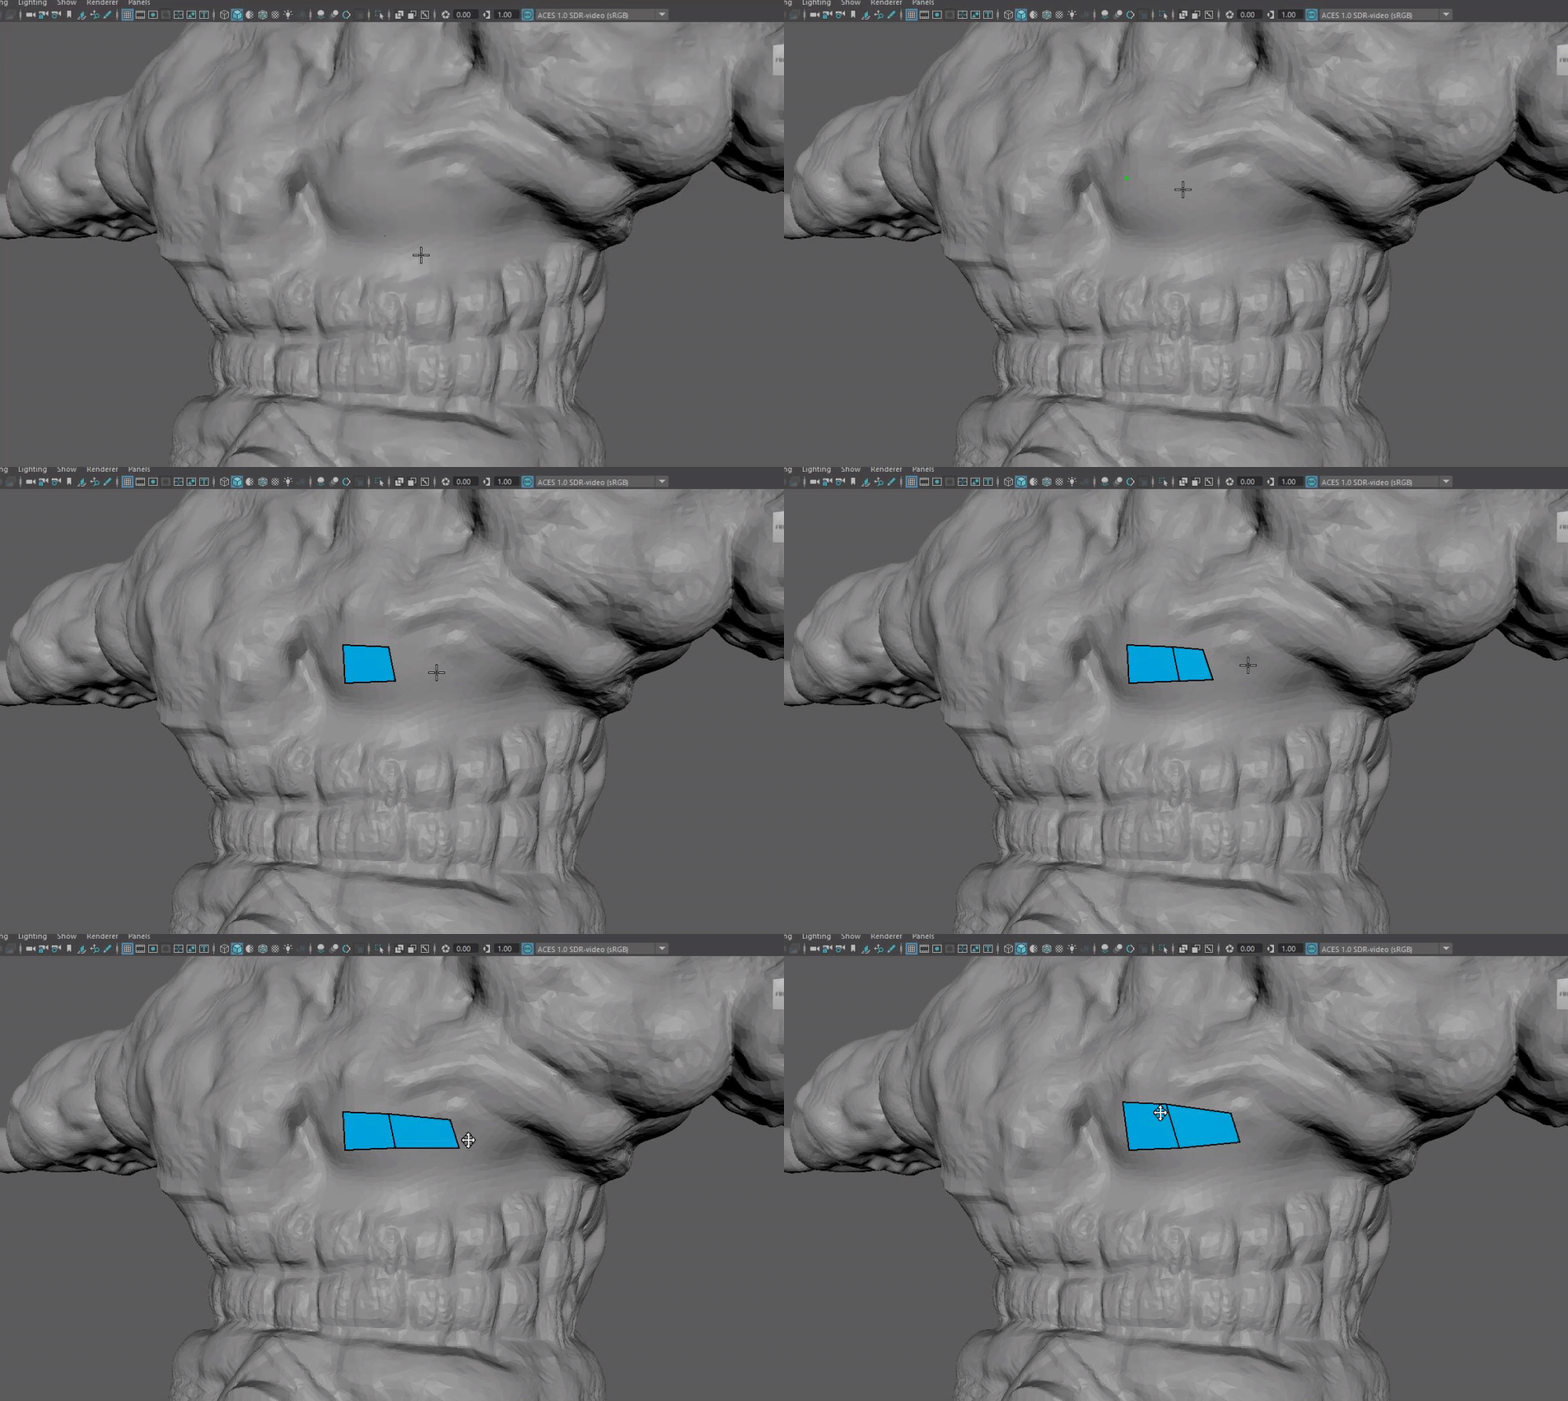
When plotting points with the quad draw tool, you can shift click inside a group of vertices to block in a shape, like I am doing with the squares above. This allows me to then move the shapes into a desired position.
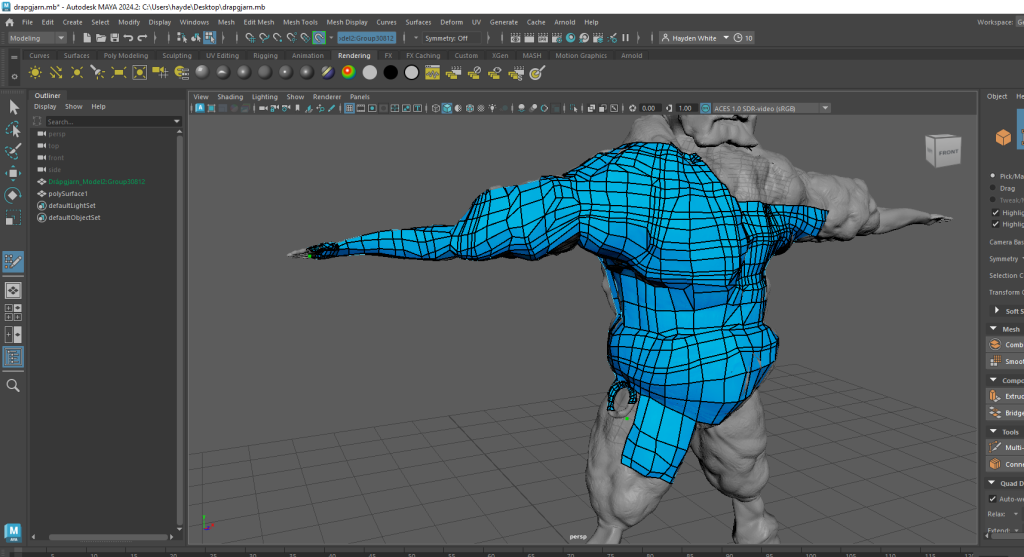
When this was done, the only thing left to do was get it rendered and showing him in his full glory!
I rendered him in maya using the Arnold Renderer, making sure that I had set the file output to be name.#.ext in the render settings to avoid confusion on frames. I then used a program called VirtualDub to make sure every frame was lined up as I needed and condensed into the .avi file you see in the embed link below.
Colours would play a big part here in helping sell the Norse fantasy, but granted it would be more of a subtle detail. In Norse mythology, and to align with proper old Nordic beliefs, there were 9 realms each of which were considered ‘afterlives’. To try and encompass that in this render, I had a frontal light colour of yellow to symbolise Valhalla. Of course in my character’s backstory, he did not reach this afterlife so I decided to make it more of a faded colour than the other two.
The second colour to his right, and the most pronounced colour of the three is the light blue. This is an icy cold colour that represents the realm of Niflheimr. As Britannica (2022) informs us, “Niflheim, in Norse Mythology, the cold, dark, misty world of the dead, ruled by the goddess Hel.” and as I wanted to convey in the scene, with Drápgjarn being a ghost of a former warrior, the realm of the dead fits his character to a tee.
Now a nice warm colour to change things up, I went for an orange on the last third. The orange here represents another of the realms of the mythology known as Muspelheimr. Being the first of the nine realms, and arguably one of the most important, I feel like I had to bring this realm in. Muspelheimr was the realm of the fire giants, and home to Surtr, the giant who starts Ragnarok and brings war against the Gods in the mythology. I wanted to encapsulate Drápgjarn’s strength having this realm present, and almost have his mind torn from his initial love for the Gods, and is now turning against them with the devils on either shoulder.
References List – Text
Britannica, July 2022, The Editors of Encyclopaedia. “Niflheim”. Encyclopedia Britannica, https://www.britannica.com/topic/Niflheim. Accessed 22 January 2024.
Chambers, A. 2005 – Available online: http://web.archive.org/web/20050415090216/uk.games-workshop.com/spacemarines/cursed/2/ [Accessed 16/01/2024], Publisher: Games Workshop.
Viking.Style, 2023 – Available online: https://viking.style/why-did-vikings-use-axes/ Blog, [Accessed 16/01/24]
Images
Caroline, 2023, Available online: https://iheartcraftythings.com/viking-drawing.html [Accessed 16/01/24]
Forhonor.fandom, 2017, Available online: https://forhonor.fandom.com/wiki/Stigandr?action=history [Accessed 16/01/24]
Hurkacz, P. , n.d, Available online: https://phurkacz.artstation.com/projects/PrdDB, [accessed 18/01/24]