Introduction
Following the 3D character design assignment, we are now tasked to create animations for this character and bring it to life by creating three different movement cycles that fit the aesthetic and backstory of our project. The character I created was a Viking called Drápgjarn and the game he would have fit into would be a low poly RPG similar to that of ‘For the King’. Although he is a Viking, he is specifically a boss encounter that has been denied entrance to Valhalla and is aimlessly wandering the forests in search of his afterlife.
Vikings were ruthless warriors, adapting and inventing some of the most iconic styles of fighting ever recorded in history. They are also known for using a plethora of different weapons & equipment in battles. These facts alone are only a portion of what is possible for a Viking from their time, as they were also an incredibly spiritual, agricultural and free spirited people. With this in mind, and so many avenues of the Vikings available to explore, it leaves open a wide variety of possibilities of animations I can make. However, as my character model I made would not have worked to animate due to some technical difficulties, I have decided that more iconic and noticeable set of animations are going to be better suited.
Initial Ideas & Concepts
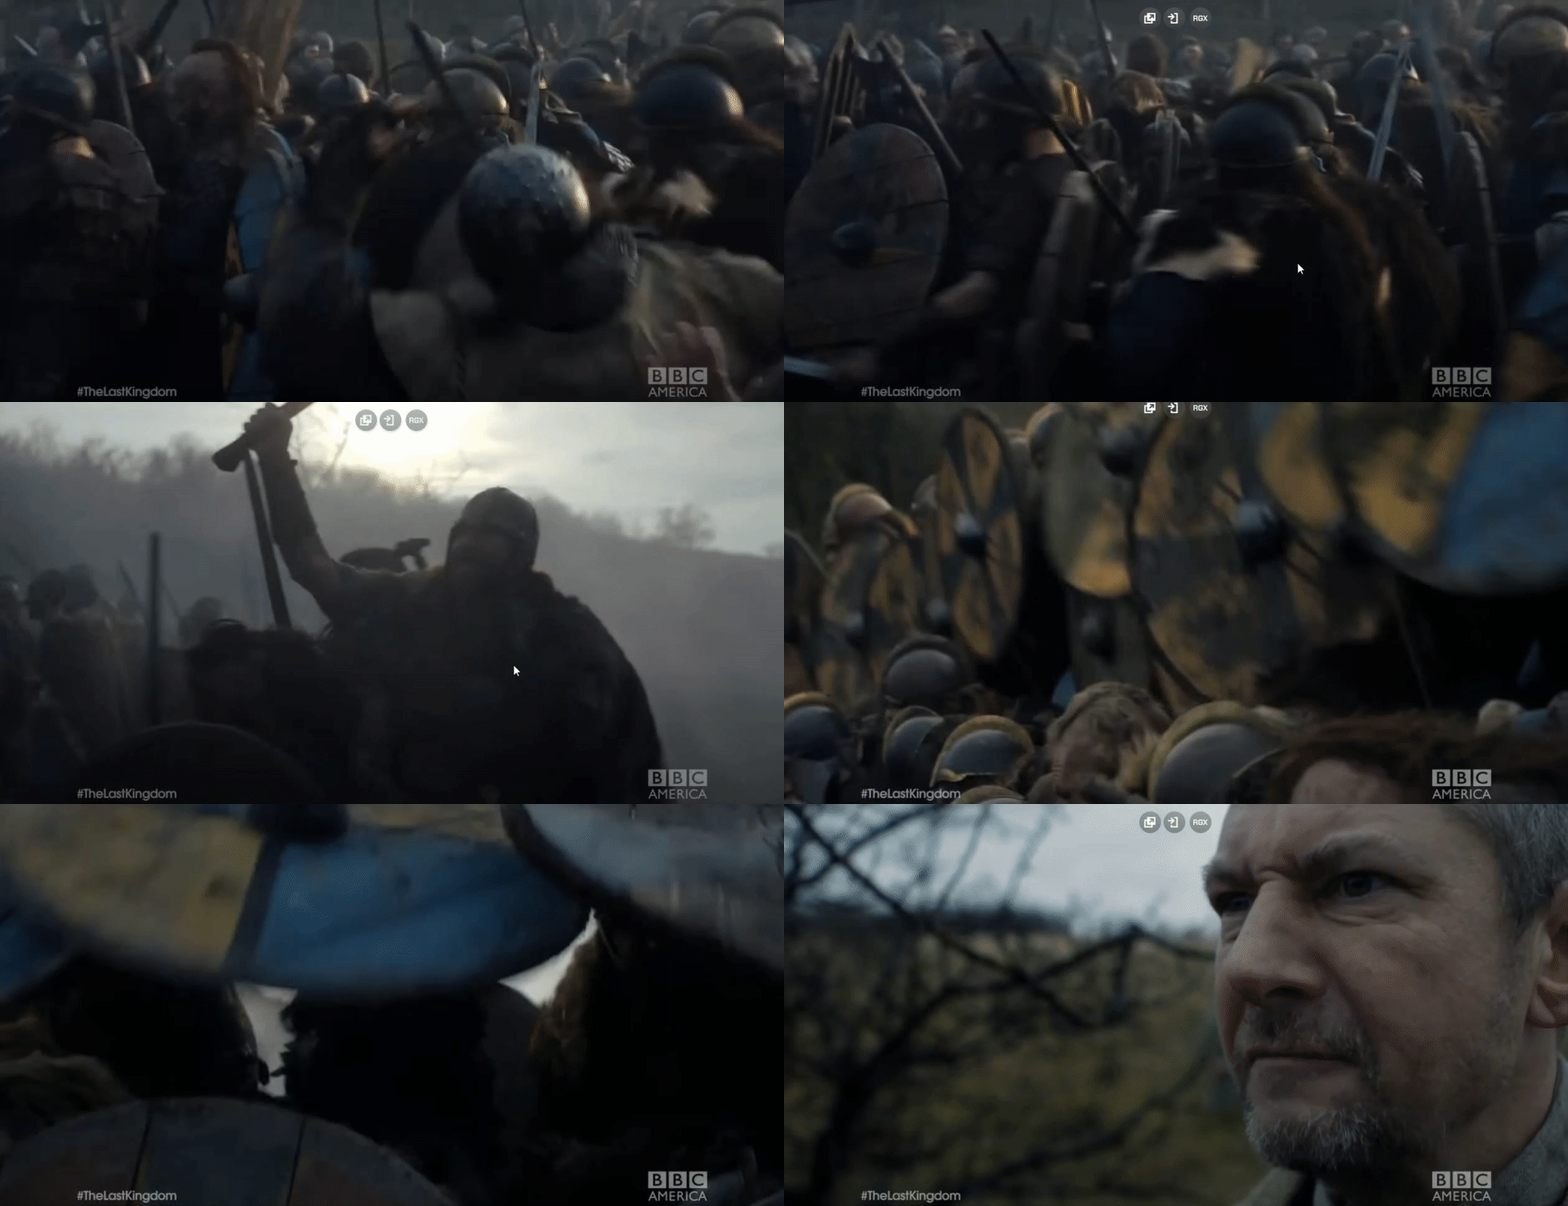
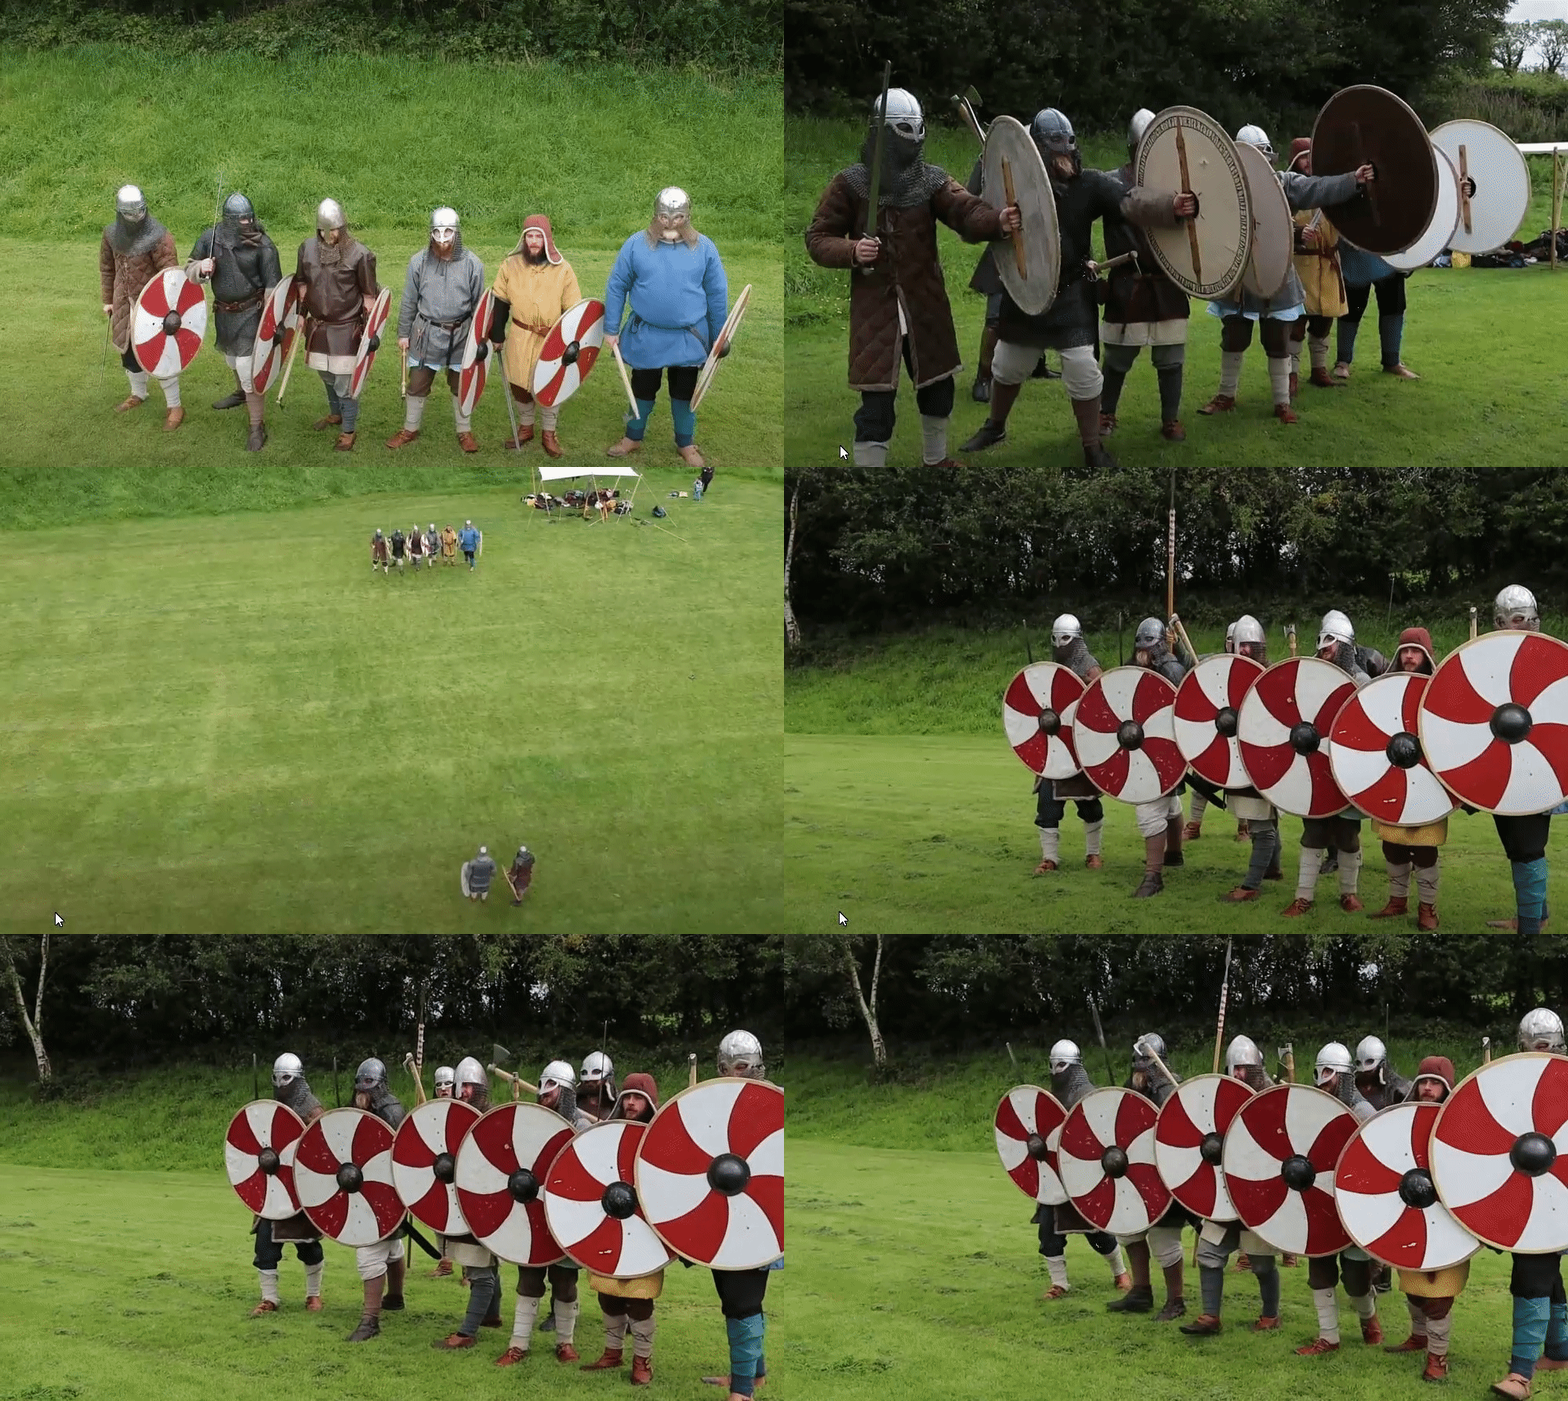
Having to create three designs immediately gives me a plethora of ideas that I can use but there are some that stand out to me. One such concept is the idea of my character calling the formation of a shield wall. A warlord at that time when in battle could rally their men into bringing their shields into a large wall formation as both a defensive and offensive manoeuvre. It would start with Drápgjarn in his shield wall pose. Left arm forward clutching his shield, his right arm behind him. As he is moving forward, only taking half paces, his weapon hand will be banging the inside of his shield as a method of intimidation. This was a tactic, along with battle cries that the Vikings used as a method of intimidation towards the opposition. I would assume that being hungry for battle, Drápgjarn’s spirit would indeed find the fire it seeks and almost have an adrenaline rush upon entering combat, and would transform from being more decrepit in motion & look to become a strong and focused warrior. To show this, the animation will end with a lunge forward, to where he would lean towards his enemies and scream at them.
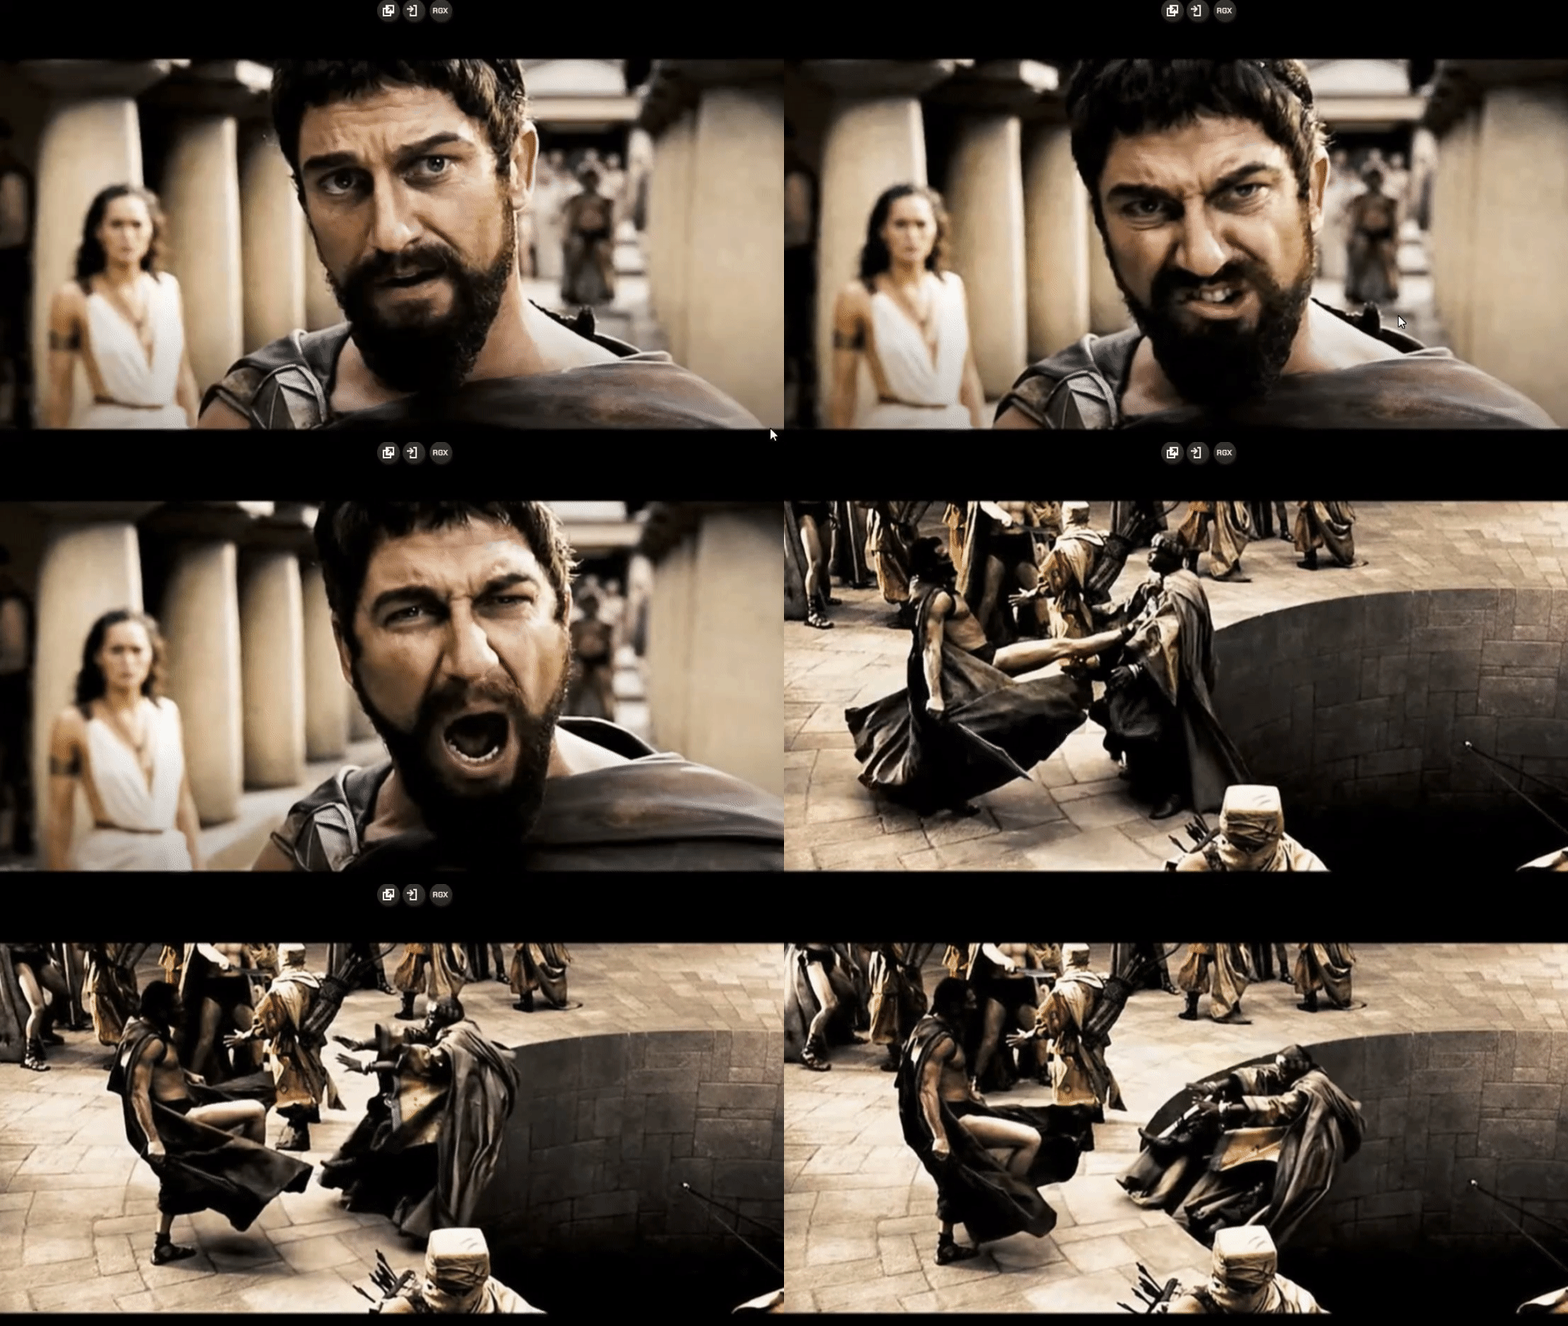
One of the first things I thought of was to create a walking animation, but I wanted to create something with a little bit more life than a basic walk. I decided that I would do an execution style execution. This starts with my character taking a a couple of balancing steps and leans back into a front kick into an opponent who falls to the ground. The kick was definitely inspired from a scene from ‘300’ when the main character Leonidas kicks a messenger into a large hole. Drápgjarn will proceed to lean down next to said opponent and finish them up close. After finishing that, he stands back up, checks his surroundings and presumably the encounter would be over and you would have to fight him again (as he is a boss not a player character).
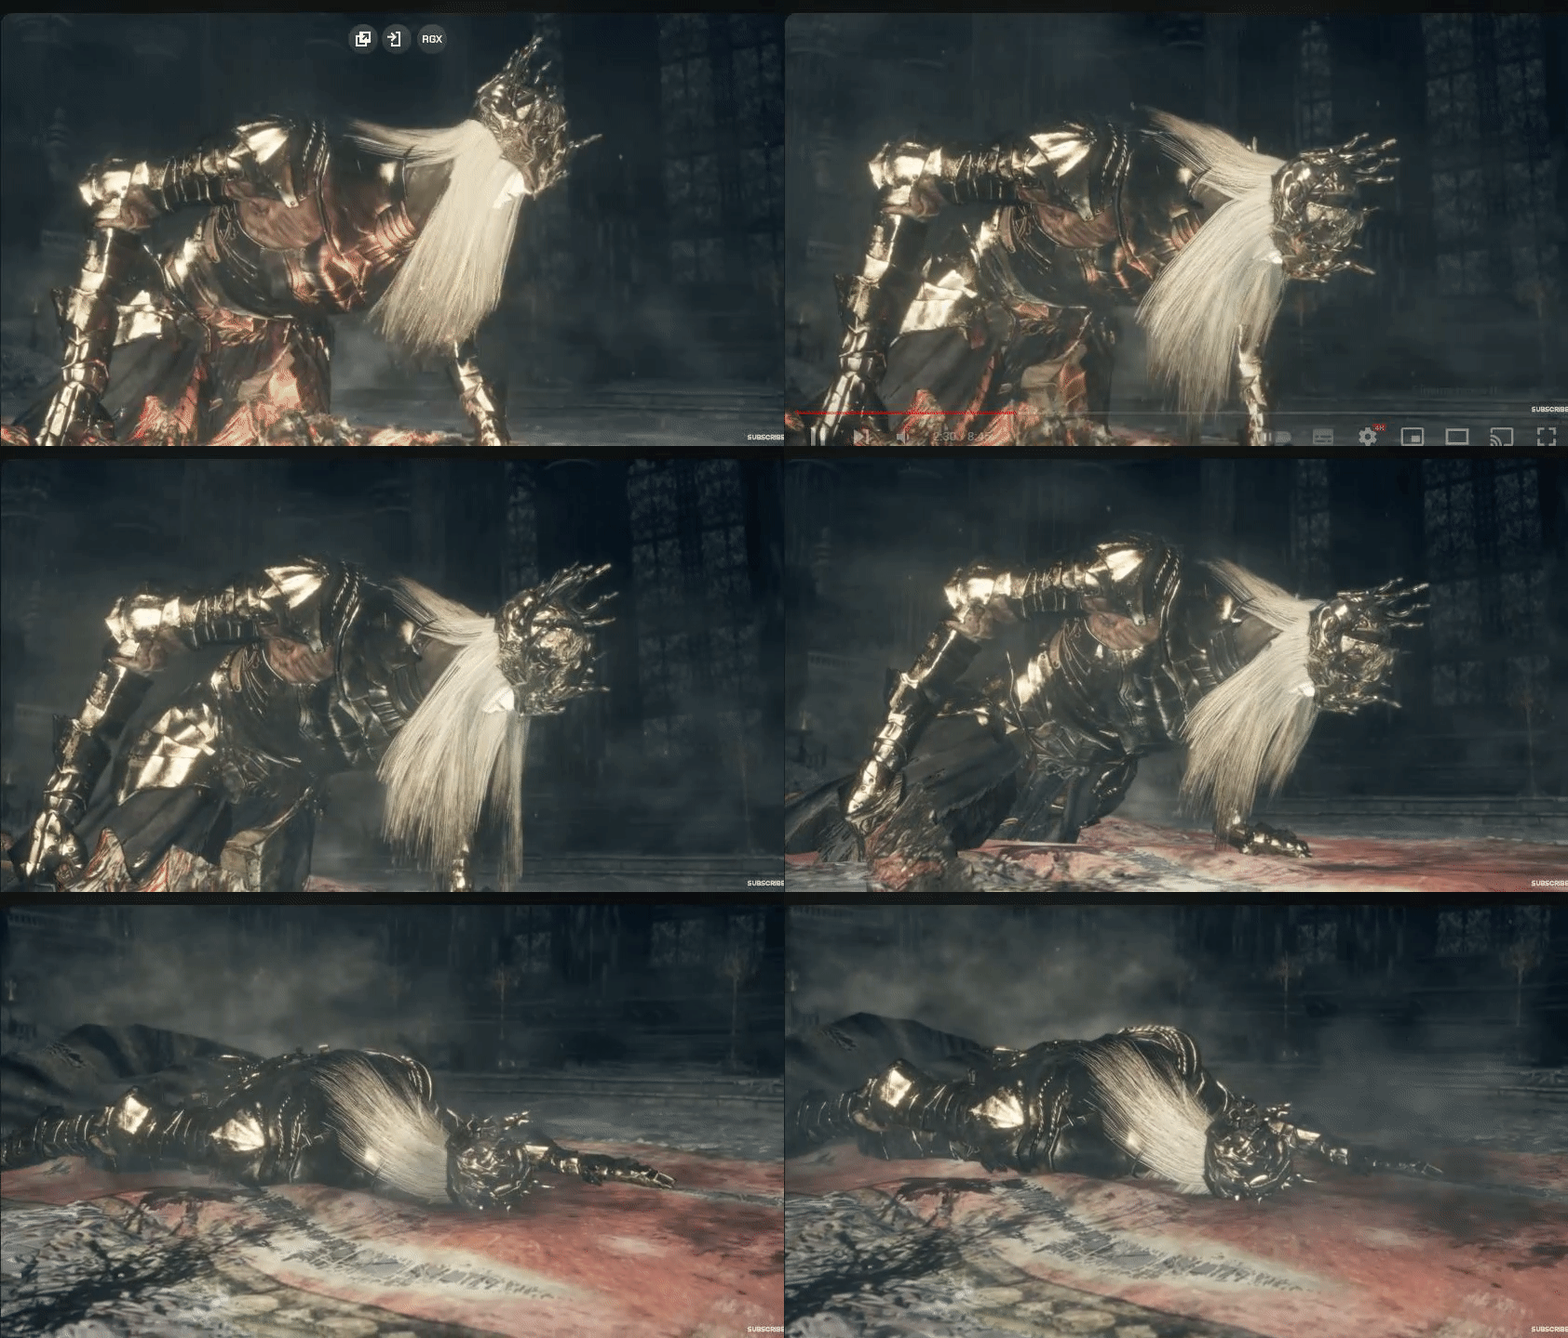
Vikings loved to fight and relished the thought of dying a glorious death. In doing so, they would be granted access to Odin’s hall in Valhalla (the Norse belief equivalent to heaven). The last animation wanted to create is incredibly fitting for this exact reason, as its a death animation. My thinking is have the character take a hit that makes him recoil, then gradually sink down to the floor. Before he dies he will try and reach for his axe to be granted passage to Valhalla but will ultimately fall just short and plummet to the ground. The point of him falling to the floor I envision to be akin to that of a specific boss of Dark Souls 3 called ‘Lorian’.
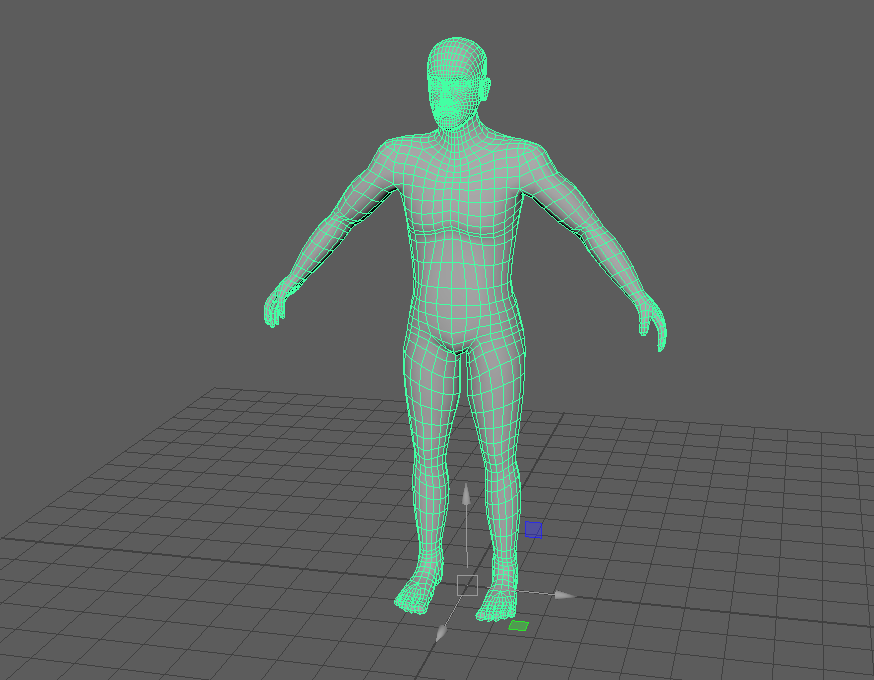
With these animations in mind that I aimed to create, I was ready to import a character into Maya to get it rigged and ready to animate. The character I designed for the previous project had a lot of flaws with the physical structure so I was unable to use it for this project, so I used a premade character that I acquired from our canvas page.
Creating the Animations – Rigging
The first step to getting these animations made was to create the rigging on the character I was going to use. Without any rigging points, I would not be able to create those joint-like movement points on the character and it would look incredibly static or likely would not work at all.
As the original viking character that I made had a few major errors with the mesh, I would be unable to use it for this project. Luckily, I was provided with this character model to use in place as a substitute for the Drápgjarn character.
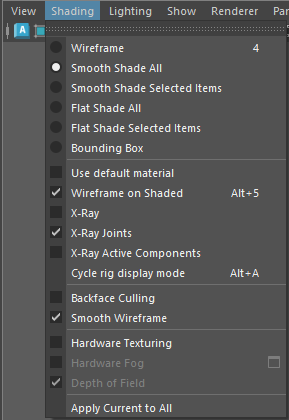
I had to make sure that I remembered to enable X-Ray joints in the shading tab before I start, making it easier to see where on the model I will be creating the moving points.
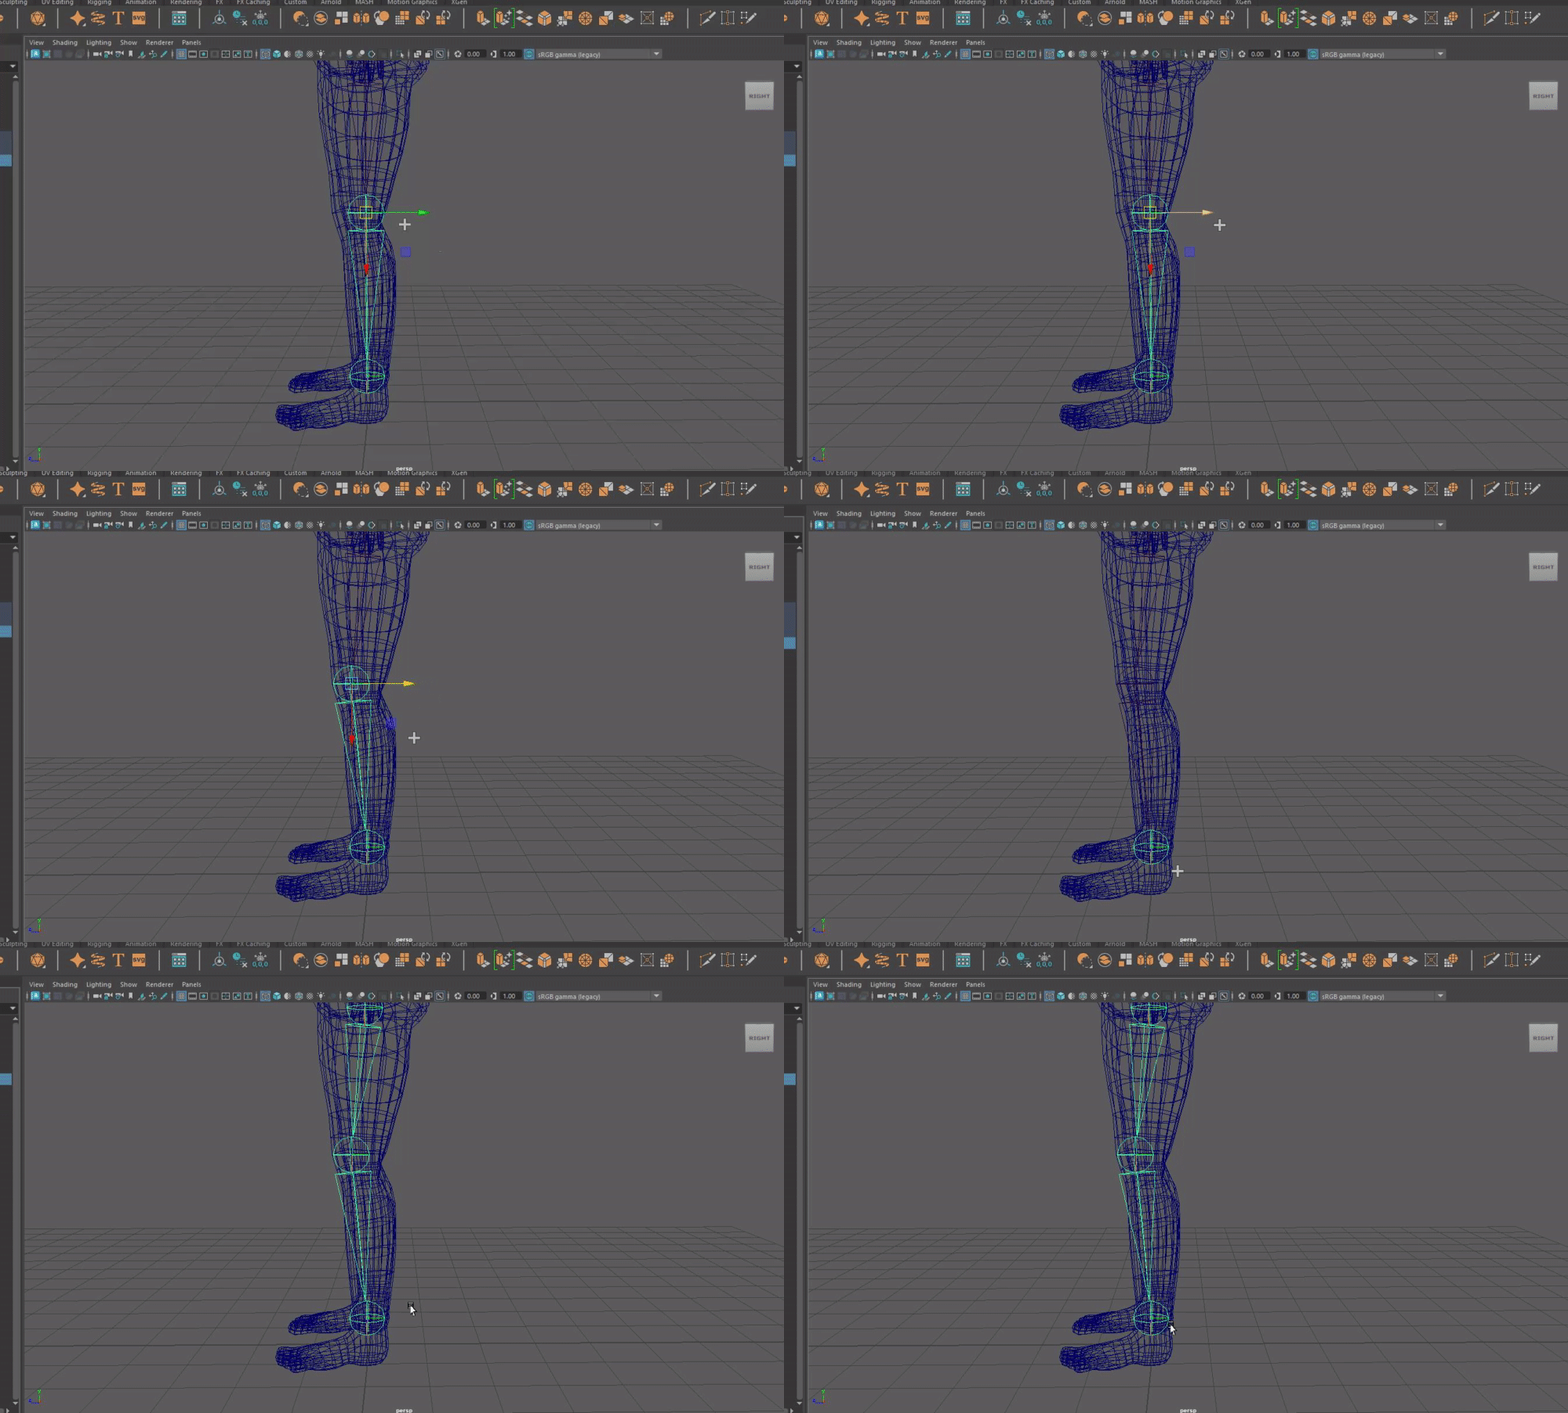
After getting the left’s skeleton leg made, I used pressed insert to isolate the knee joint so I could bring it slightly more forward on the leg, making for a more realistic movement.
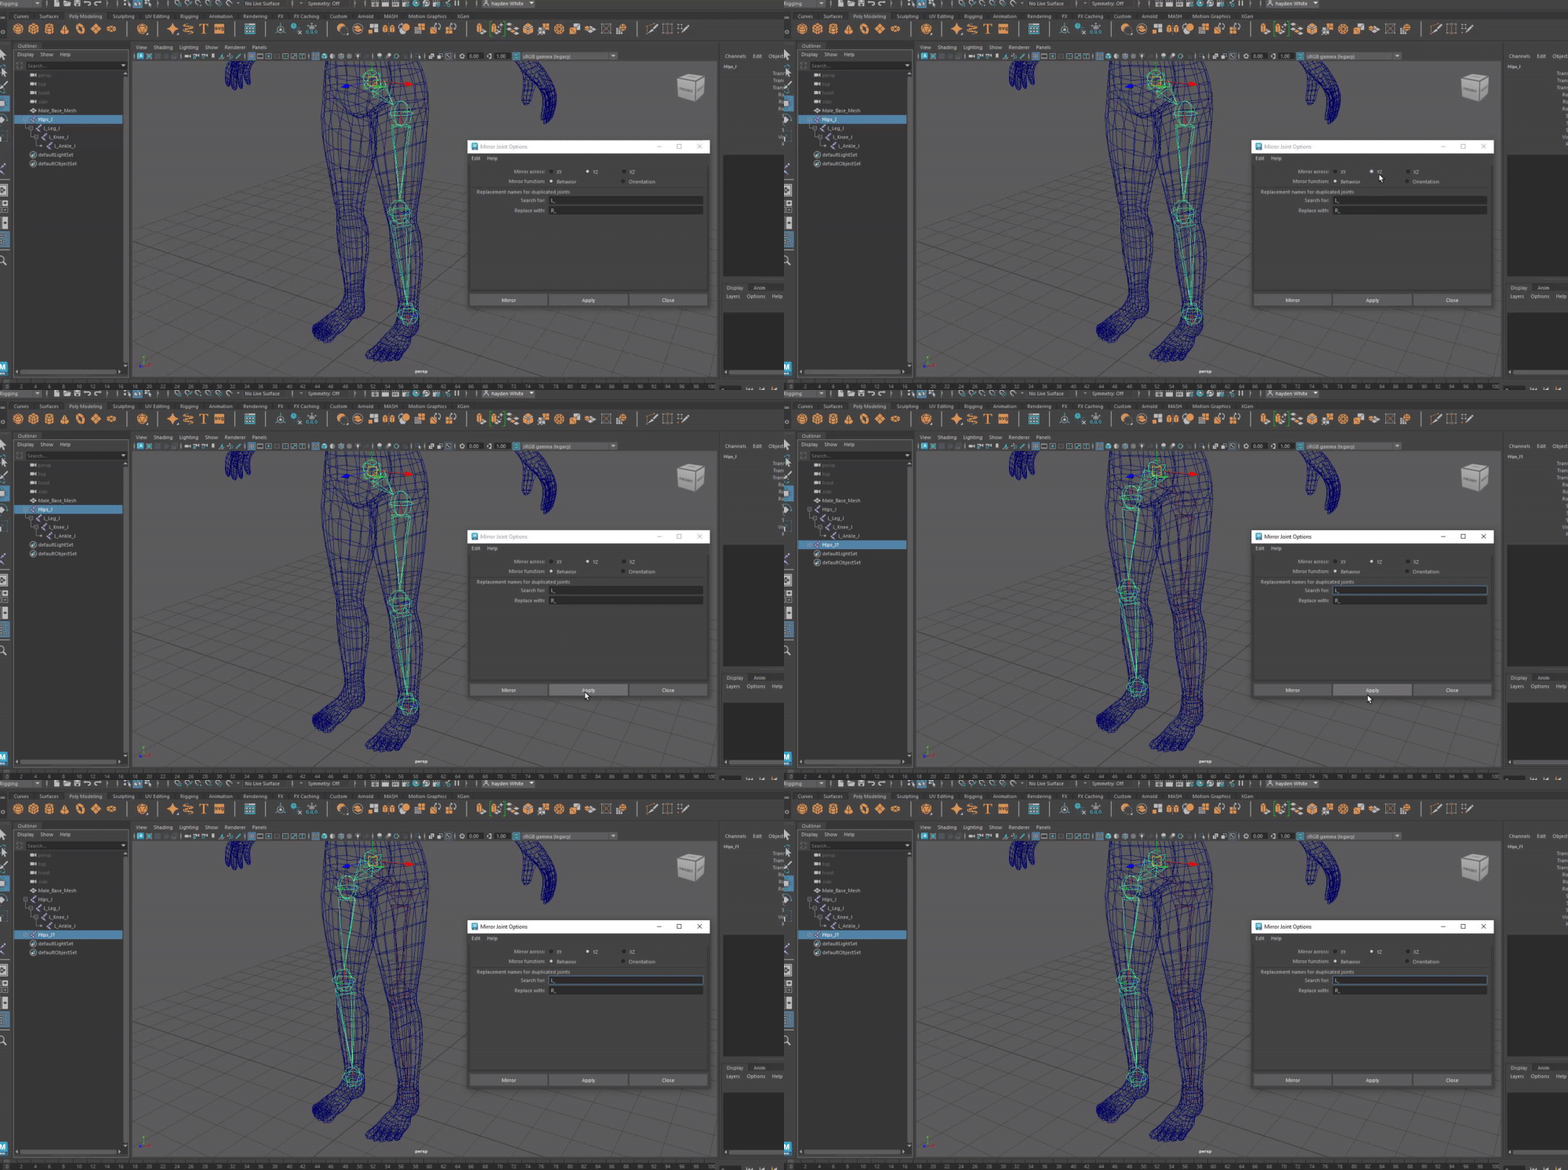
After having adjusting the leg to the proportion that I wanted, and renaming the individual joints to a regular convention, I used the mirror tool to look for any joints with the same prefix on the name to create the right leg of the character.
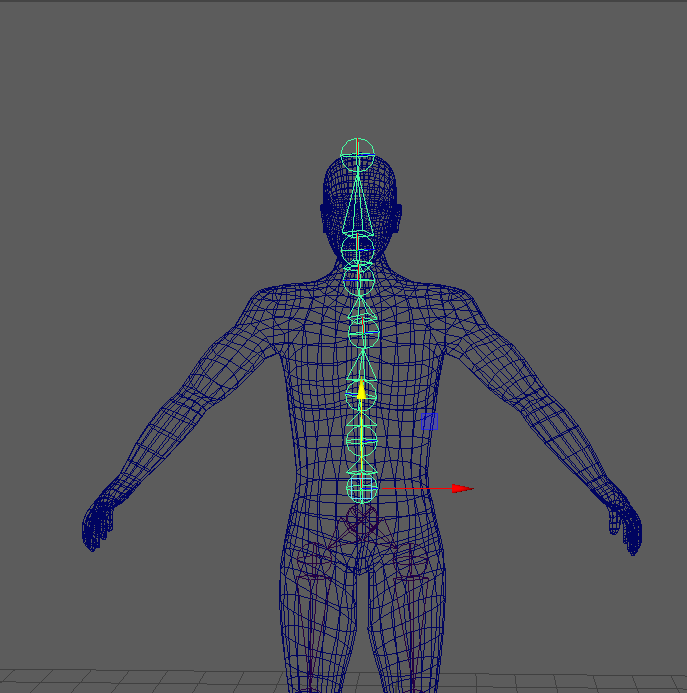
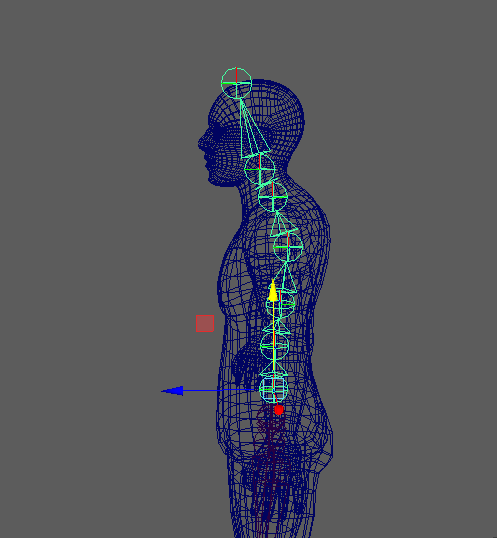
Creating the spine was done using the same method, except once I had the joints in placed and named, I zoomed out in perspective mode to adapt the joints to the curvature of the character’s back. This would once again allow for more realistic movements and help the animations flow smoothly.
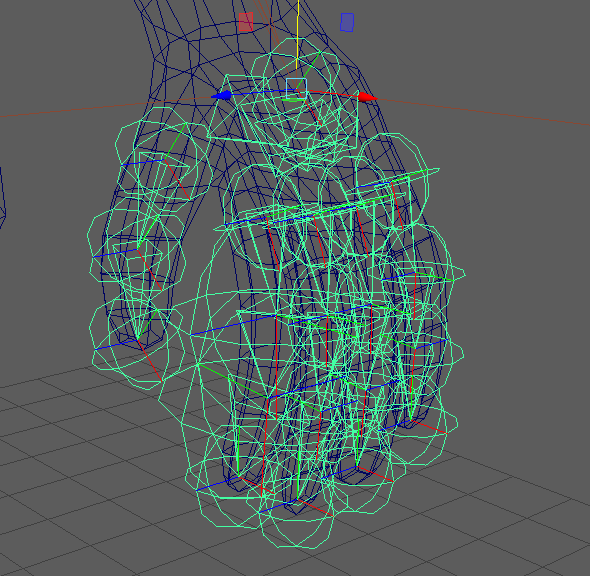
I proceeded to do the exact same method of creating and aligning joints to create the flexibility points on the hand. This will allow me to show my character gripping what would be his weapons, instead of having flat palms. Although it looks messy from an outside perspective, these are just the rotation points of the joints along the fingers.
Once again using the mirror joints tool, I copied the left arm properties and used them to quickly add the right arm to the skeleton. With this having finished off the skeleton, I could then look start binding it to the mesh and adding the required tools to have them move in unison.
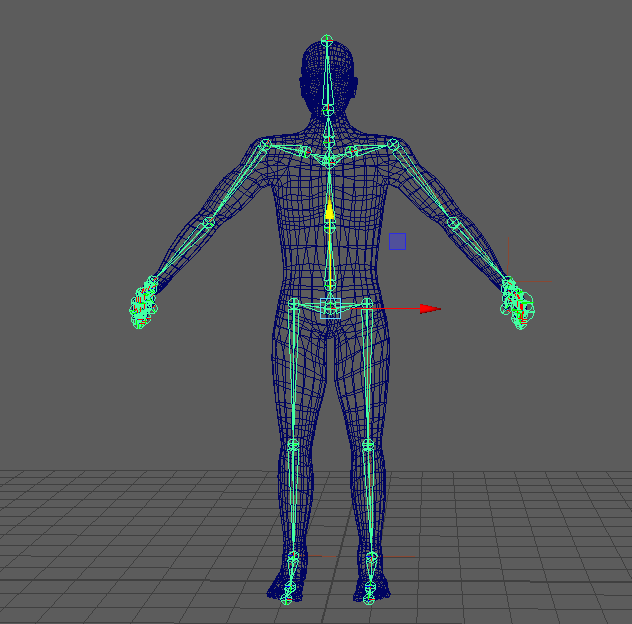
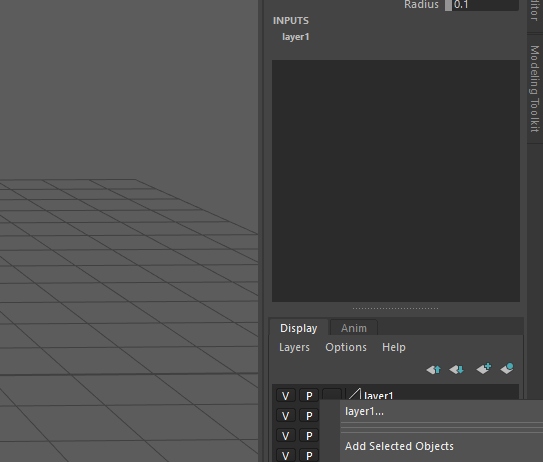
To start bringing the movement of the character to life, I have to start by adding a new layer into the channel box so I can start attaching the skeleton to the asset. Adding the skeleton as a selected object using the hips joint hierarchy makes this leaps and bounds easier.
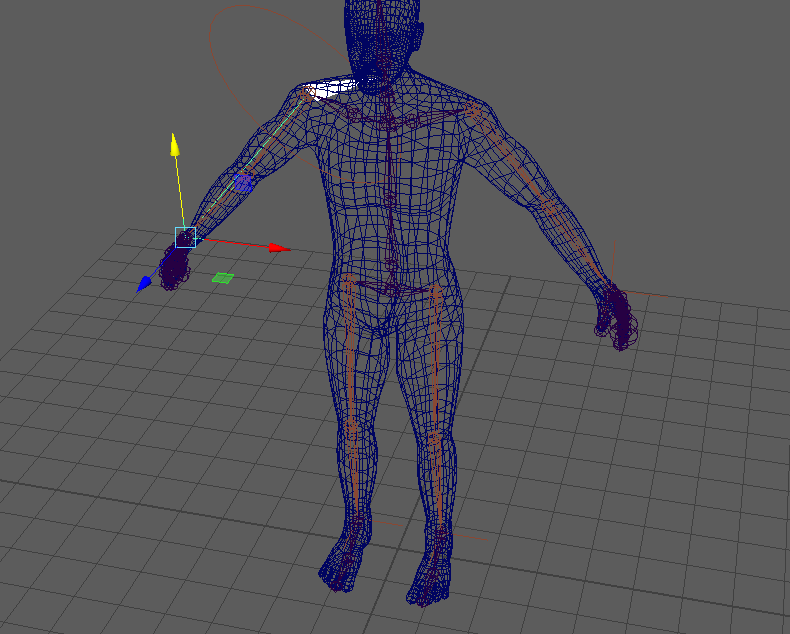
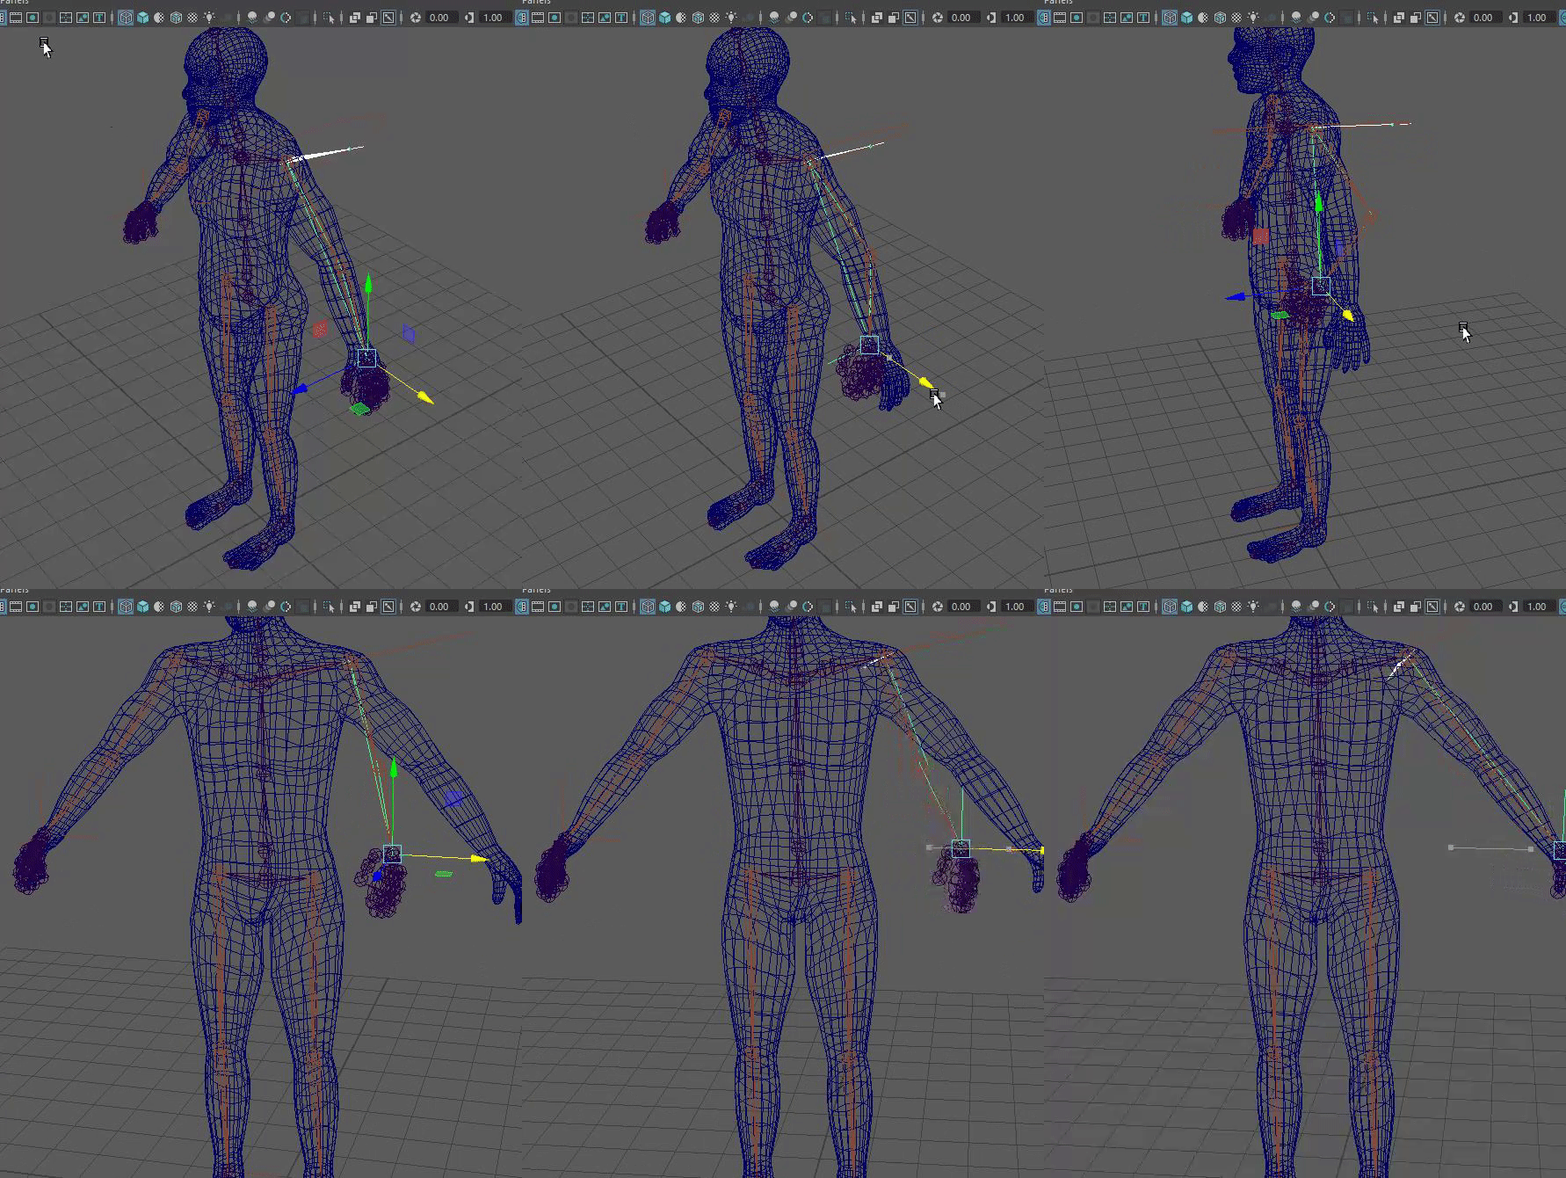
By creating IK handles, this forms a structure as to how the joints move in conjunction with one another. So in this example, I have created an IK handle that is linked to the the joint at the top of the leg and the ankle. In motion, this will move these two joints only, giving the knee joint a standard human bend. This process is repeated on the other leg and the arms as well, on the shoulder and wrist joints.
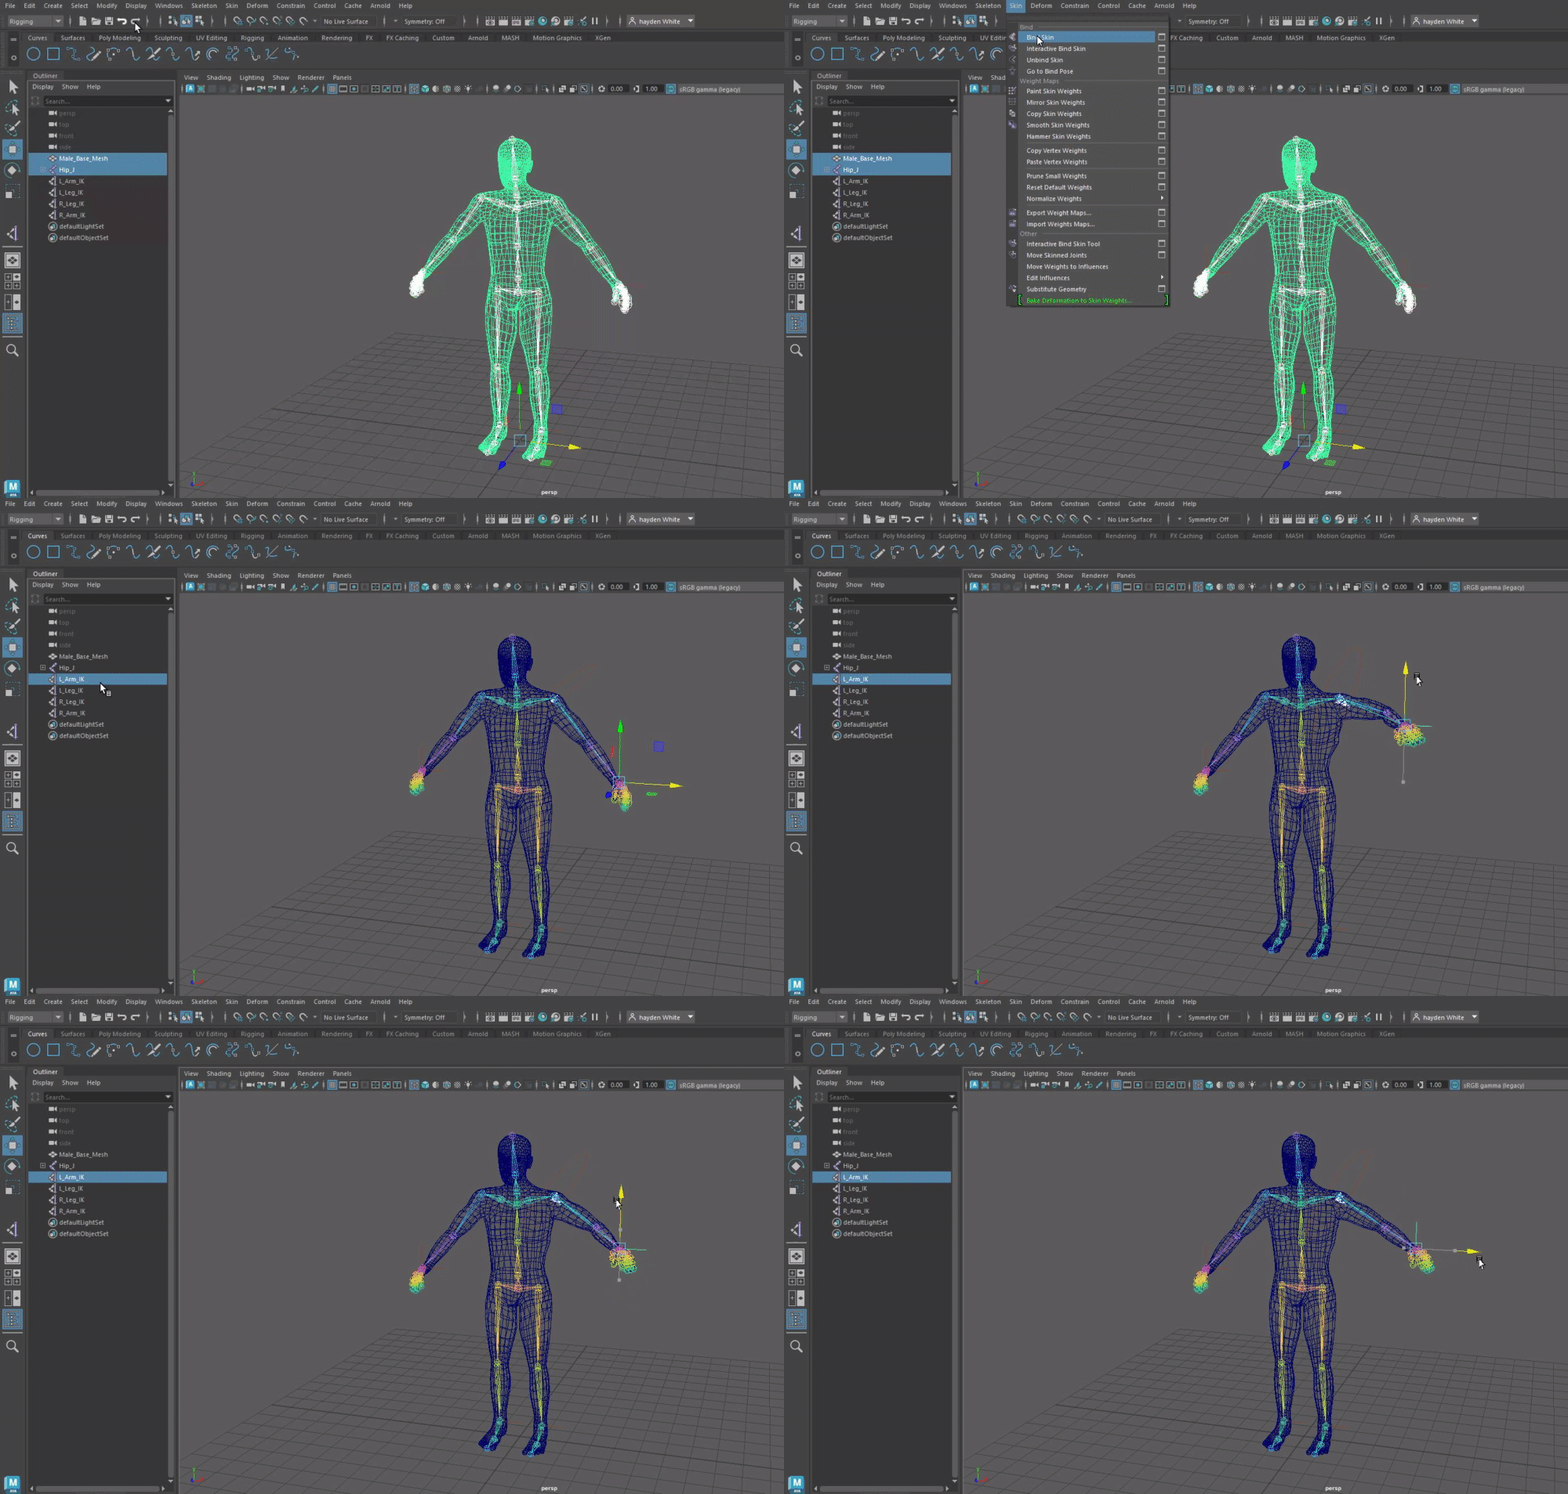
By using the bind skin tool, I am able to bind the mesh of the character to the skeleton to have it move in conjunction. This will make it so that as the skeleton moves throughout the animation, it brings the mesh with it. A simple button that has a huge impact on the rigging process.
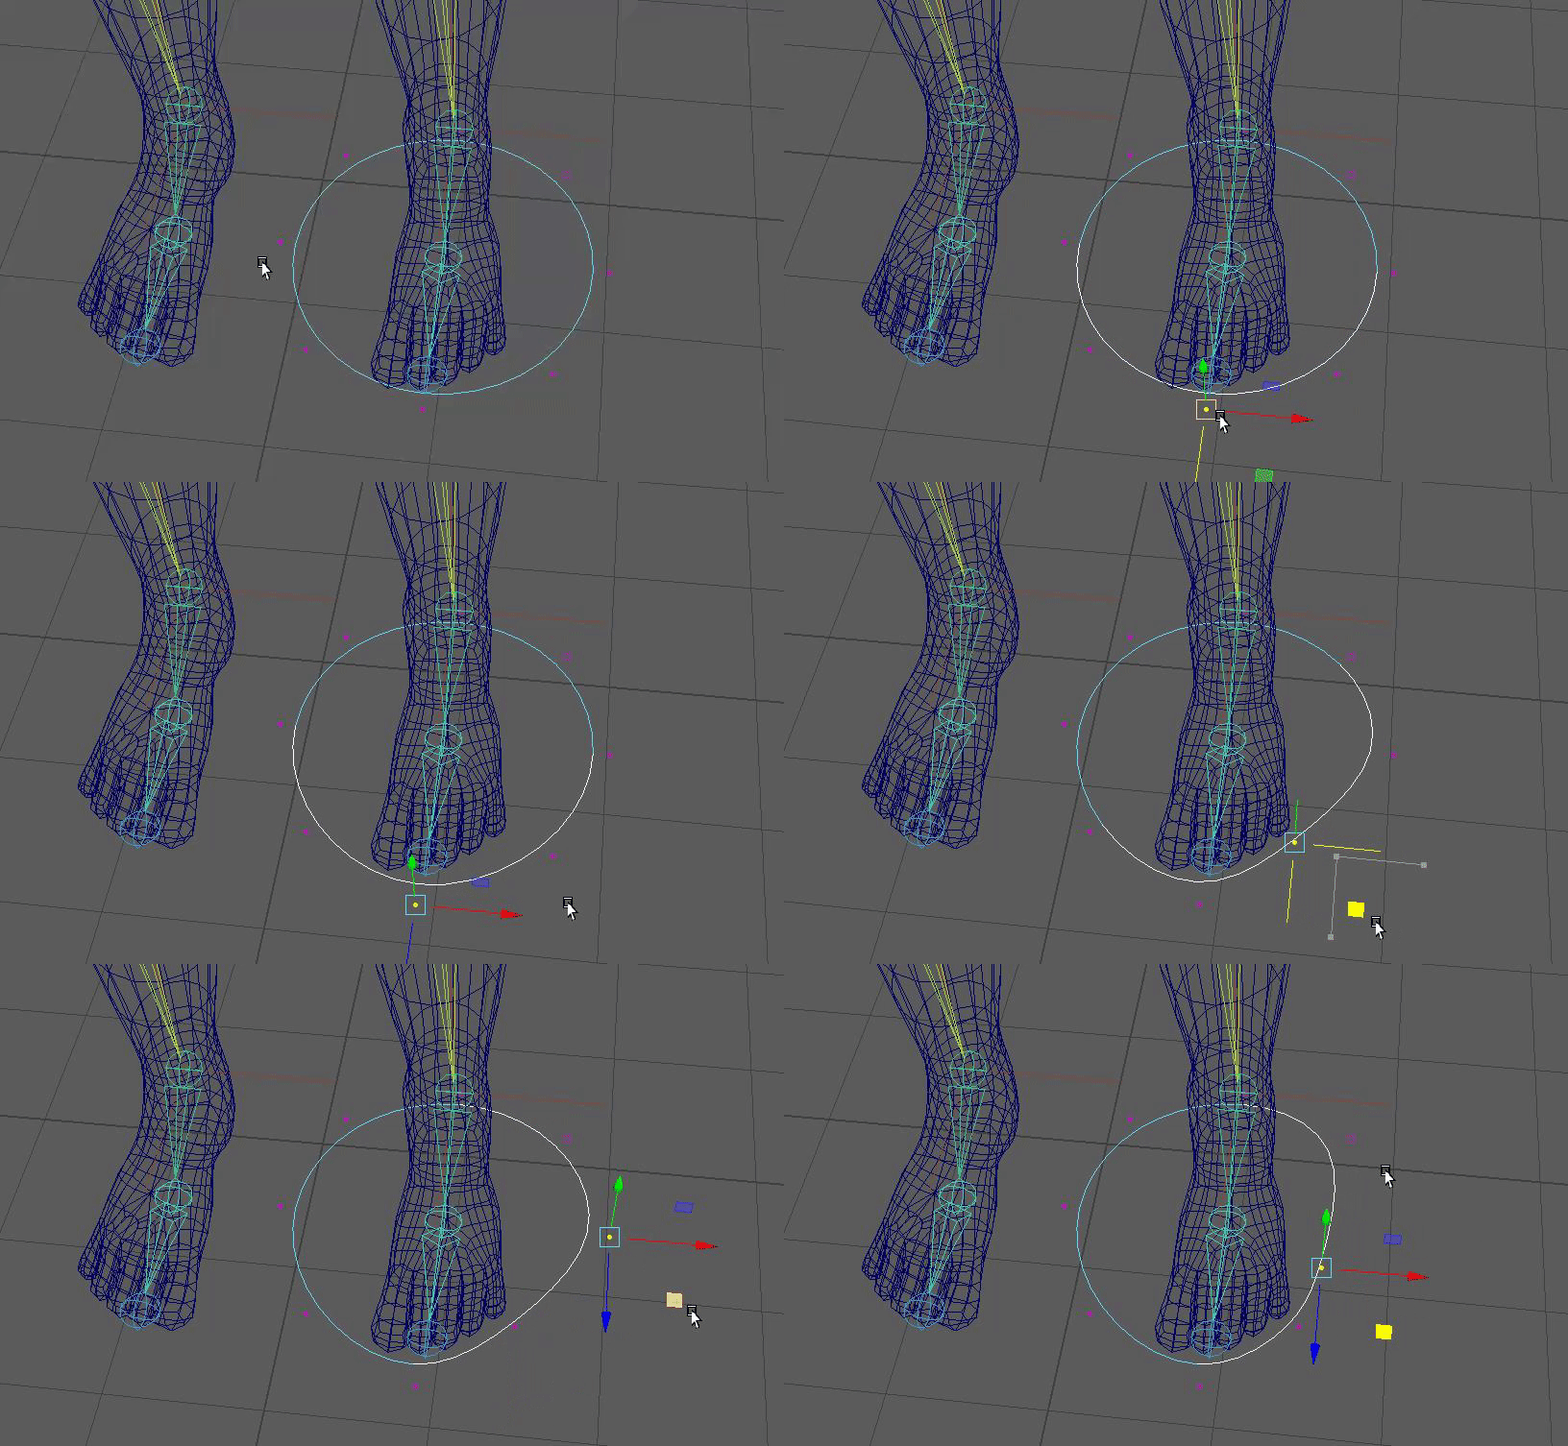
Now that the arms and the legs were able to move, it was time to get more detailed and add some flexibility to the feet. I placed a NURBS curb around the base of the left foot and use the control vertex tool accessed by holding right click when selected. Outlining the foot with the curb would allow me to change the curve’s pivot point to that of the joint of the ankle, and constrain them to the same point, allowing me to make them move together as one mesh. Once the first curve was done, I duplicated it and flipped it on the X axis to have it fit the opposite foot.
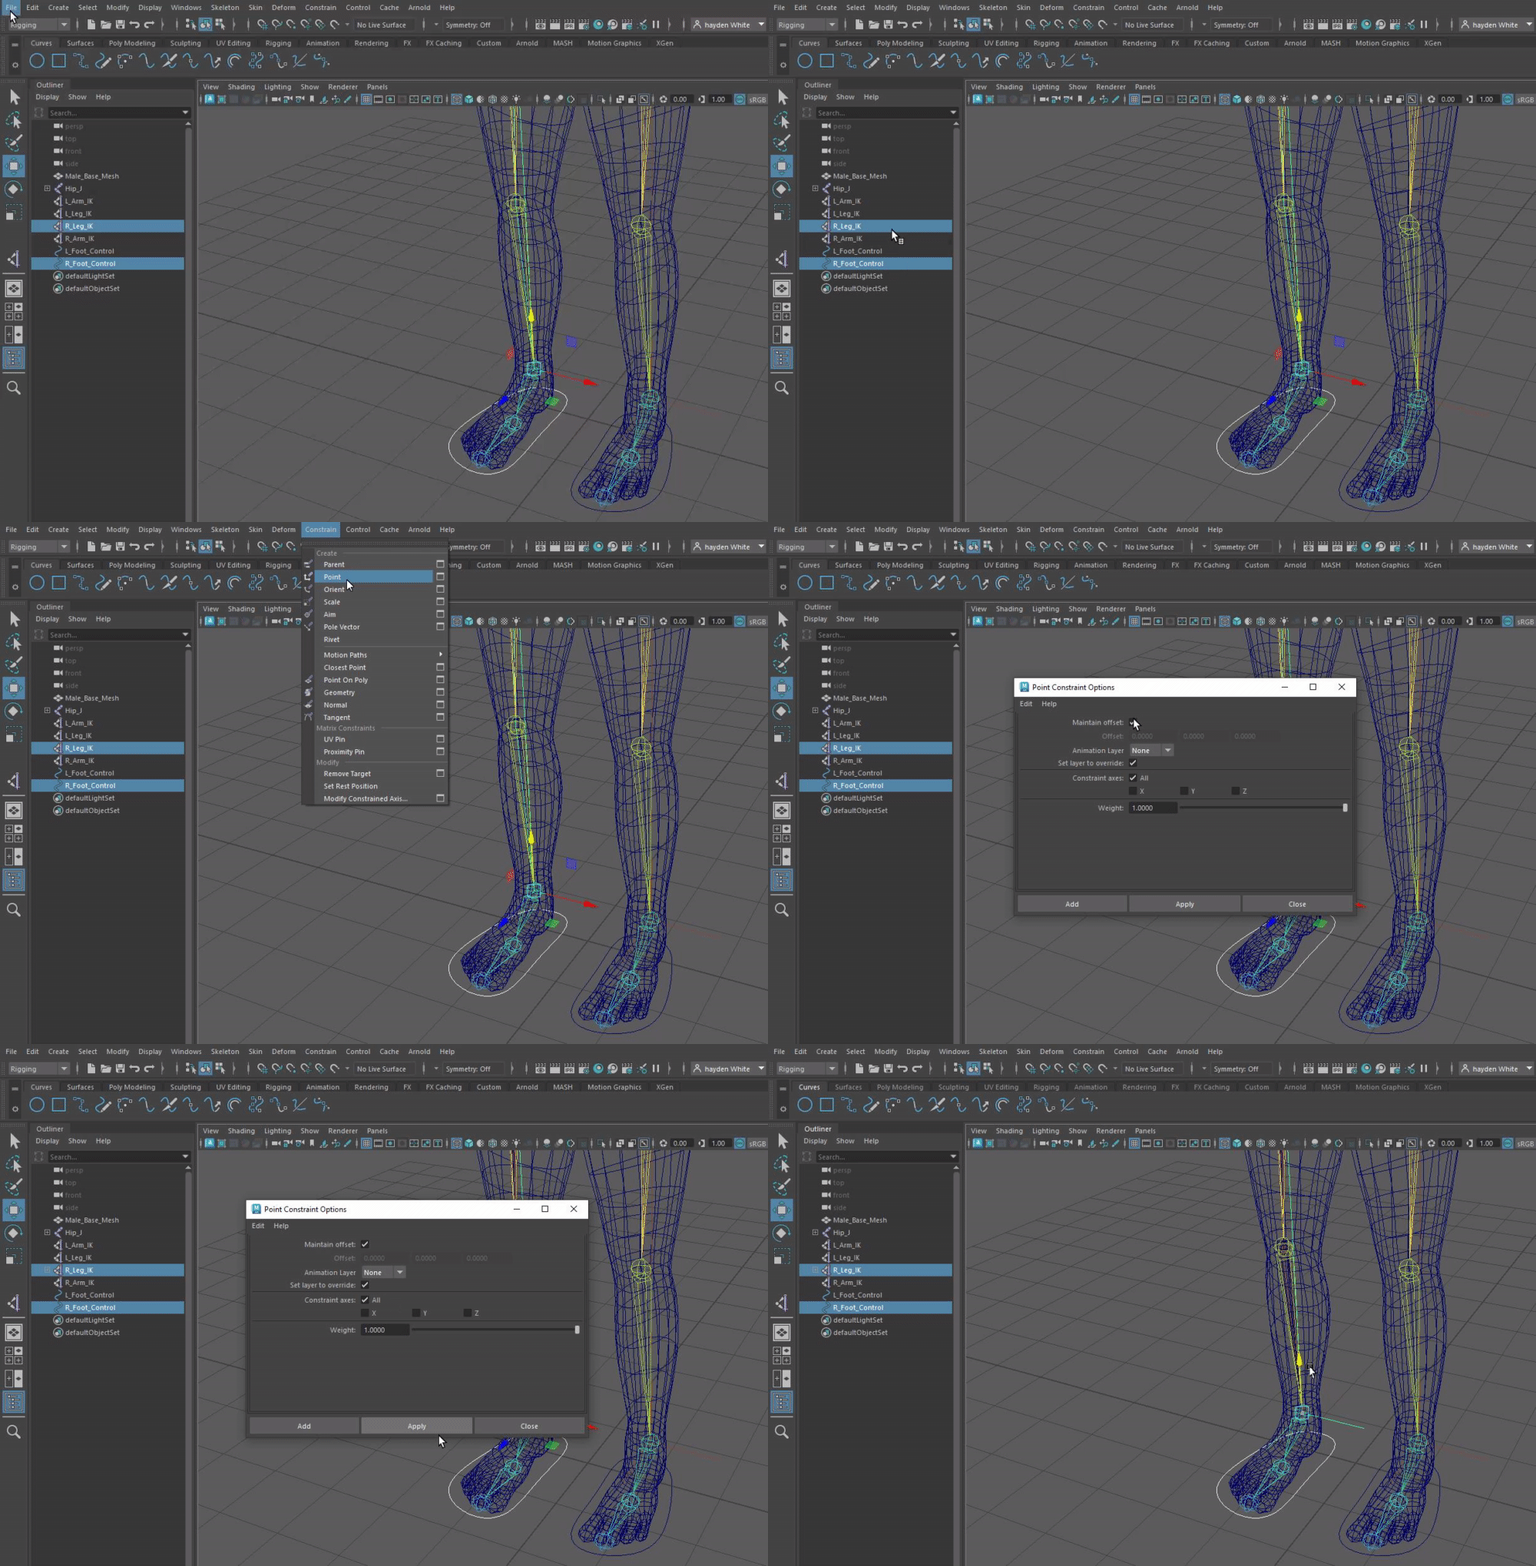
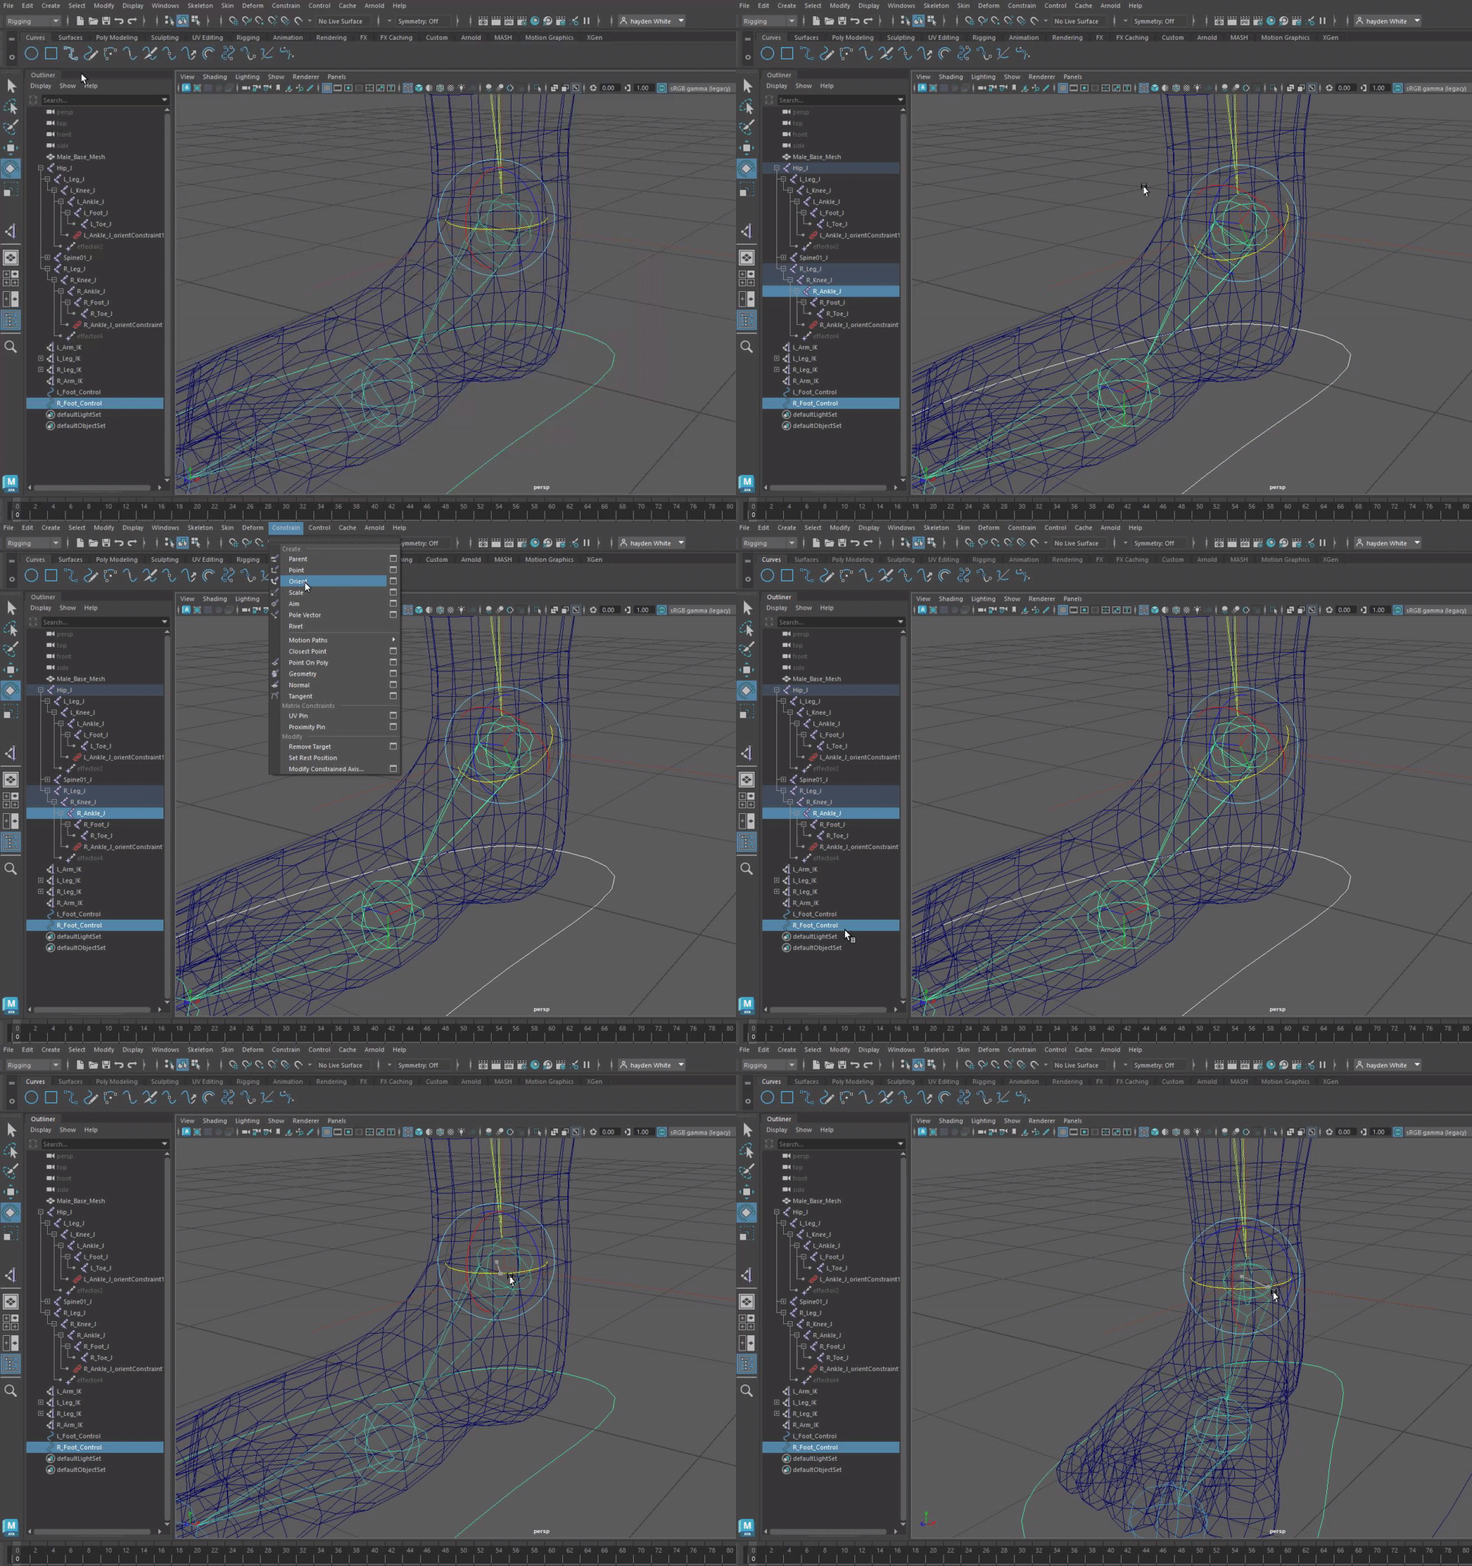
As the foot is not moving exactly how I want it to even after this point, I can add another Orient constraint to keep it moving how I want as opposed to just moving with the leg. Like the point constraint, I selected the ankle joint and the point control and after selecting ‘maintain offset’ it led to no noticeable errors.
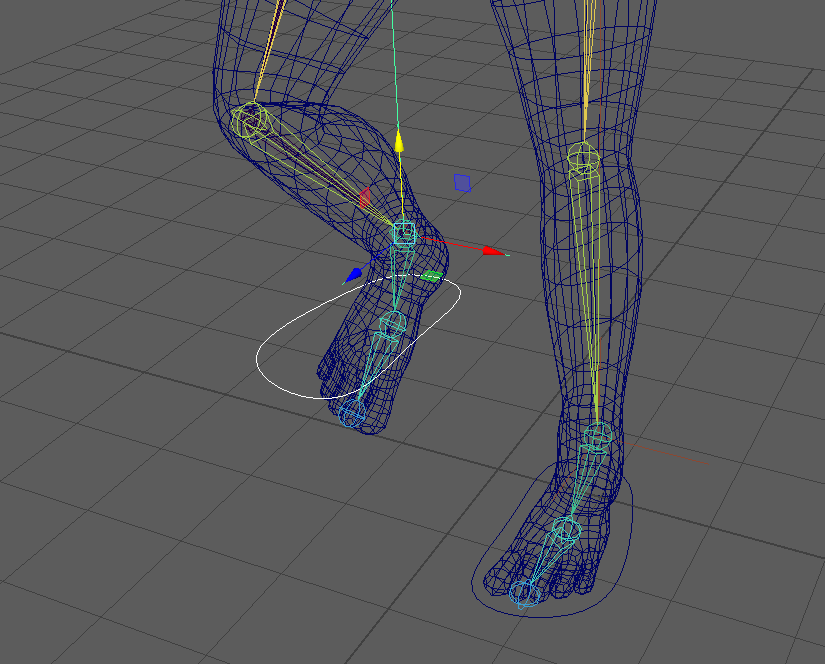
I needed more movement in the legs, as at this point they could only move in linear directions. I wanted to make it so that the legs could rotate on the ball joints like a person so I decided to use a pole vector to do this. First I made a new NURBS circle, and placed directly in line with the left knee. Then after freezing its transformations (so that position became its default), I used the pole vector constraint with the circle and left leg IK selected. I would go on to do this with the other leg and the elbows as well, allowing for more varied movements.
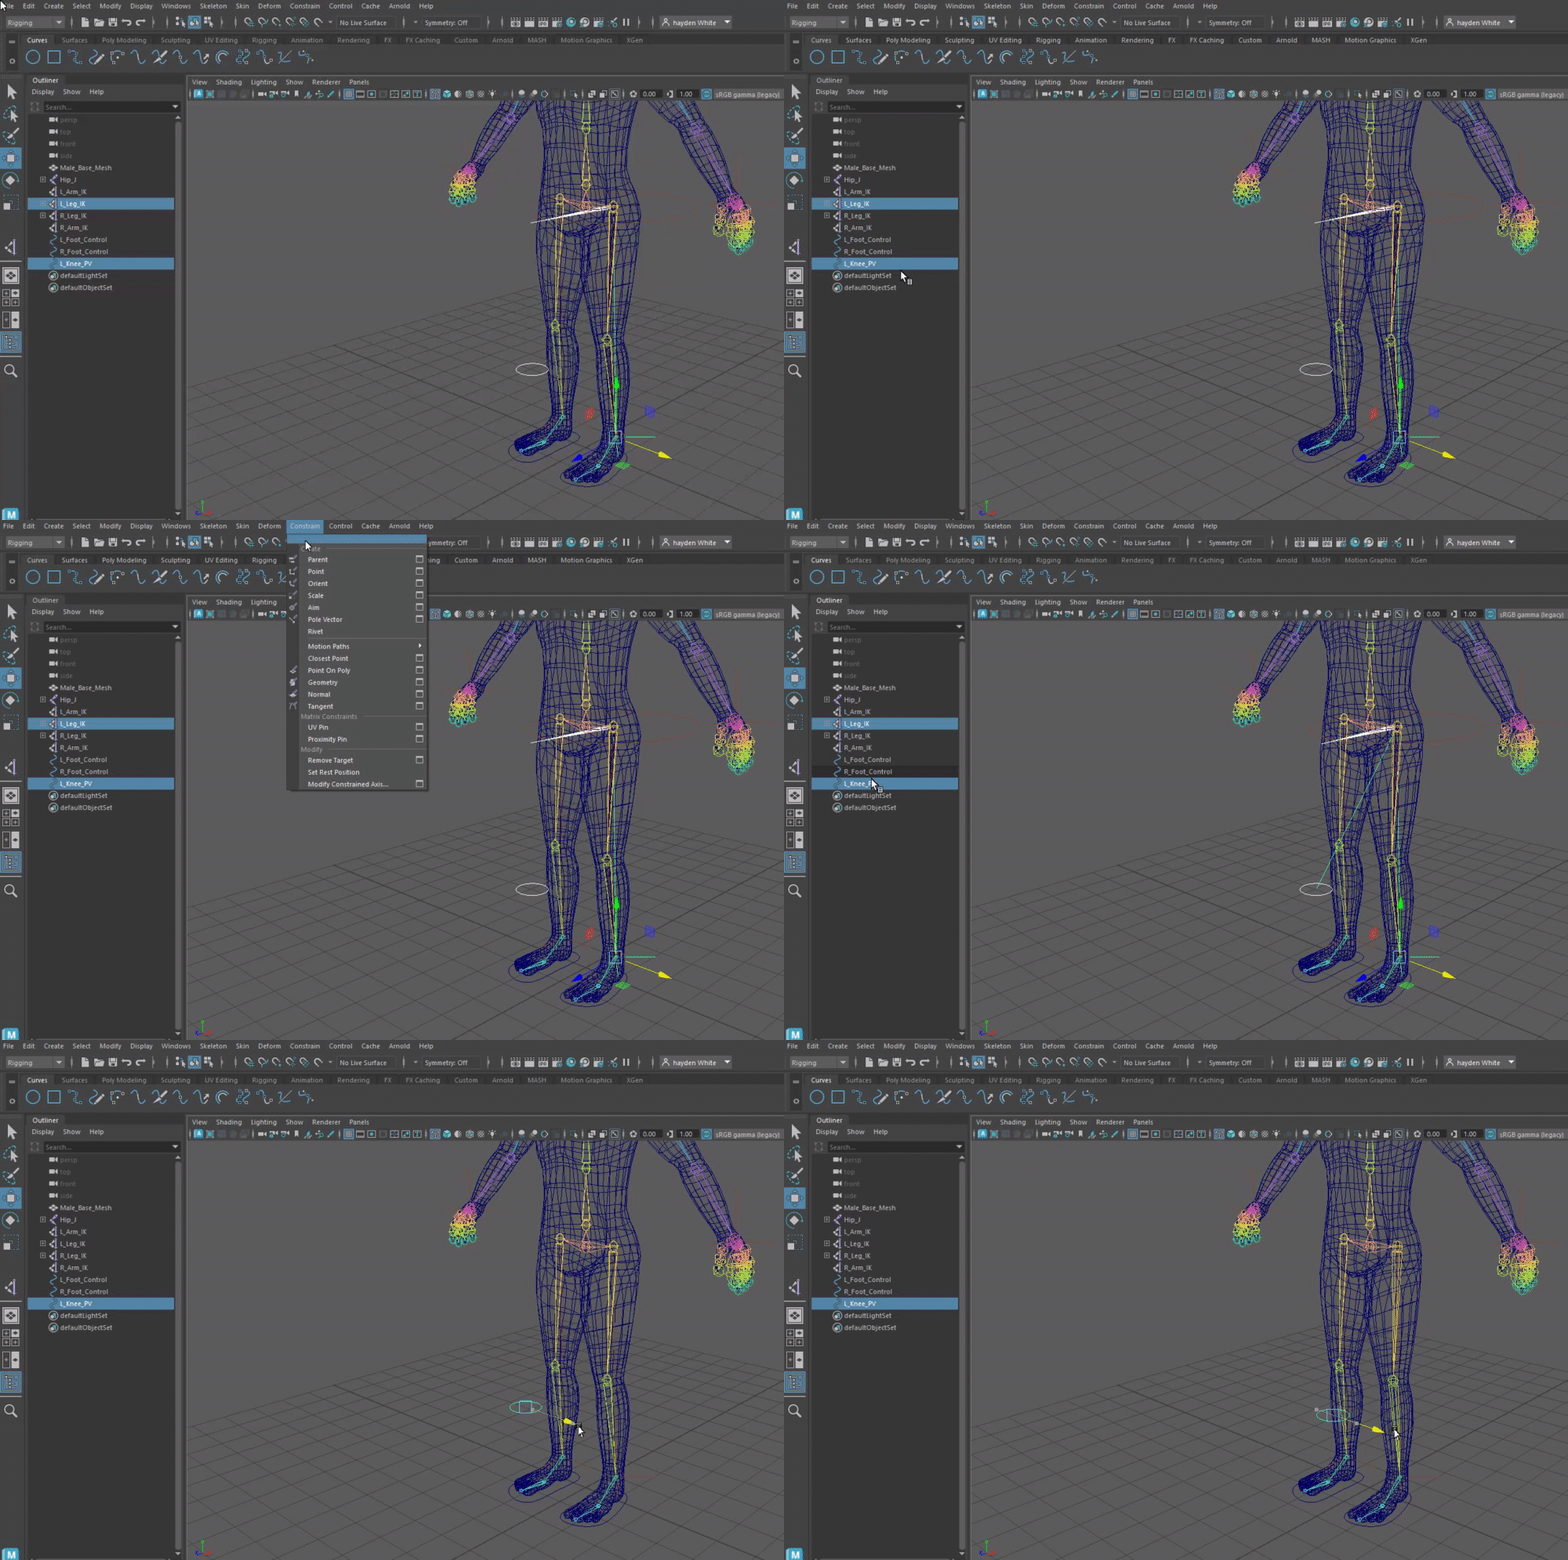
Lining up the hips was also going to be important, as this would have a greater effect of helping to align the spine and keep the movements from going to far outside of normal scope. I used another circle and did both a point and orient constraint to the hips, in the same way that I did the feet with the same offset box checked.
With this being on the hips, I also had to make sure that I edited to the IK handles further to ensure that when they move, the spine will follow a realistic pattern and not condense in on itself. I can do this by going into the connections editor, as shown below.
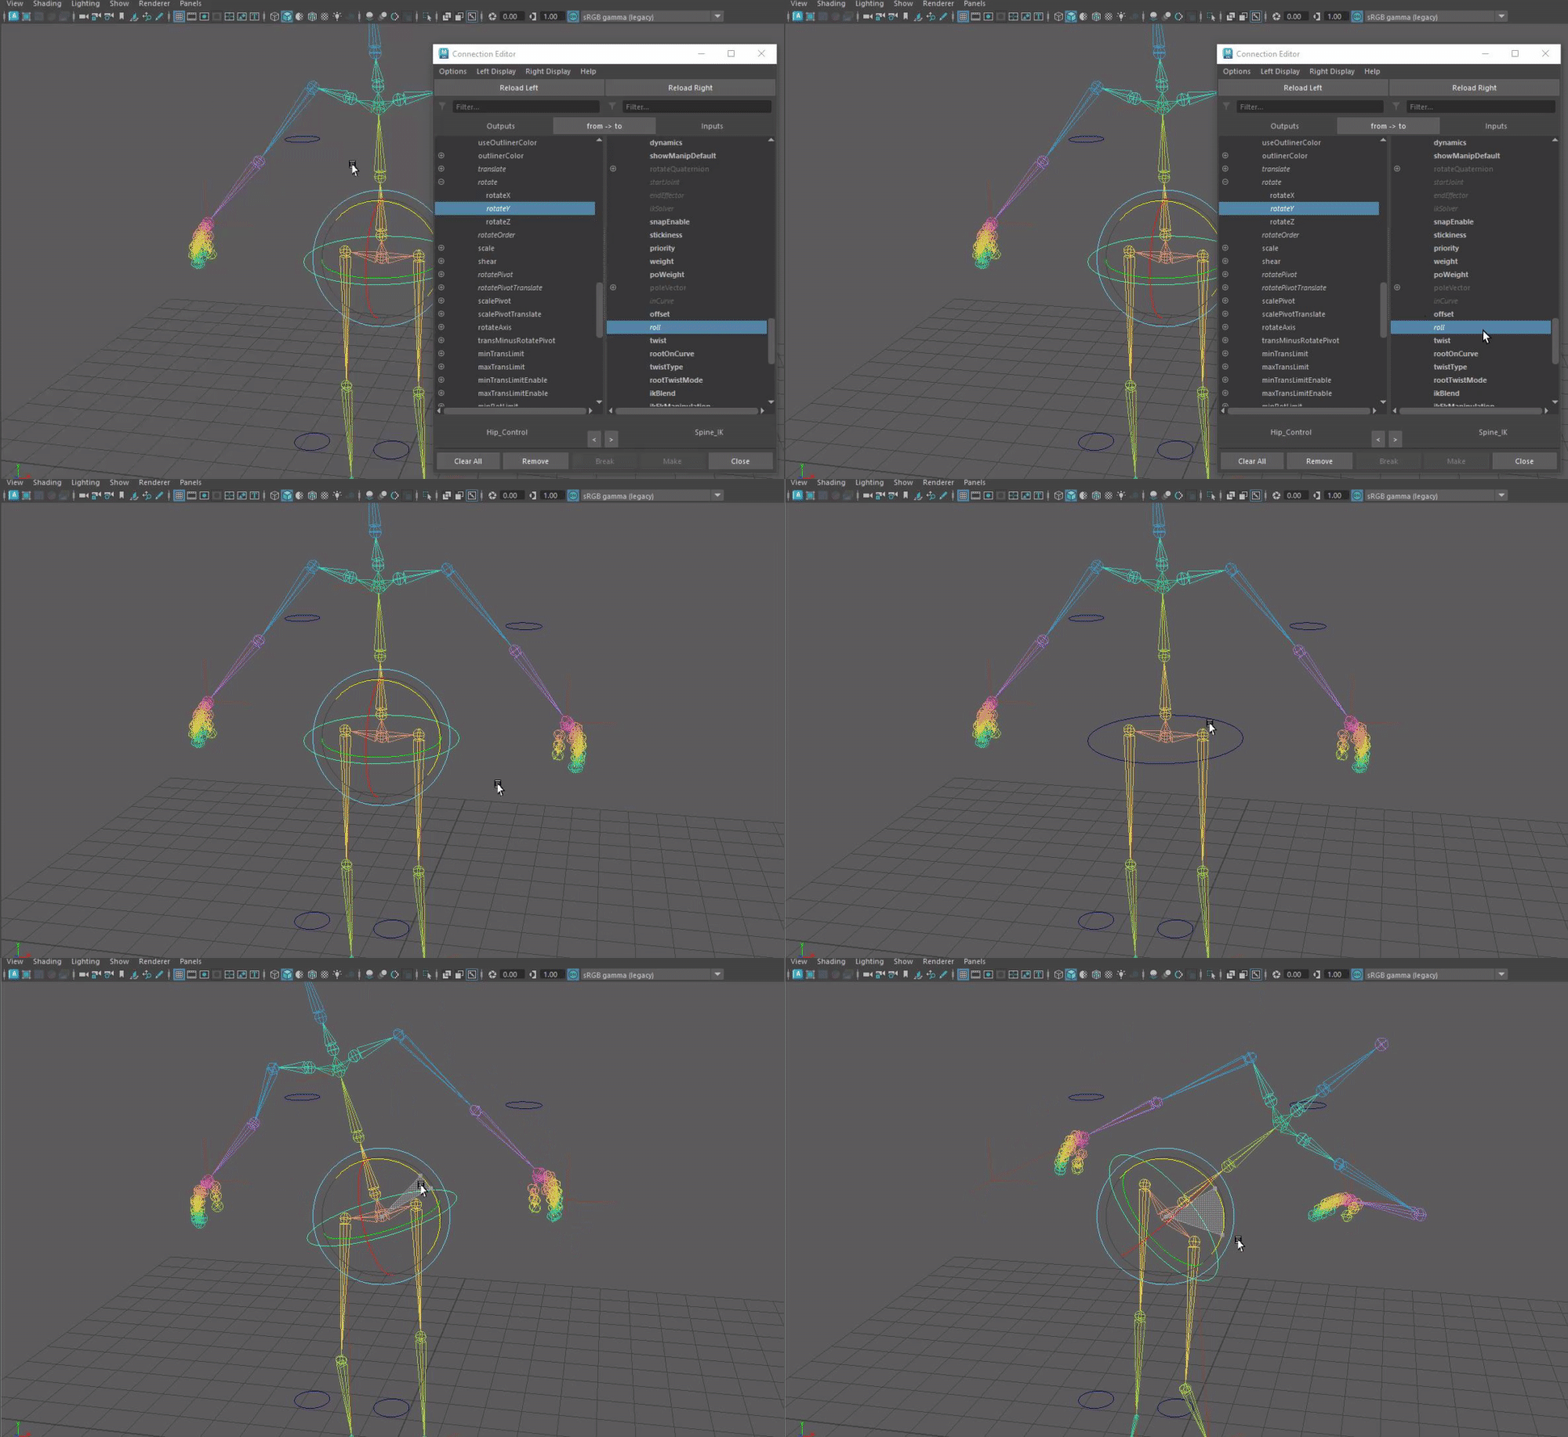
Once again, needing fluid movements of the body I repeated the same process but now to the chest. With the sheer amount of joints that the body has, I need as much variation of movement on this skeleton that I can get to really bring the character to life. The main difference to the chest, is that instead of setting the connection to ‘roll’ in the editor, I set it to ‘twist’. This helps keep the chest from rotating on the Y axis and collapsing in on itself.
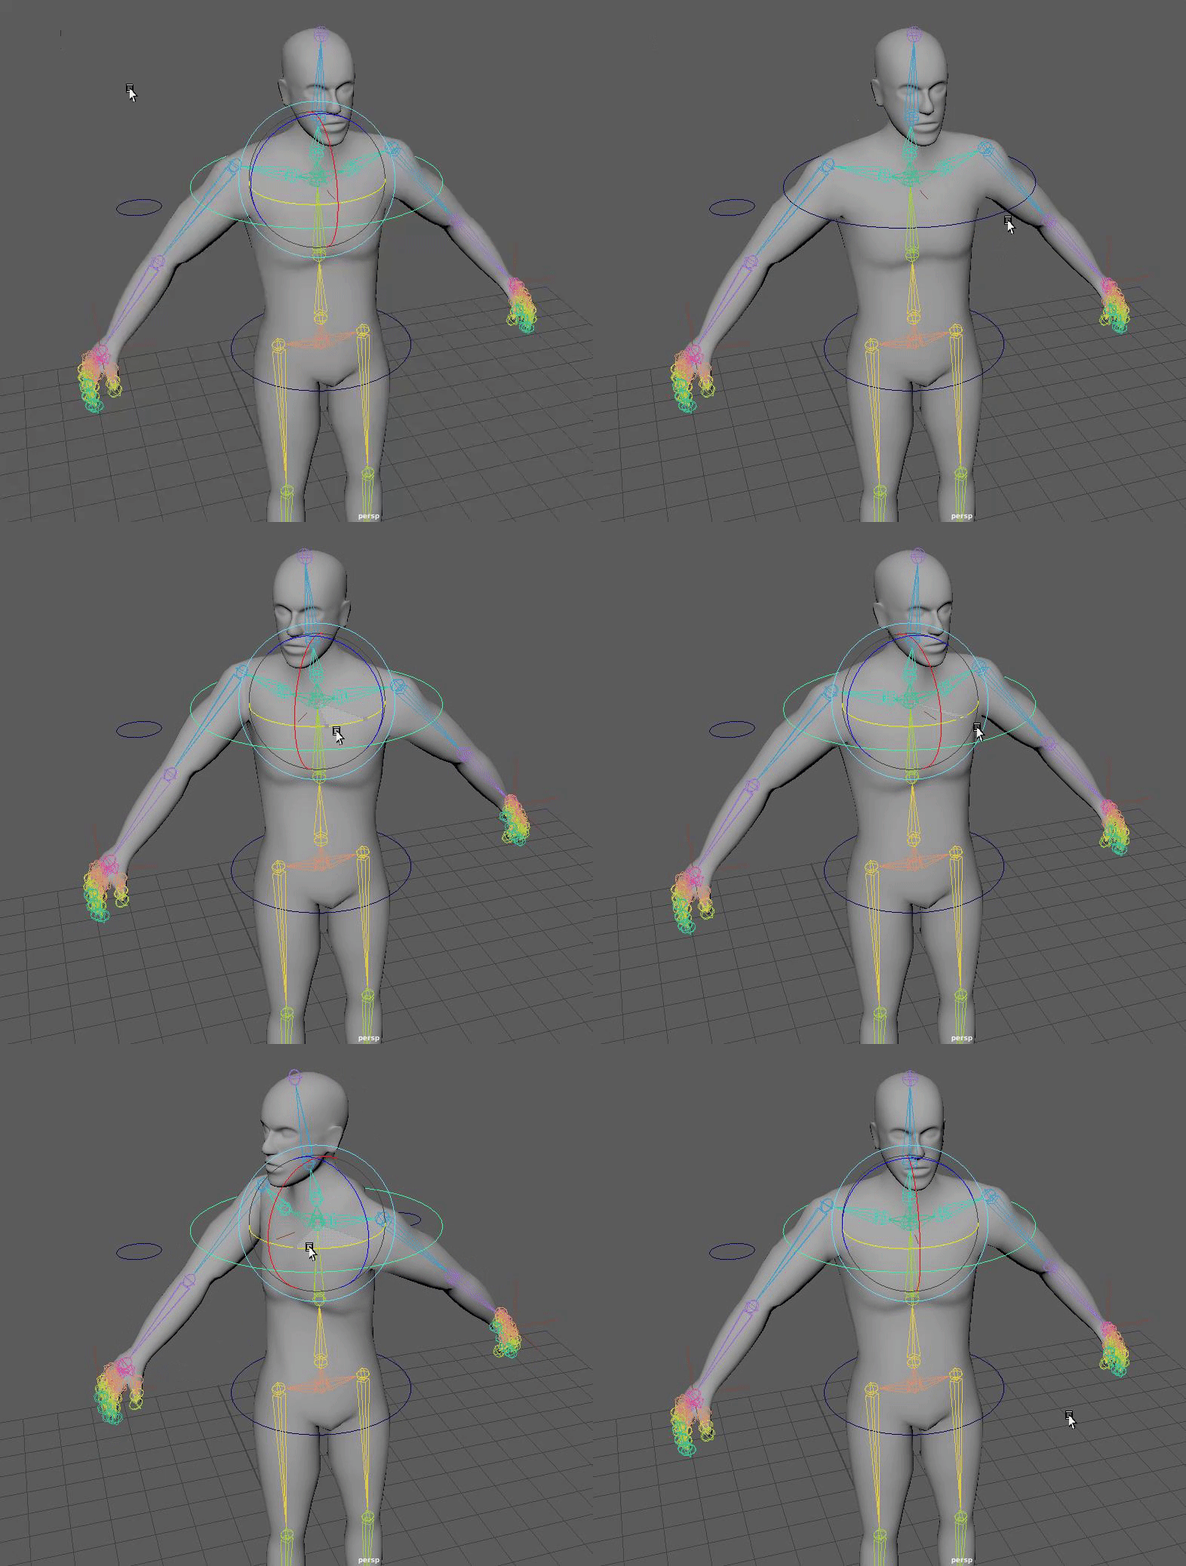
To make sure I have the head not changing its original shape when rotating the chest or hips, I had to use weight paints on the base mesh. In essence, this tells Maya that the part of the model I painted will be the points of movement and the volume of the paint applied will determine how much
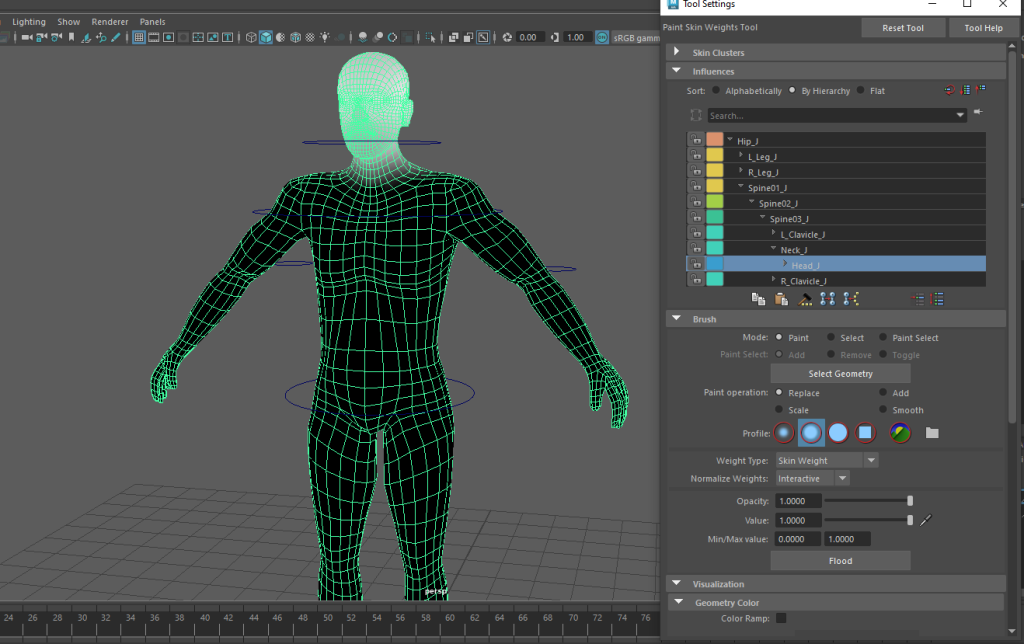
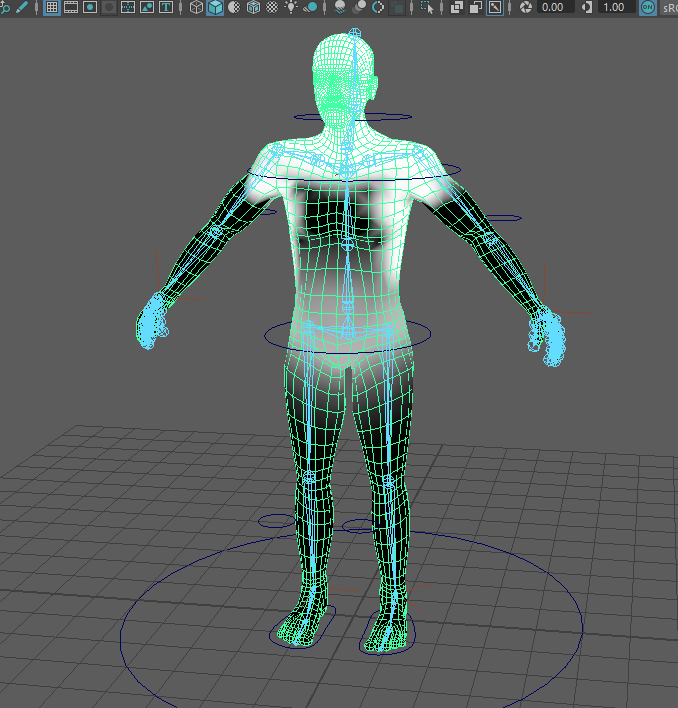
I opened up the paint skin weights tool and with the mesh selected, I brushed the areas around joints that would turn unevenly or have parts of the model extend unnaturally. This would keep those parts of the body in check and ensure a much smoother animation. This was a process I had to do on each individual joint to make sure the movement is as fluent as possible, the picture below I painted it all on one just to give a brief overlook as to how the total painting would look in theory.
After the weights were finished, it was time to start making the first animation.
Creating the animations – animation cycles
I decided to start with the execution cycle out of the three clips I chose to make. This was for no particular reason outside of just wanting to experiment a bit with the shoulders and IK handles.
Making the animations were all more or less the same repetitive process of setting a keyframe in Maya, moving forward X amount of frames, readjusting the mesh and repeating. However, when doing all of these I was trying to take into account the backstory of my character and really trying to incorporate it into his demeanour.
After finding the first pose I wanted to start the model in, it was a matter of testing to see what works with the movement, and making sure that the model does not actually move but rather move on the spot. I still wanted the appearance of movement but it helps to keep a still frame to keep it within the bounds of the cameras I will be adding later.
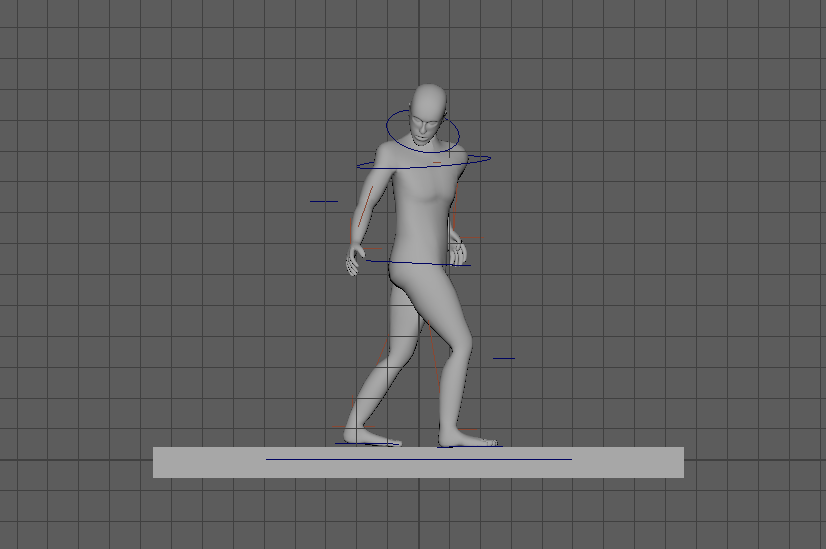
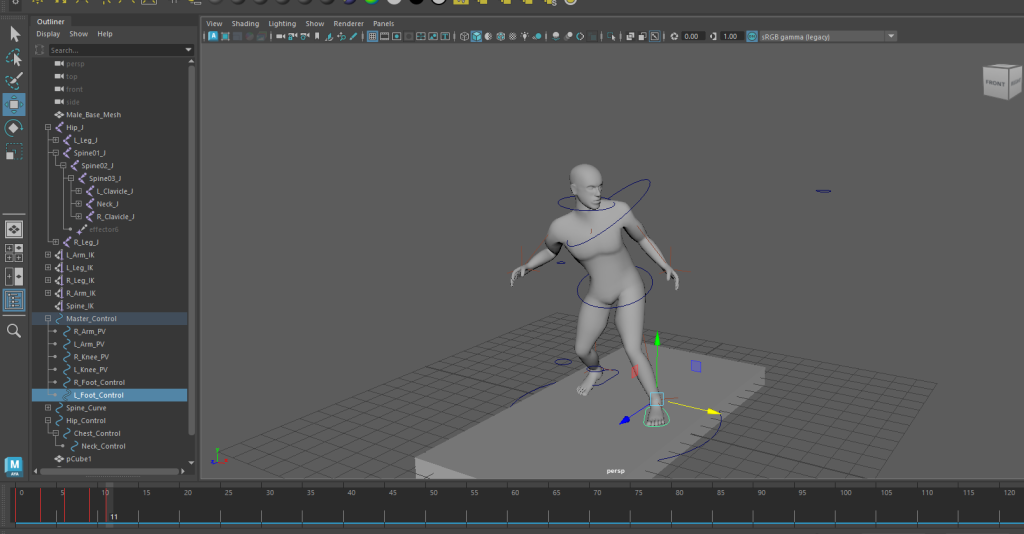
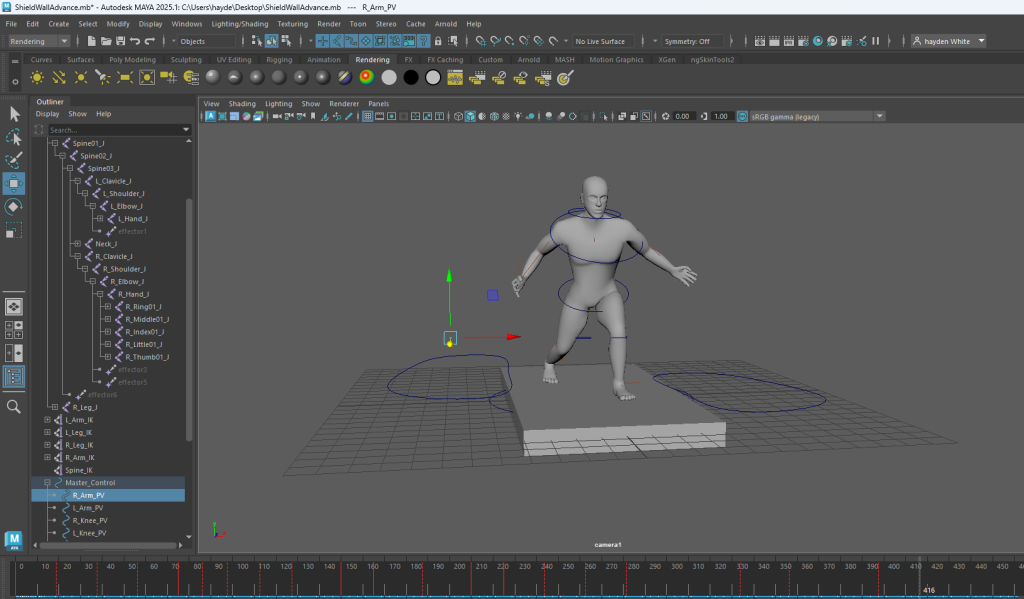
Using the controllers (the blue circles shown in the image above) that I made around certain joints in the hierarchy, it was made a lot easier to move certain joints around whilst the IK handles create the natural looking bends in places like the elbows and the knees.
Principles of Animation & how I used them
Due to my character model not having much in terms of detailing, I am substantially more limited as to the amount of animation principles I can incorporate. However, I have tried to utilise as many as I could.
The main principle I have been able to make good use of is squash and stretch, and the majority of this comes from the hips. Using the hip controller, I can make a very slight raise & fall of the models total height which also leaves a bend in the knees. This is a great way of making subtle animation of the character breathing, or in Drápgjarn’s case, a more exaggerated motion as he struggles for breath.
I was also able to make good use of pose to pose animating. A lot of this came down to a lack of paint weight usage in certain areas later on, and was a lot of micro adjustments, but in some situations like animating the hands or the arms it was great to use in-between frames to make a smoother transition between keyframes.
One more principle that I was able to utilise effectively was follow through movements. Being a human character, there are times where a resulting traumatic blow can lead to displacement of your muscles and jolt you back. For example, at the start of my death animation, you can see that Drápgjarn takes a hit, which causes his torso to rotate with the blow, and his affected arm to recoil back. This arm then quickly falls back into place trying to imitate the gravity acting on it.